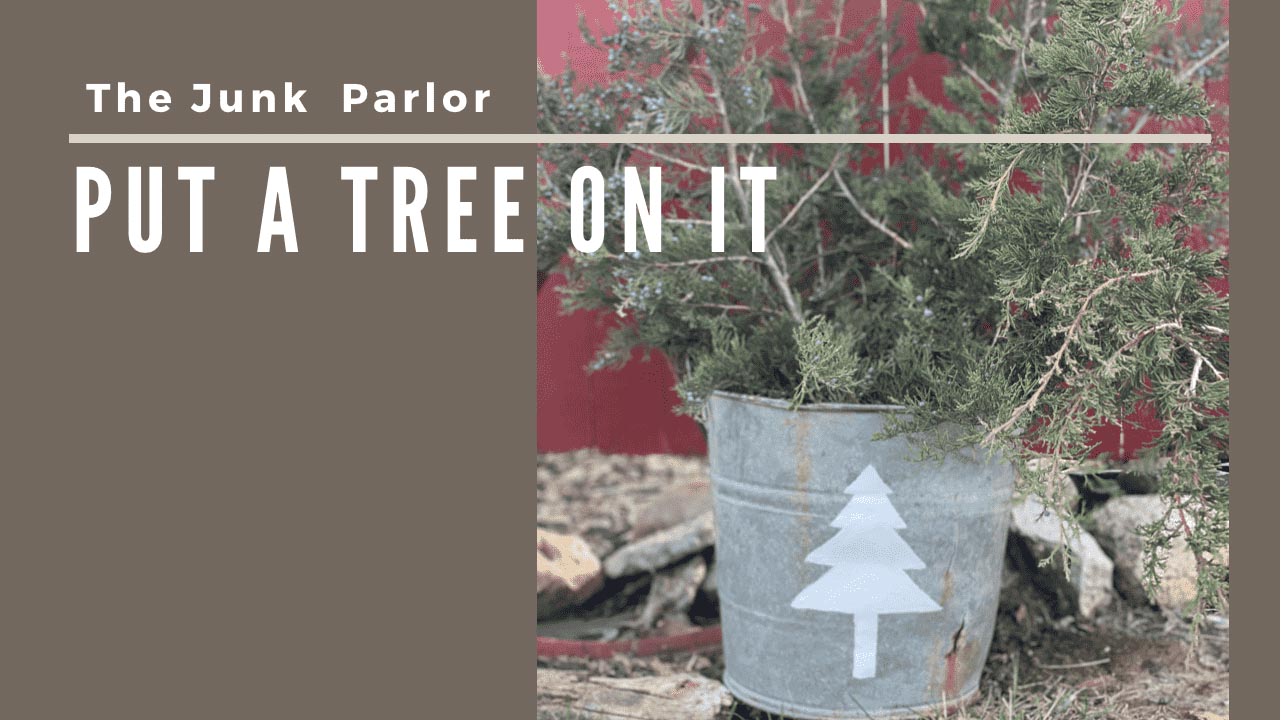
It is December first and that means I am kicking off 25 days of Christmas DIY projects. This will be my third year doing 25 days of DIY and I can’t wait to share my projects with you! I will be starting with this super simple Christmas tree bucket project that can be done in so many different ways. I am going to show you one way to do this project, and hopefully it inspires you to put your own twist on it.
Tools & Materials
- Piece of Cardboard to Create a Stencil or Purchase a Stencil
- Scissors or Boxcutter
- Ruler
- Metal bucket
- Chalk
- Acrylic Paint
- Small paint brush


The Process
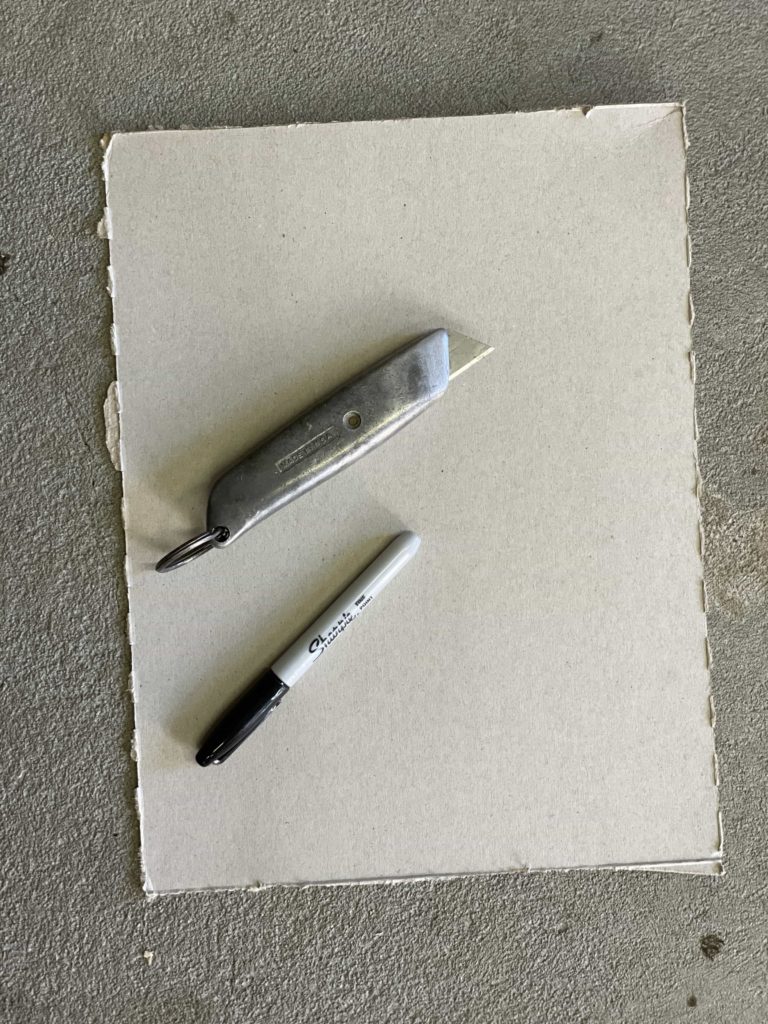
To start you will want to prepare your stencil. If you already have a stencil, great! If you don’t, you will want to create one by free handing it or measuring and using a ruler.
To create my stencil, I measured my bucket and decided how big I wanted my tree to be. I had in mind that I wanted to center it on the bucket. From there I drew a line on my cardboard to use as the center of the tree. I made sure that my line was the approximate height I wanted the tree to be. I came off that center line horizontally and did a half inch, inch, inch and a half, and two inch measurements to create the different sections of my tree. I used a ruler to connect the sections of my tree and keep my lines as straight as possible.
Remember, you don’t have to do a tree! You could do stars, ornaments, your last name . . . the sky’s the limit!
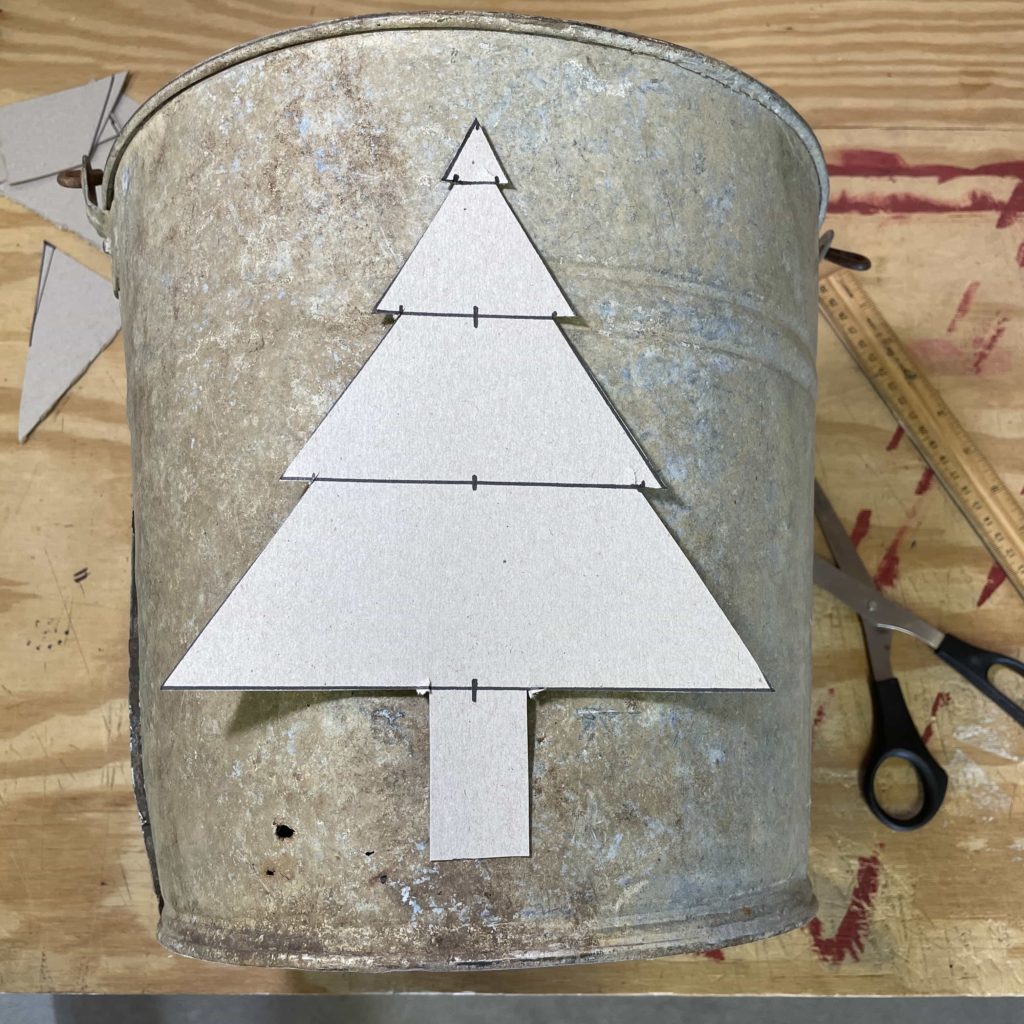
Once your stencil is created, grab your bucket and select a spot in between the handles. Use chalk to outline the stencil. You could use a pencil, but chalk works well because it easily wipes away.
Once you have your outline ready, it is time to paint. I chose to paint my tree white, but you could do any color to match your decor and style. If you make any mistakes while you are painting you can use a Clorox wipe to it since the bucket is a nonporous surface.
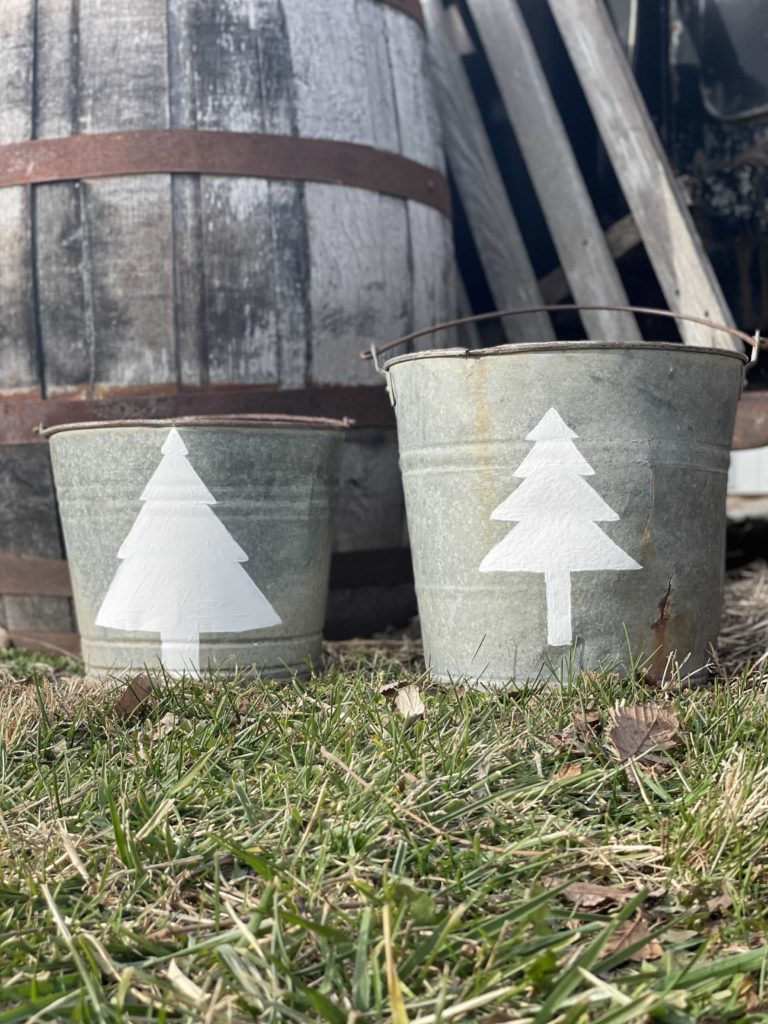
After your first coat is finished, allow it to dry completely. You will most likely need two to three coats of paint. Once your paint is dry, you can leave it as is or distress it using steel wool or sandpaper. You could also add garland to your tree or paint “Merry Christmas” across it in large letters. There are so many ways to customize this project.
My Finished Christmas Tree Bucket
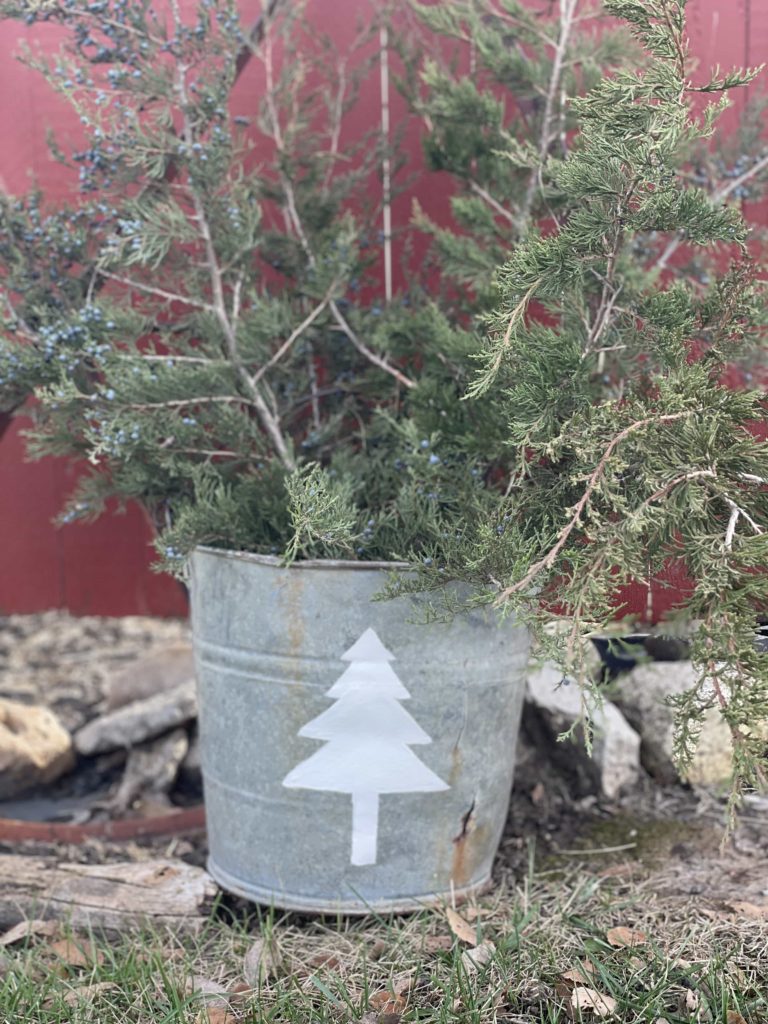
I love how this simple project turned out. I used mine to hold greenery, but I could see creating several of these and using them instead of stockings for your kids. You could even fill it with extra ornaments and set it beside your tree.
For another simple holiday DIY, check out my Super Easy DIY Burlap Garland.
Don’t forget I will be posting a new project for the first 25 days of December. Follow along on Facebook to watch my videos daily!
This post may contain affiliate links for the products I use and recommend. I am not paid to promote these products. If you purchase using my affiliate links, I could make a small commission at no charge to you.
