fbpx

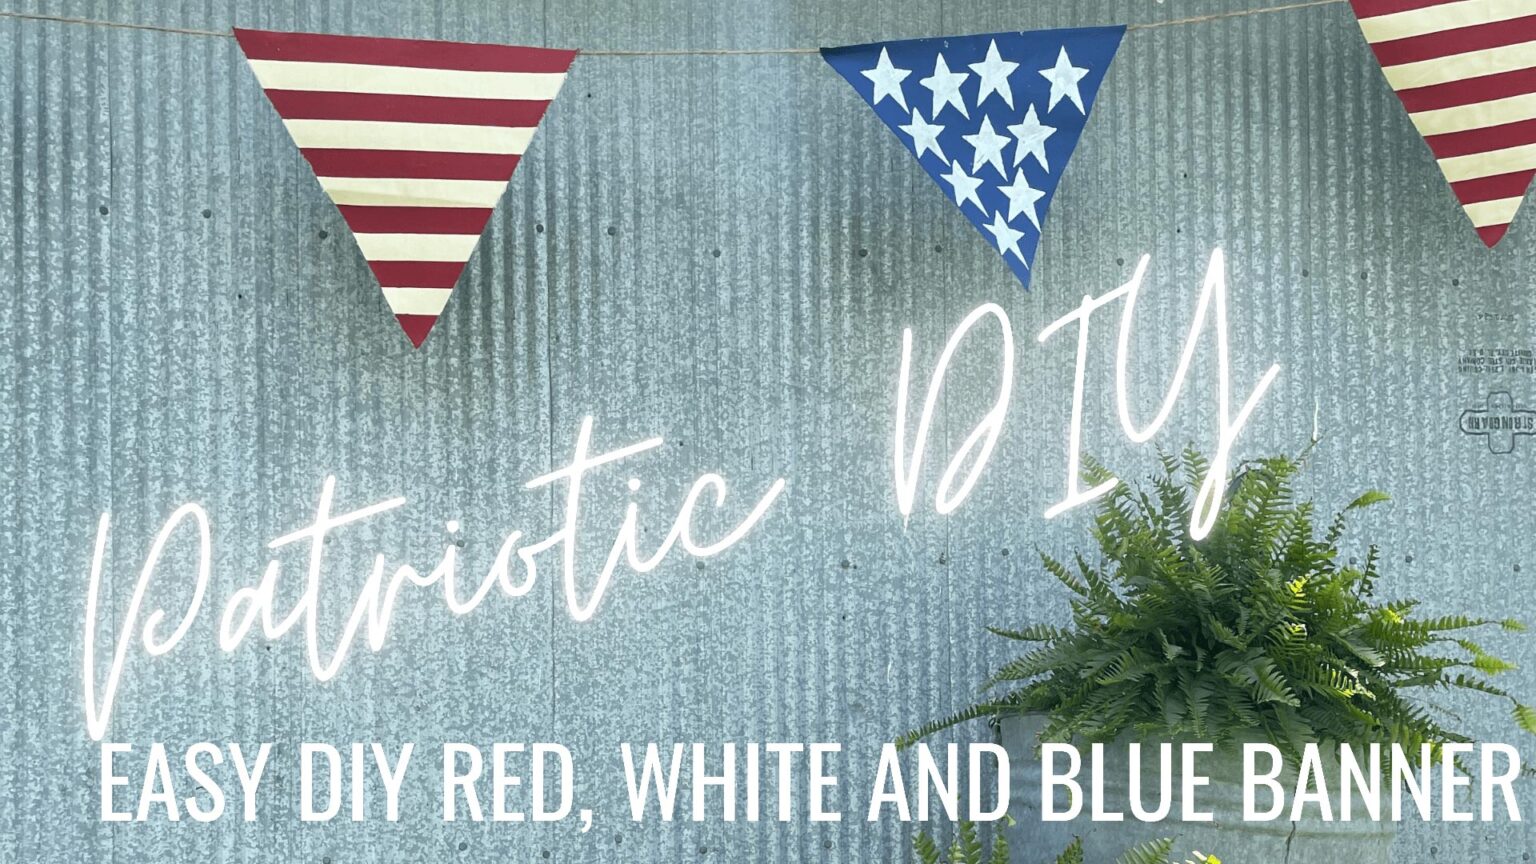
Creating a Simple Patriotic Bunting

I was given some fabric scraps, and as I was sorting through them I realized some were shaped like triangles and others like diamonds. So I got the idea to make a patriotic bunting!


Click on the button below to watch me create this patriotic bunting.


Supplies needed for bunting. Fabric, stencil, twine, hot glue, scissors, tape and paint.

Tools and Materials

To create this patriotic bunting, you’ll need:

How to create this simple patriotic bunting

So while the first time I made this bunting I used fabric scraps that were in a diamond shape. The next time I made bunting I used a drop cloth!

cutting triangles

Cutting Triangles

First you need to decide the size and shape of your bunting. Consider where you want to decorate to help you determine what you want to make. Your triangles can be big or small depending on where you want to display your bunting. Miniature buntings can look cute draped in a window or on a frame. While larger buntings are cute across a railing or hanging on a shed.

Triangles for the bunting can be short and fat or longer and skinnier. It’s completely up to you! I would just make sure to keep them consistent. Make one and then use it as a pattern to cut out the rest of the triangles. You can even do something different than a triangle! See the example below!

An alternative bunting shape. More like the end of a ribbon.

Option 1

paper pattern for triangles

Make a pattern out of a piece of paper or a manila folder. Then use a pencil to draw around your pattern. Repeat this process until you have enough triangles to make your bunting.

Option 2

Cut your fabric into strips the height of the triangle you want. Then, fold the fabric the width you want. Next, place your pattern on top of the folded pieces and cut multiple triangles at a time. My scissors weren’t very sharp, so this is best to do if you have good fabric shears. Or, a cutting mat and rotary cutter would work well too!

outline of a triangle that needs cut out

Option 3

For this method of cutting out triangles for your patriotic bunting I started with how wide I wanted the top of the triangle. Next, I eye balled what the center would be and made a little tick mark. You could also simply fold the fabric in half at the two widest points of the triangle. This will tell you where the center is. Make a mark. I then used an envelope as a ruler to connect the two points. Cut that out and use the cut out triangle as a pattern to cut out more triangle pieces.

Making Our Bunting Patriotic

I am big on using what I have on hand. I have used latex paint, acrylic paint, even Annie Sloan chalk paint to create patriotic buntings. Pick the paint you want to use and brushes. Small artist brushes or a sponge brush are needed for the star stencil, but bigger brushes, even a paint roller can be used for stripes.

You can do what I have done and put red stripes on one triangle and white stars with a blue background on another. You can also do something like the above where there is a top line with stars and then under that with stripes. This is your chance to be creative.

tape laid out on the triangles

Painting Stripes

You will need tape to create your stripes. This is much quicker than drawing lines and trying to paint inside them. I have only used painters tape, but each time I have made buntings I have used a different width. Again, I would just use what you have on hand if possible. If you only have really thick tape and are doing smaller triangles on your bunting, then I might suggest purchasing tape so that the stripes are in proportion.

Quick tip: When you’re painting around tape you do want to consider the direction you’re carrying the paintbrush.

When painting your stripes, you have a couple options. You can start by painting the entire square white. Or you can just use the background color of your fabric and only paint red stripes. If you do want to paint the fabric white, do that first. Once it dries you will do the same process as if you hadn’t painted the background white.

You will cover your triangles with tape. Keeping them lined up with the edge of the triangle and butting them up next to each other. Then remove every other piece of tape. Paint those sections red.

demonstrating how to paint between tape
red stripes painted between two sections of tape
peeling back tape after painting red stripe
Triangle with white and red painted stripes

Painting Stars

To paint the stars I painted all blue on three of the triangles and let that dry. After that, I came back and I used my star stencil to haphazardly paint the stars on the piece. After doing stars on all of the triangle pieces, I decided that on one of them I accidentally did a pattern that I really liked. I ended up going back over some of the white stars with blue paint and re-did them so that they all had the pattern where there were four stars on the left to three stars to two stars to one star.

Then I took some larger twine that I had on hand and used my hot glue gun to adhere the triangle pieces to the twine. Using a ruler, I measured 12 inches between each triangle piece. I’m not selling this bunting, but if you want the triangle pieces to be closer together, I suggest simply cutting the twine and tying a knot the distance you prefer. In my case, 12 inches between each piece is ideal because it makes this bunting large enough to cover my entire shed.

triangle painted blue
laying the star stencil out to determine placement
up close of star triangle

Assembling The Bunting

laying out the bunting triangles

Lay out your bunting before hot glueing it onto the twine. I had some triangles with frayed tops and some with a finished edge. I tried to alternate those in the bunting. Another thing I didn’t notice on the bunting pictured was the stripe location. If red is on the top or if white is on the top, or a combination depending on the triangle, you will want to space those out accordingly.

Once you have a pattern laid out, you will also want to be consistent on the distance between each triangle. I simply used my fingers to do this. Depending on where you are hanging this, you may want the triangles farther apart or even touching each other. You will also want to consider how much extra twine you leave at the end of the bunting.

If you happen to cut it too close, then simply tie on extra on each end!

the twine at the end of the bunting

Things To Remember

One of the buntings I made was from a used drop cloth. It did have some paint splatters on it, but I just painted over those.

pointing out where I painted over old paint

Some paint will get on the back of your stencil. To be safe, turn it over after painting each star and wipe off the paint with paper towels. If you forget and paint does get on your blue triangle then you can just touch it up with blue paint once everything has dried.

wiping off the back of the stencil with a paper towel

Another tip is that most fabric will fray on it’s own. BUT, you can rip fabric to create a frayed look. Or you can simply use tape on the edges. Stick it down and when it peels off it will fray the edges!

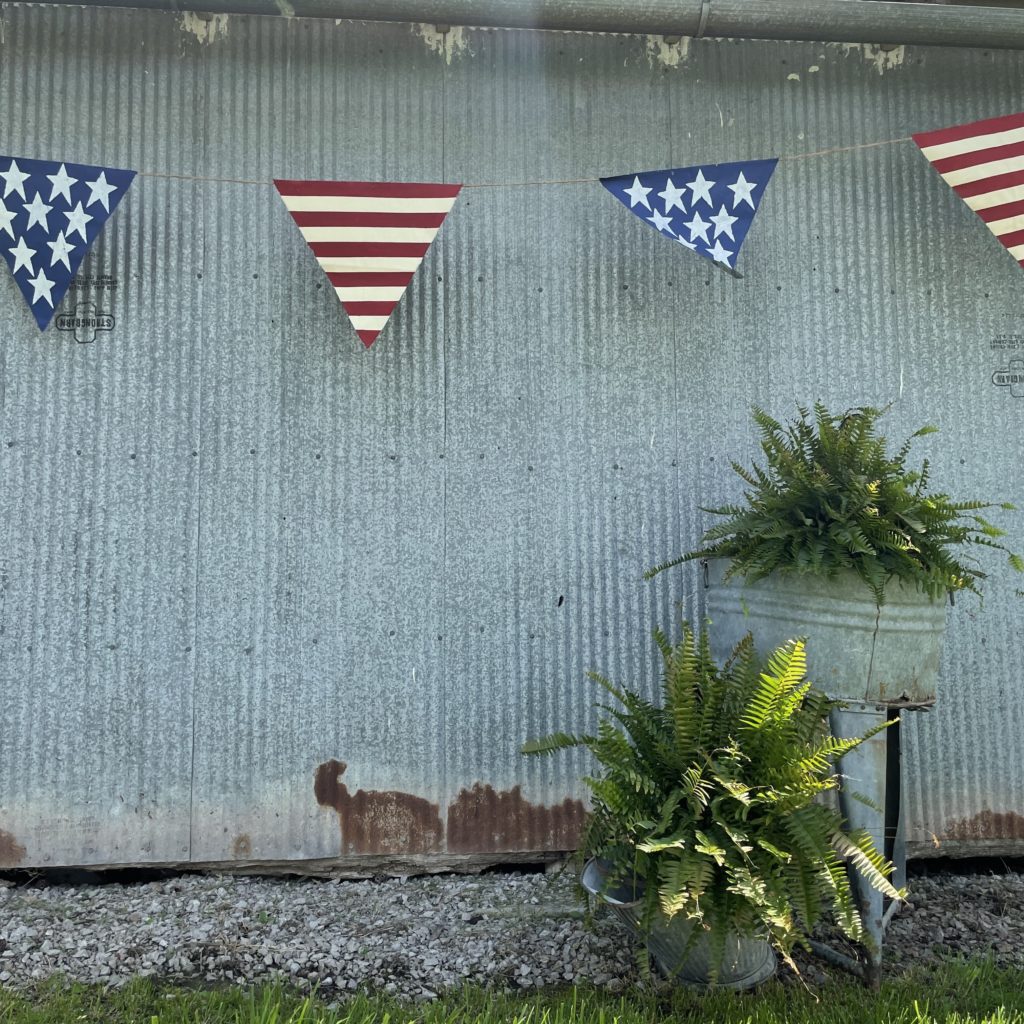
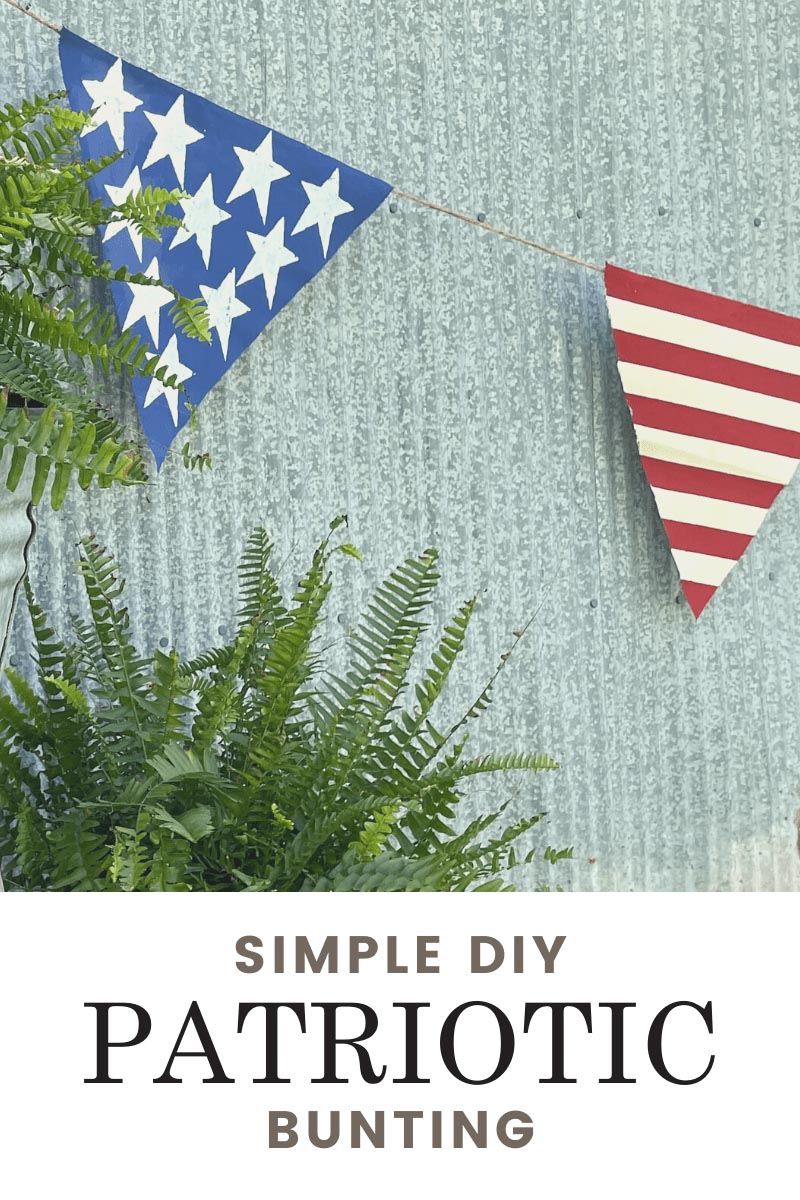
Here is the finished product!

I think it looks great against the galvanized tin of our shed. I can also envision it being really cute on the porch railing.

showing you the bunting on the window
I am just noticing that I painted red on the top of one of these triangles, but not the other!! Be sure to check that on yours before you attach your triangles to the twine.

Show me your patriotic bunting by tagging me on Instagram @TheJunkParlor.

Want to see another red, white and blue project? Check it out HERE.

Another patriotic DIY - flag painted on a screen

Disclaimer: This post includes affiliate links.

Pin It & Share It
Patriotic-Pennants-DIY-Make-The-Junk-Parlor

Leave a Comment

Your email address will not be published. Required fields are marked *

Hi, I’m Brooke. Welcome to The Junk Parlor.

Get my 5 Favorite Cleaning Supplies for Your Junk.

* indicates required
Categories

Latest Finds

My Favorite Cleaning Supplies

* indicates required