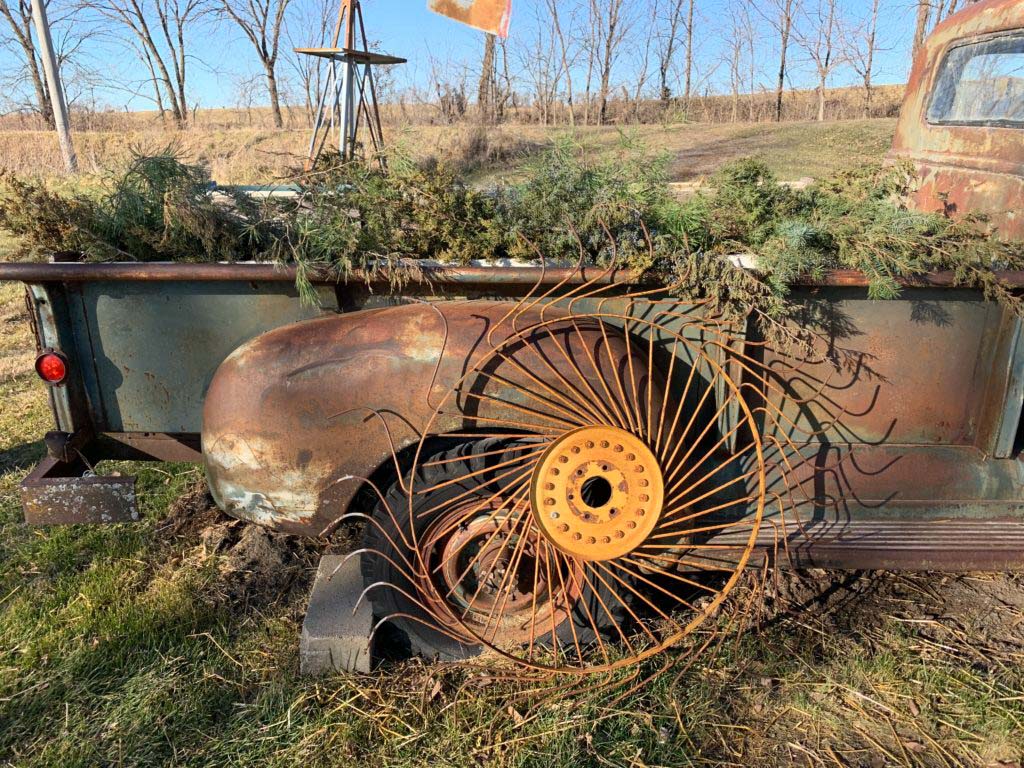
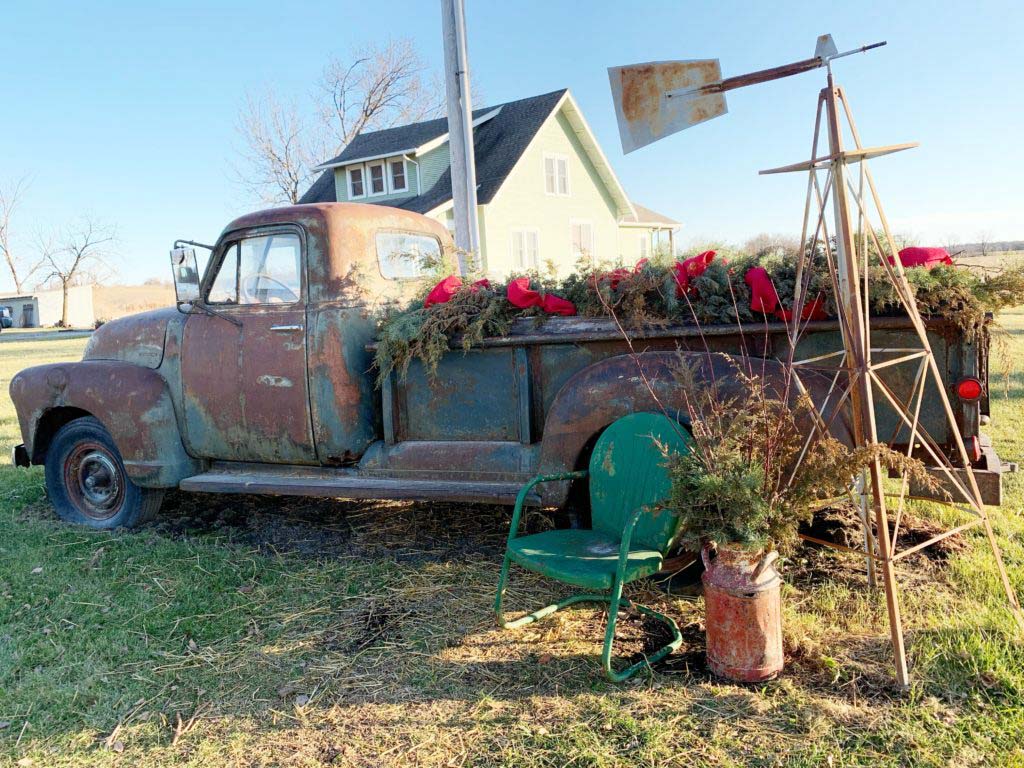
My 25 Days of Christmas Series continues! Another day of warmer weather and I’m trying to get another outdoor project complete! Normally I would have already decorated one of my vintage trucks for winter, but this year we had family photos late in November and I was trying to hold onto fall for our photo shoot! So, today’s the day my vintage truck is getting decorated for winter!
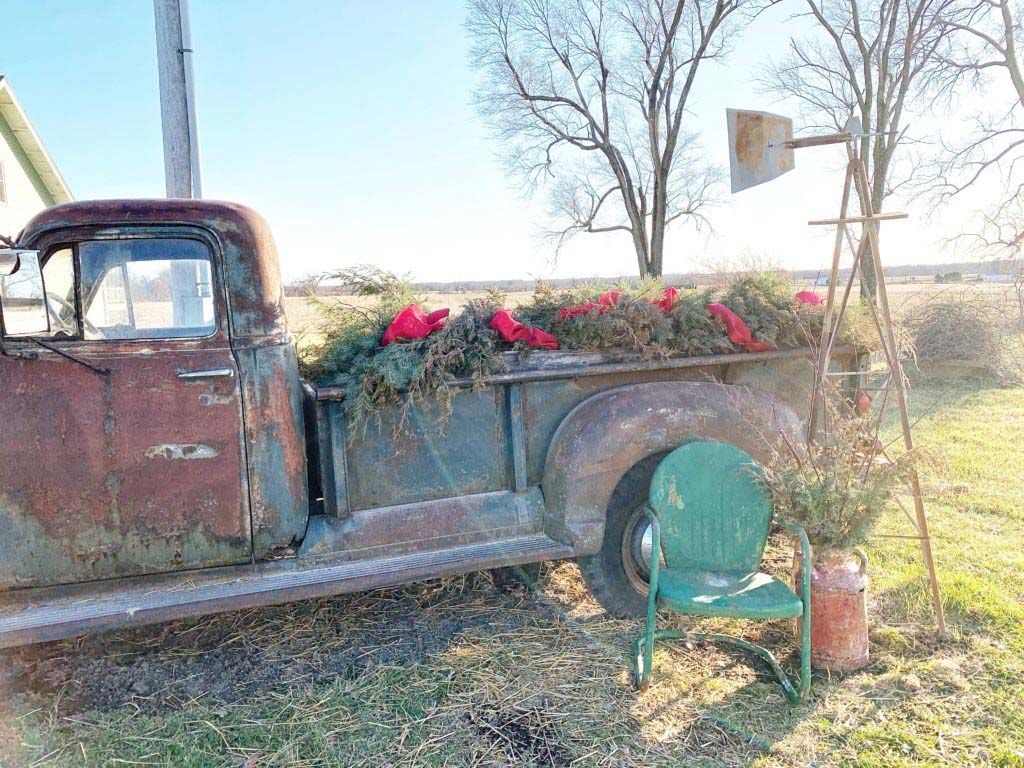
When I cut greenery for my winter planter pots, I made sure to cut enough that I could decorate my vintage truck with them too! I absolutely love decorating my vintage truck for the seasons, but it can get REALLY expensive, really fast.
Supplies
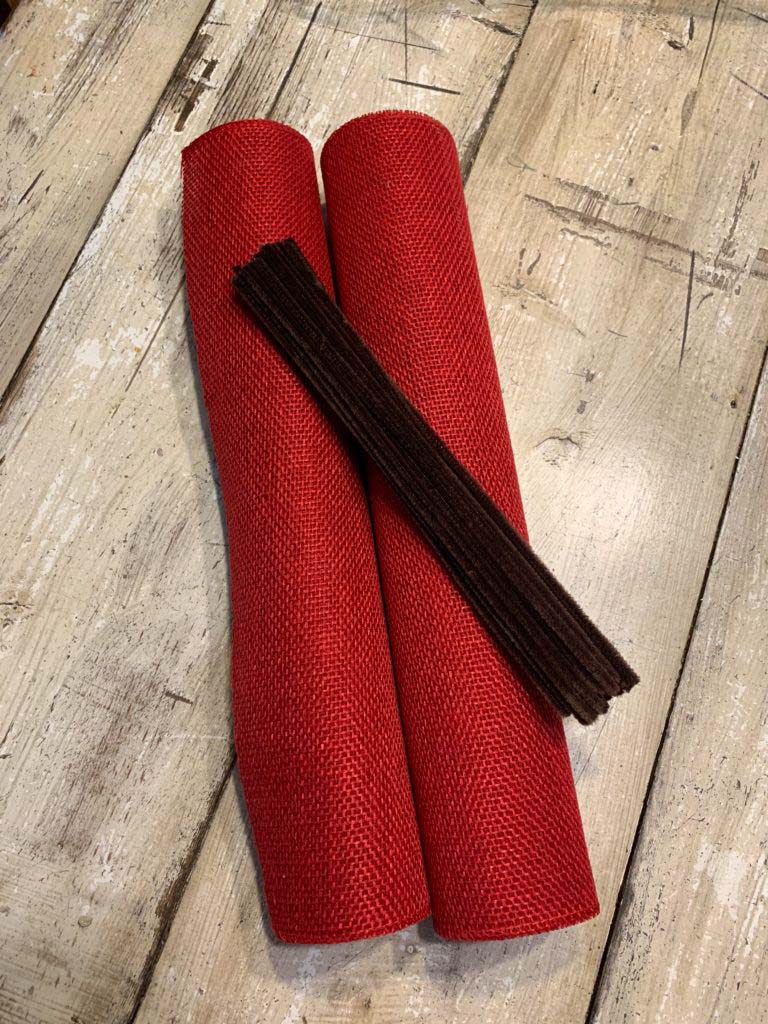
So this year I was very conscious of having a budget and decorating as cheaply as possible! Free greenery from the ditches, two rolls of red burlap, and brown pipe cleaners. And that was enough to beautify the truck for winter.
Because I knew my greenery needed color, I went with red burlap. I opted not to decorate with big bulbs or bells, or anything that screamed Christmas because I wanted the truck to be neutral and last throughout the winter months.
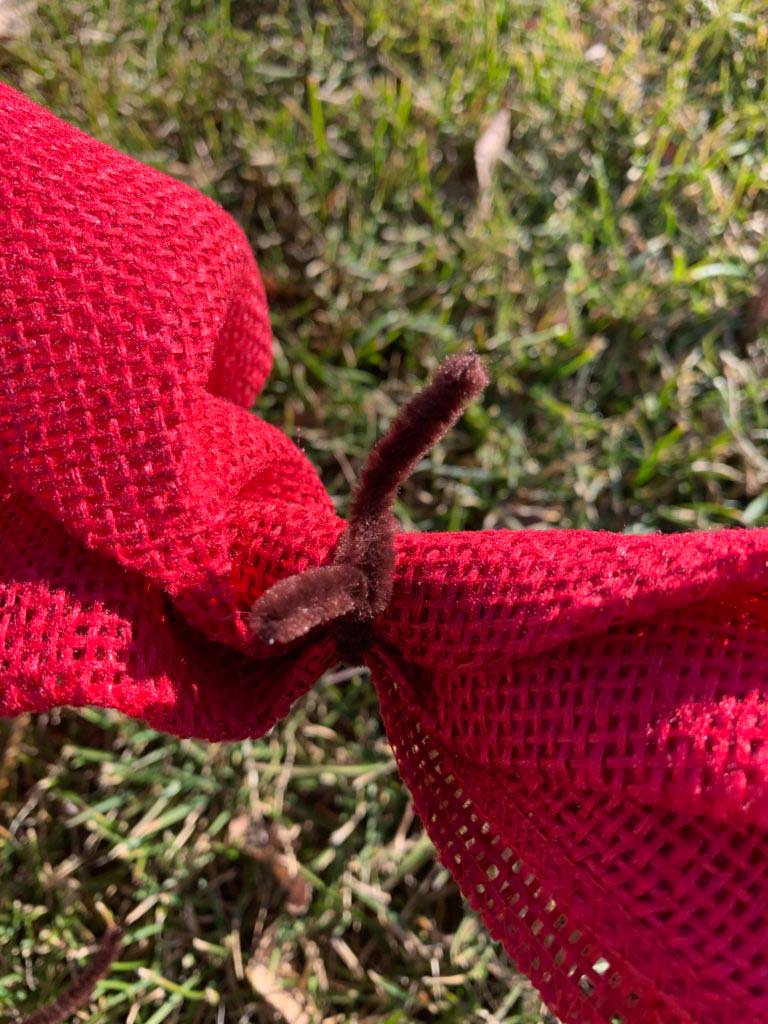
I went with brown pipe cleaners because I knew they would blend in. And I wanted a neutral color so I could use the rest of them for other projects, but I did cut them in half.
This post may contain affiliate links for the products I use and recommend. I am not paid to promote these products. If you purchase using my affiliate links, I could make a small commission at no charge to you.
Gathering the Burlap
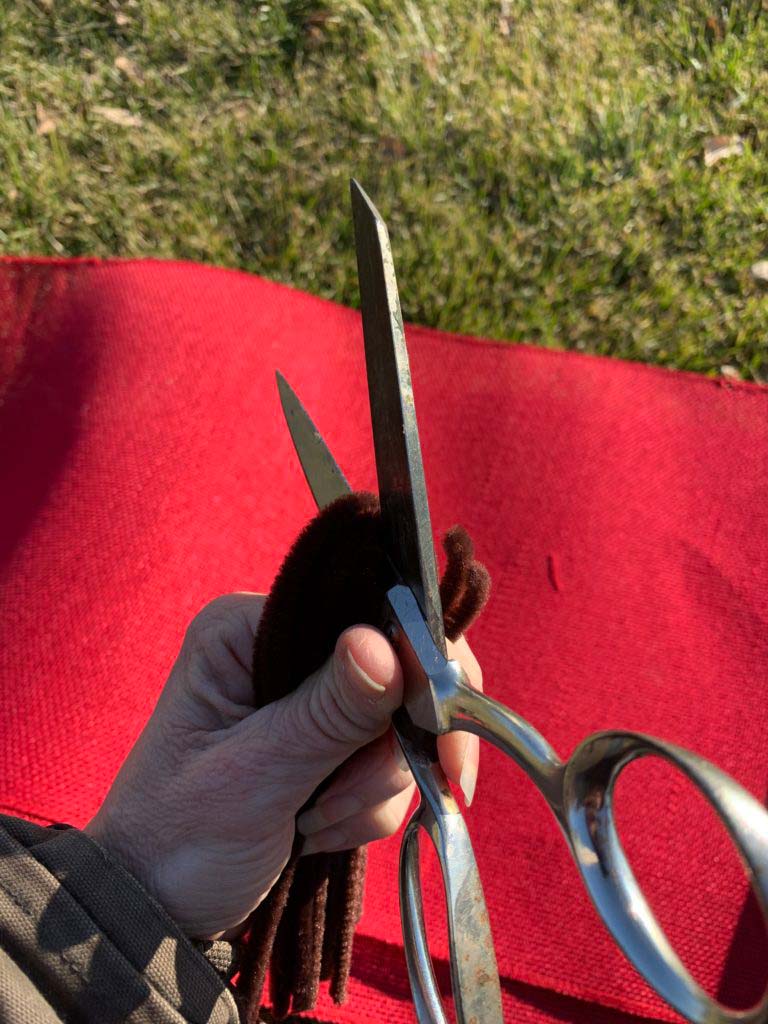
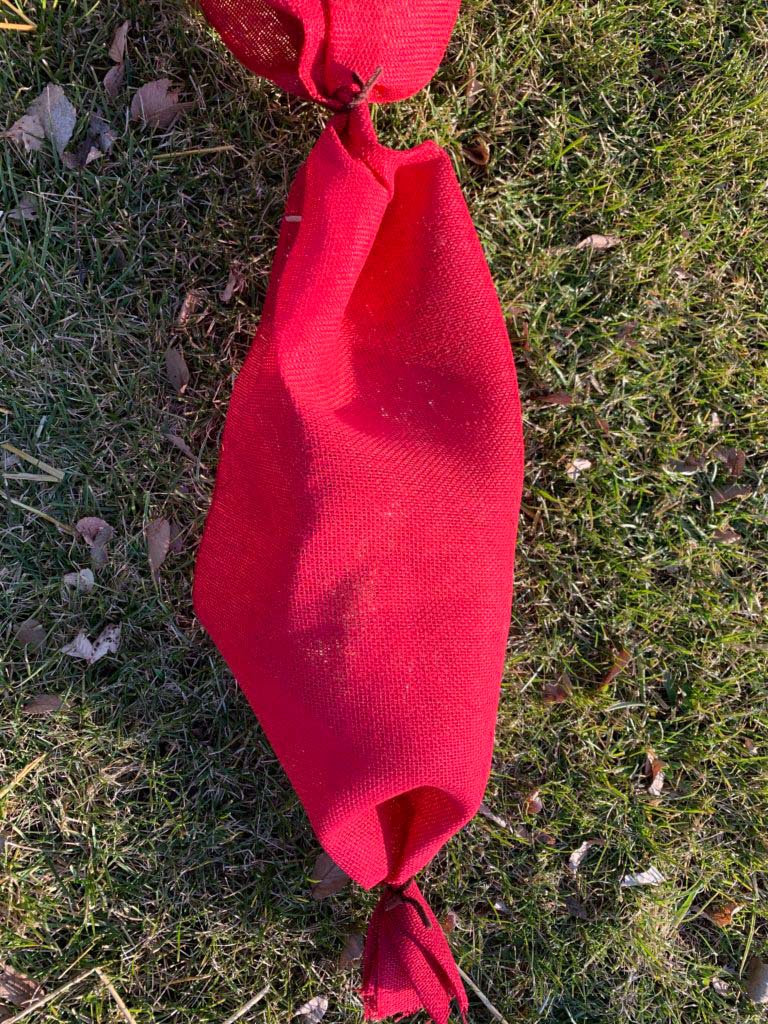
I started by folding the burlap in half. Next, I smashed down the middle to actually separate it into fourths. Then I continued folding until I had a small bundle that I secured with the pipe cleaner.
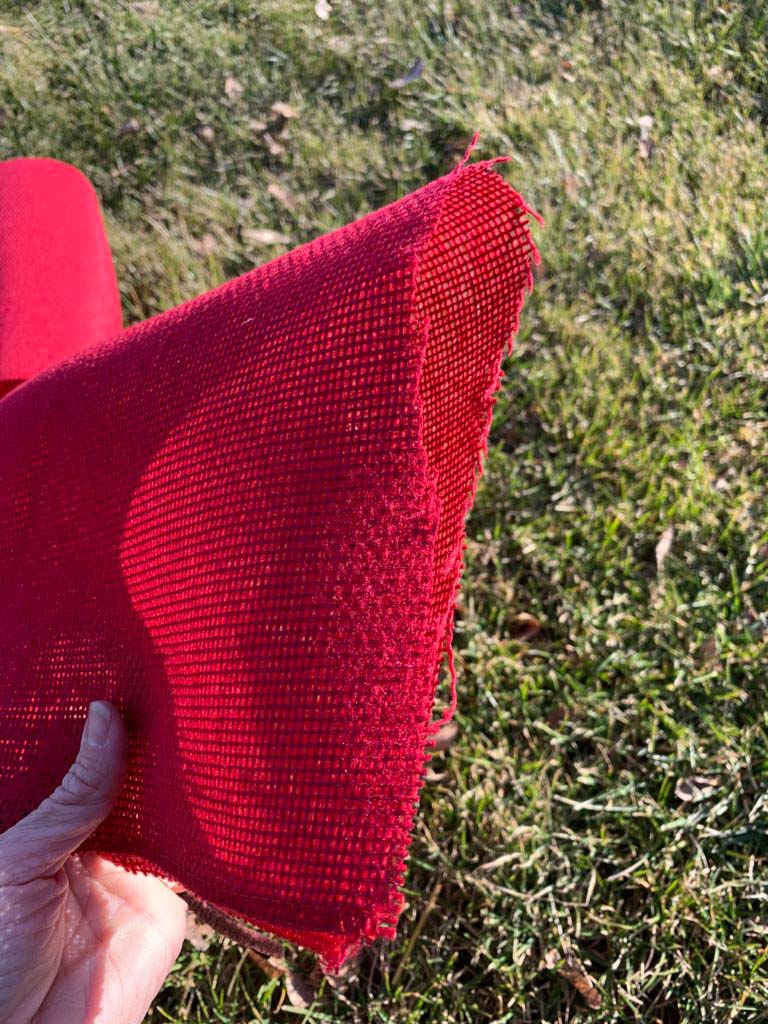
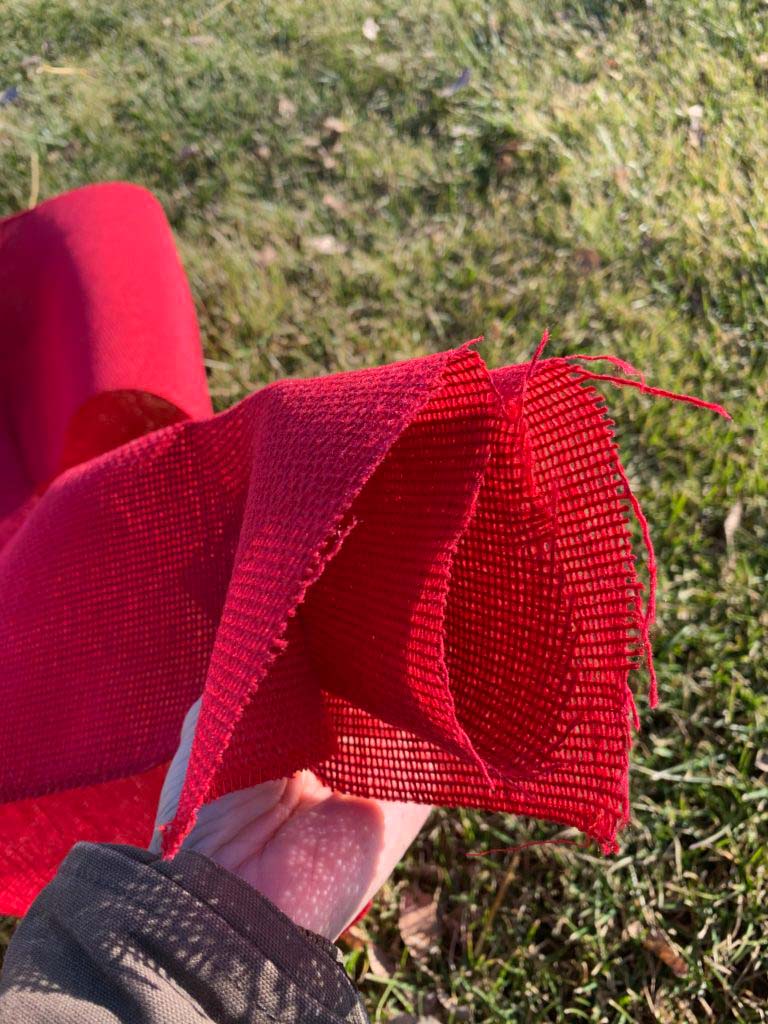
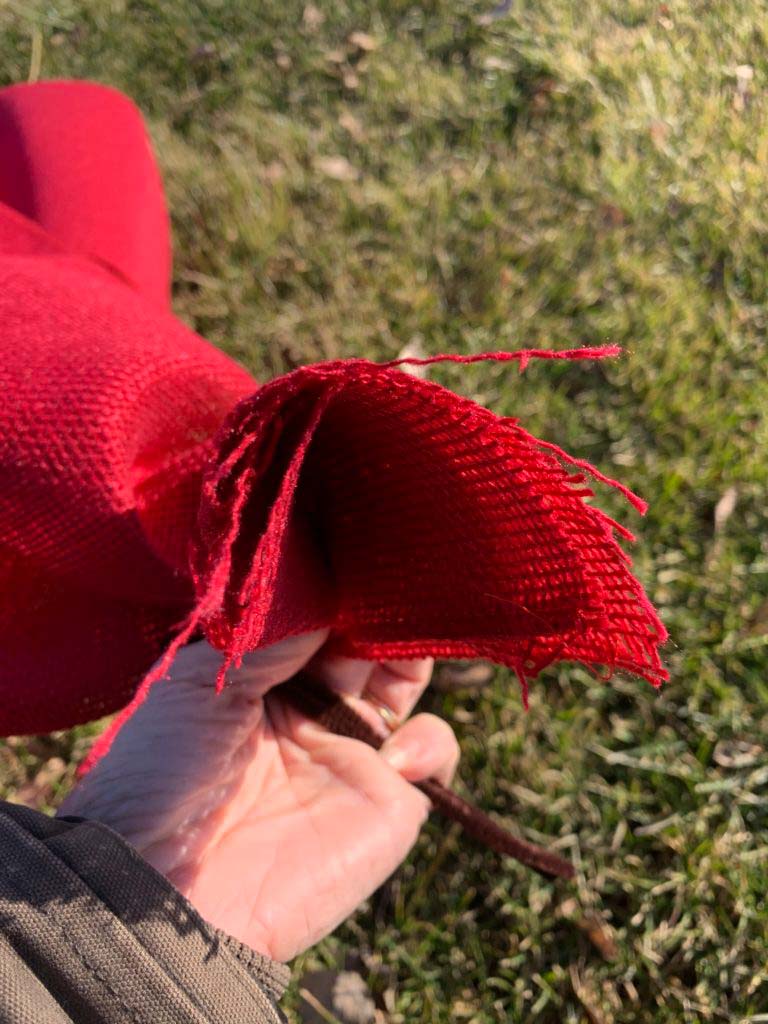
Gathering the burlap and securing it made nice, full sections, followed by smaller sections. Doing this makes it easier to arrange in the flower boxes that I have in the back of my truck. The change in size and shape creates visual interest.
Adding Greenery
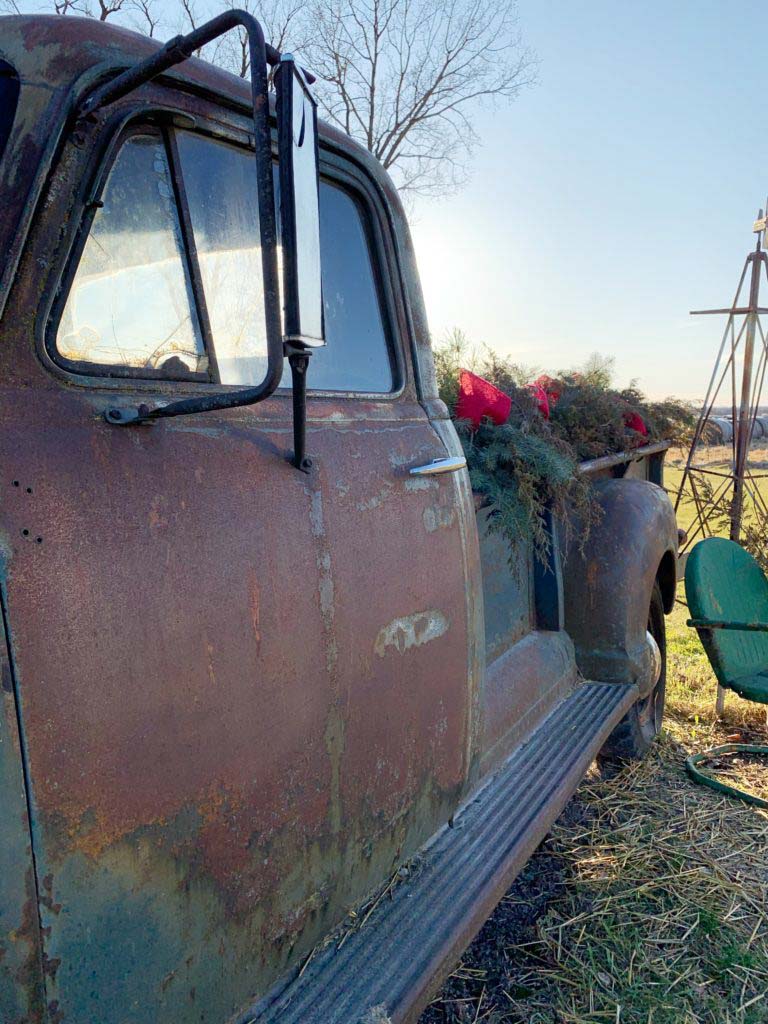
Next I added the greenery to the flower boxes I made a couple years ago for the back of my truck. Each season I arrange these beds differently, but I finally think I have them where I want them! I like to decorate each side of the truck bed. One side you can see from the house, while the other one can be seen from the road.
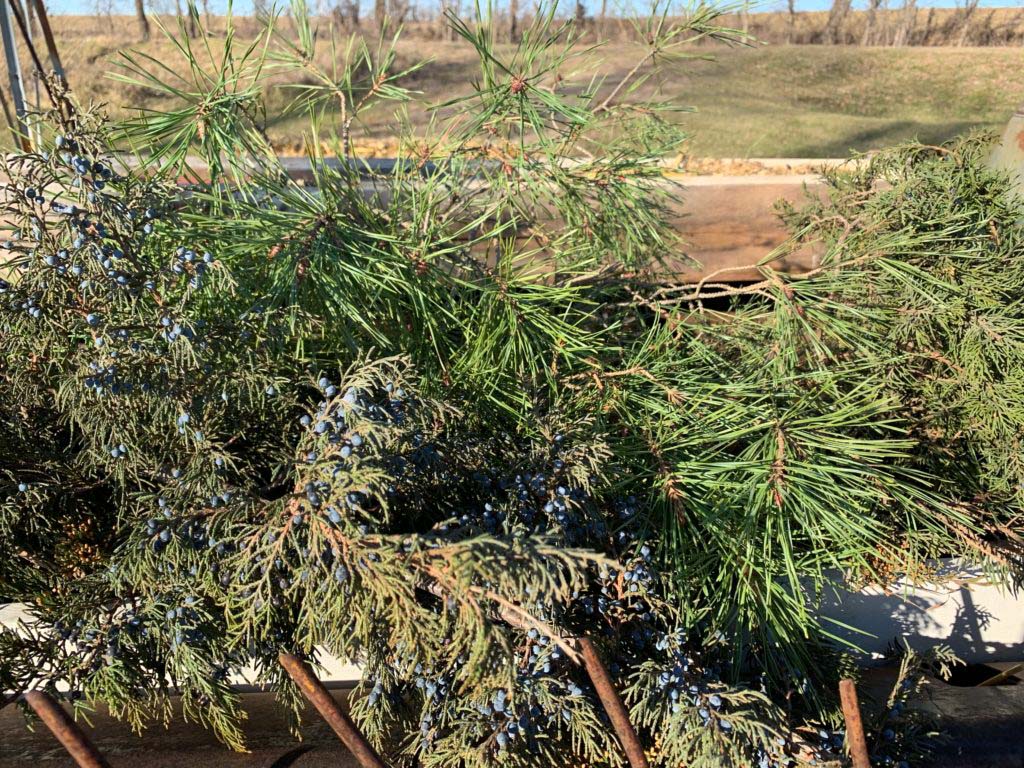
When placing greenery I started at each end. I placed the top of the branch so it was hanging out the end. Then I stuck the thicker end of the branch into the dirt and or wedged between the plastic pots I have inside the homemade box. After that I worked in the center and then continued by filling in.
Just like with the winter pots I created, I started with one type of greenery as my “base.” And then, followed it up with each kind of greenery I had. Then I added the burlap, being sure to go front to back and over and under branches. I secured the burlap by using the pipe cleaners and tying them to some over the bigger branches. After the burlap was in place I went back and filled in more greenery as needed.
Finishing Touches
To complete the decor around my truck, I moved in a green motel chair and a red milk can. Then I filled the milk can with some remaining greens and red branches. I am currently on the hunt for a red plaid blanket to add to the chair for another layer and pop of color. If you are interested in learning about the importance of layering, go HERE.
Tell me how you decorate outside for the winter!
Follow along with more from the 25 Days of Christmas Series …