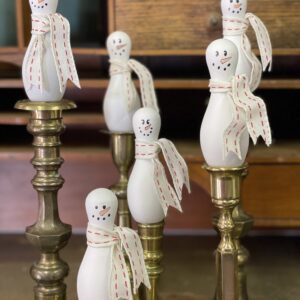
Calling all snowmen lovers and collectors! These DIY bowling pin snowmen have a fun backstory and can be made in three easy steps! Keep reading to learn how to create a snowman from a vintage bowling trophy.
The Back Story
These cute little snowmen made out of bowling trophies have a super fun story to go along with them!
I went on a pick, and the lady had set all her stuff on her back deck, and she had also set it up so that I would be able to pick at her friend’s house as well. She was even kind enough to sweet-talk her friend into looking through his storage shed! After we were done at her friend’s I got invited into her house to see more things.
On the Pick
I absolutely love looking at people’s houses. I love seeing how people have their homes decorated, and this home did not disappoint! She had her house decorated so cute!! She had taken down a lot of things to try to sell because she was wanting to switch her decor up a little bit.
In her living room, she had a game theme. There were game boards on the walls and she had taken these little bowling pins and painted them in primary colors. She had little groupings of these bowling pins set on top of her doorway frames. Since her home was older, so she had thick trim like mine does that allows for small items to sit on the trim. She probably had an inch or an inch and a half lip to set things on. A very very cute house!
The Inspiration
Since I had seen her paint these little bowling pins in primary colors, and I needed a DIY, I realized the bowling pins were the perfect shape for a snowman if I just added eyes, noses, and scarves!
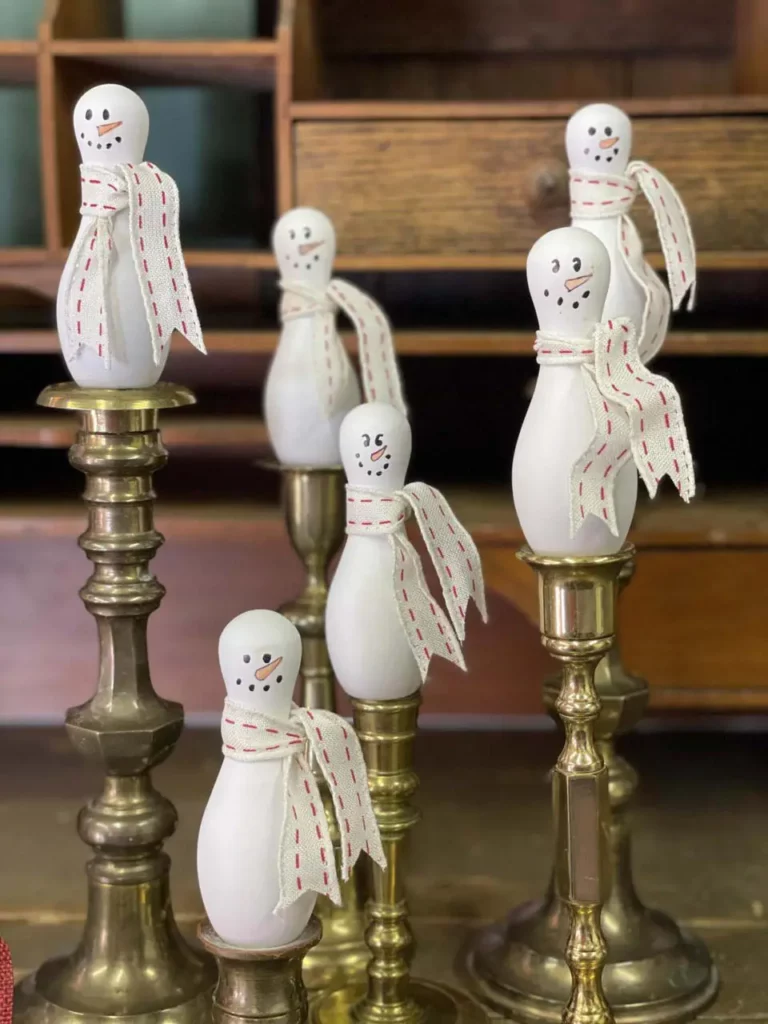
Now I will admit that my good friend Hilary and another lady messaged me and were about in tears because I painted them! They both collect these because they are trophies. But I had tried to sell them as-is and they didn’t sell.
If something isn’t selling, I never feel bad about repurposing it! Sometimes when I repurpose things, they start selling if they weren’t before. This is definitely one of those scenarios! To tell you the truth, I think I have sold all of these little snowmen except for two. I probably could have sold even more if I would have made these earlier in the season!
Another Idea
I also got a message from someone saying that they looked like ghosts! If you don’t glue on the scarves, you could just take them off and turn the bowling pin around. On the opposite side, you could make a ghost face and get even more use out of them!
Supplies
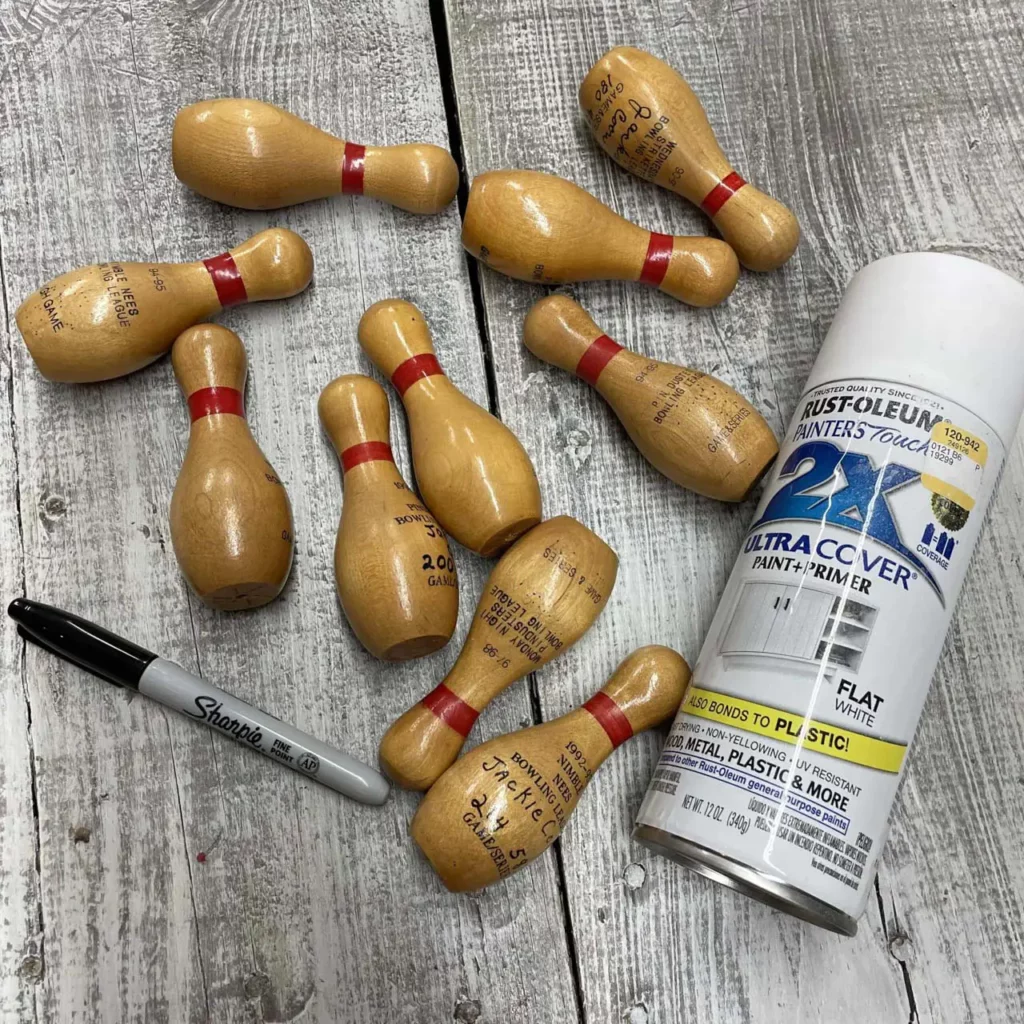
- Vintage bowling trophies (or bowling pins of any kind)
- White spray paint
- Permanent markers or paint
- Bits & pieces to decorate your snowman with (think pieces of string or fabric, tiny buttons, maybe a tiny top hat)
Process
Paint
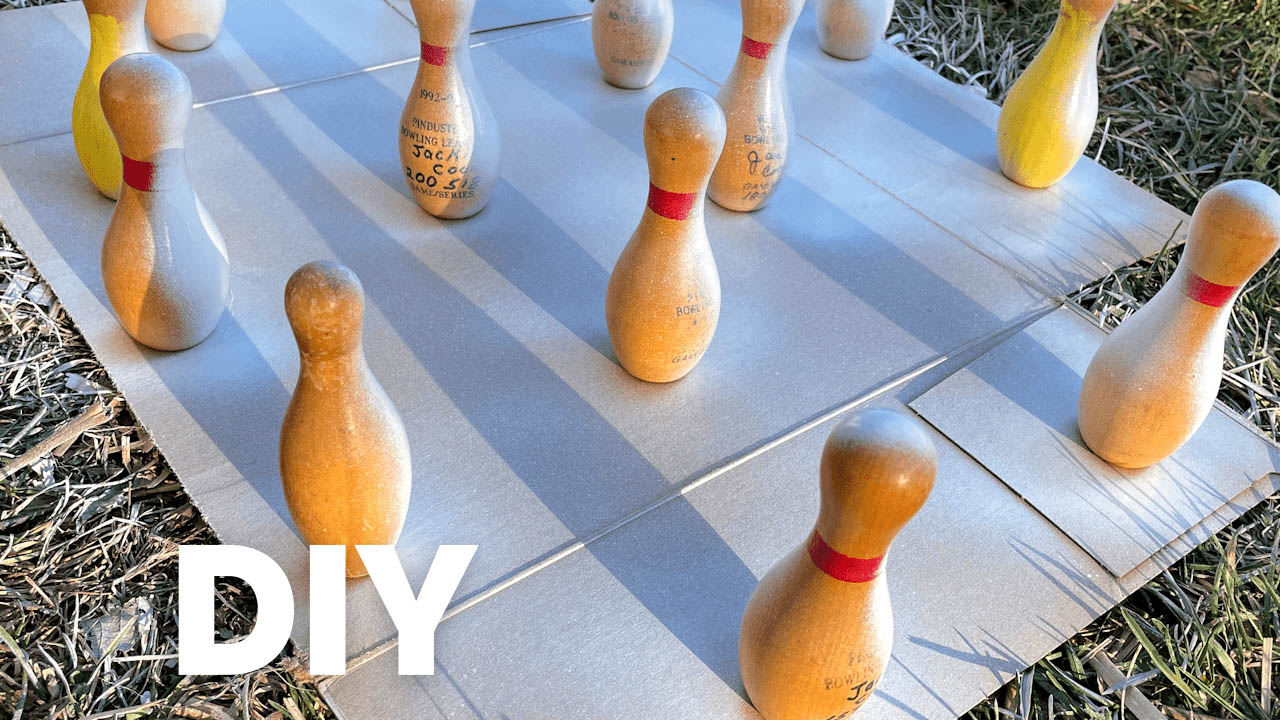
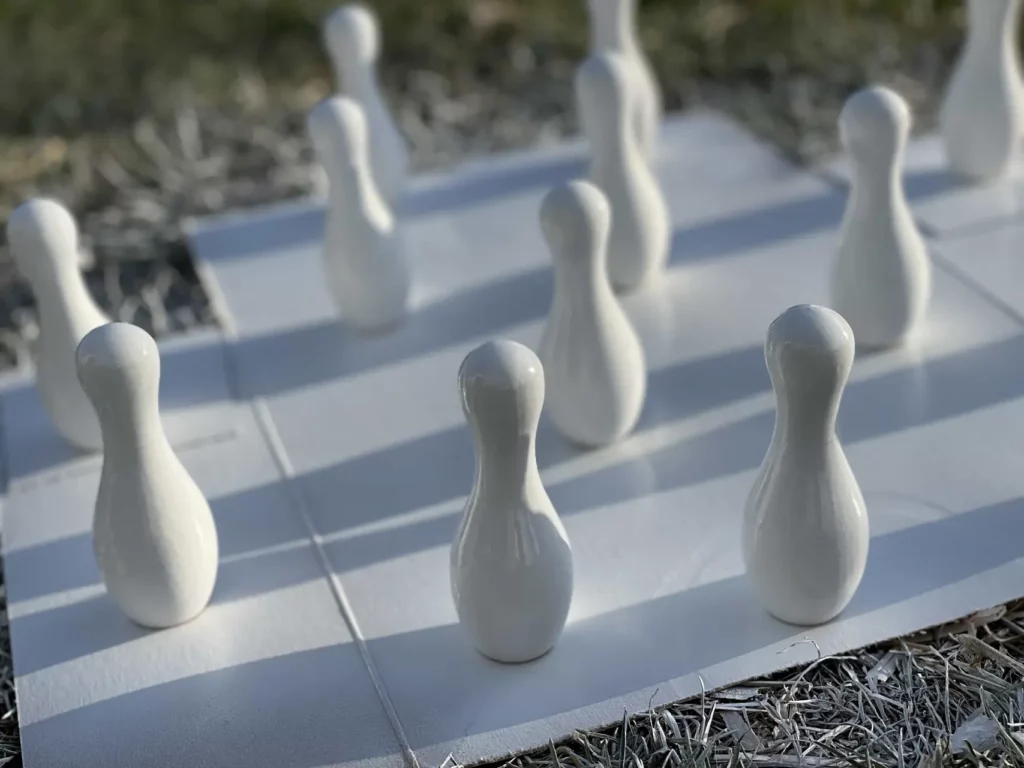
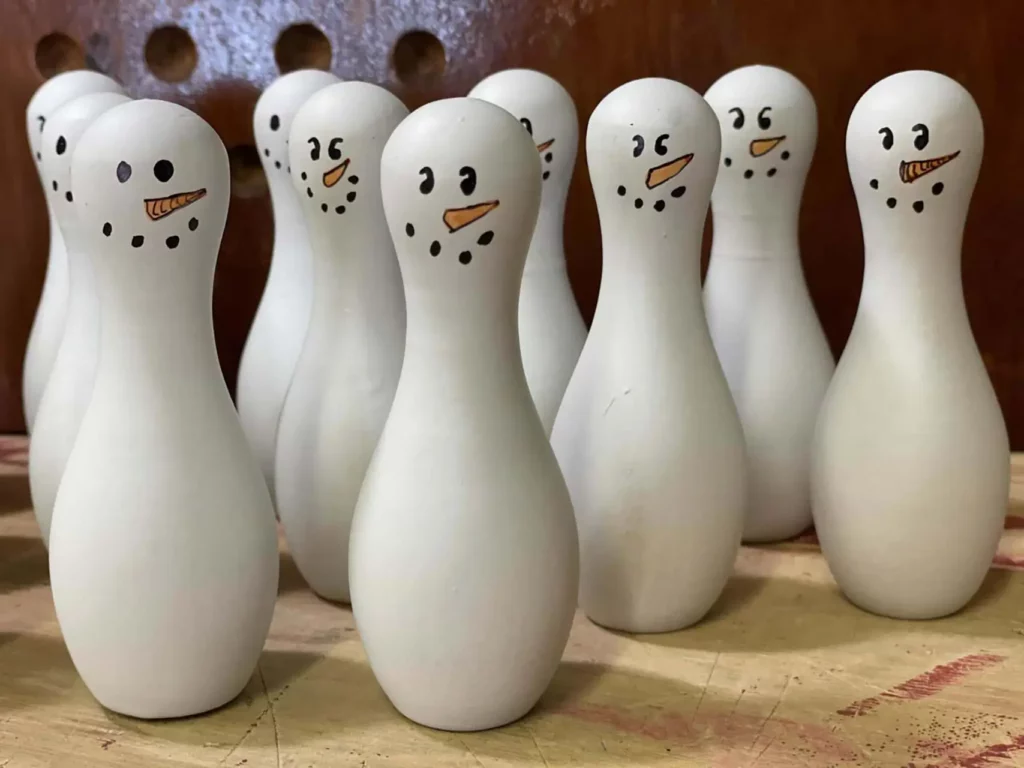
First things first, you need to spray paint your bowling pins white. To do this, I took an old piece of cardboard outside and spaced the bowling pins out on the cardboard so I could get every angle of the bowling pin with my paint. When you are done, let these dry completely. You will definitely want to do this on a nice day when it isn’t too cold or windy so that they can dry where you paint them. It will be tricky to move them without getting dirt from your hands on them or smudging them!
Decorate
For this part, you can use paints or markers. I chose to go with markers so I could have more control and it was what I had on hand. Use what you have!! I practiced drawing some snowman faces on a scratch sheet of paper first and then I drew directly on my spray-painted bowling pins. If you paint the faces on, you will want to let them dry before the next step!
Embellish
After my snowmen had faces, I used scrap ribbon and fabric to tie little scarves on them! If you want them to stay in place, you can add a dab of hot glue. If you want to be able to take the scarf off the snowman and use the other side for a ghost, as I mentioned earlier, don’t add glue! You could also use pipe cleaners for the scarf and make it look like it is blowing in the wind, or you could even glue tiny buttons down the front of your snowmen!
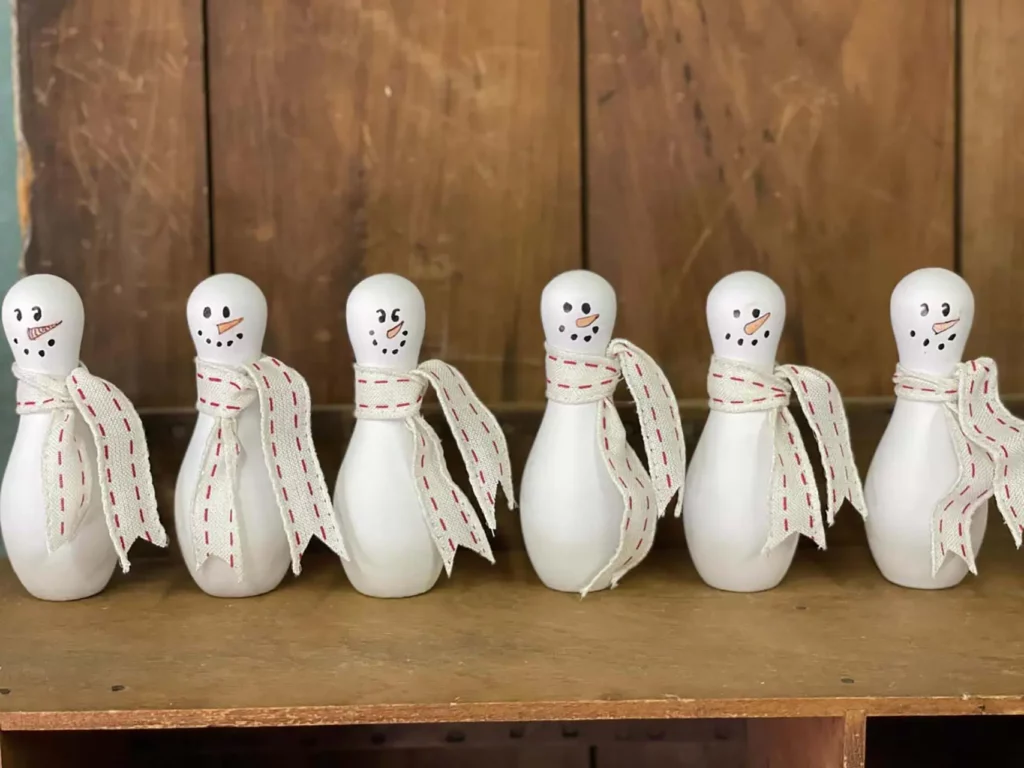
The end result of this DIY is perfect for creating little groupings around your home for winter! I chose to display mine on top of brass candlesticks to add height and do something a little more unexpected!
DIY Bowling Pin Snowman
Materials
- Bowling Trophies or Bowling Pins
- White Spray Paint
- Permenent Markers or Paint
- Bits & Pieces to decorate your Snowman with (think pieces of string or fabric, tiny buttons, maybe a tiny top hat)
Instructions
- Spray paint bowling trophies/bowling pins white.
- Draw or paint faces on the snowmen.
- Embellish the snowmen with scarves, buttons, etc.
If you are loving my 25 Days of Christmas DIY, check out my Facebook daily for new videos and inspiration! I have written tutorials for all my DIY projects here on the blog for you to browse as well!
Check Out My YouTube Channel
Love snowmen? Here is another DIY Snowman made out of canning jar lids!
Here are a couple more 25 Days of Christmas DIY projects that can be used in your decor all winter long –
Turn your collection of vintage Bingo cards into trees by following this DIY: How to Turn Vintage Bingo Cards into Christmas Trees, or create your own Stick Christmas Tree!
Do you love a good painting project? Make a First Aid Cross Cabinet with me or learn How to Paint an Old Basket.
This post may contain affiliate links for the products I use and recommend. I am not paid to promote these products. If you purchase using my affiliate links, I could make a small commission at no charge to you.
