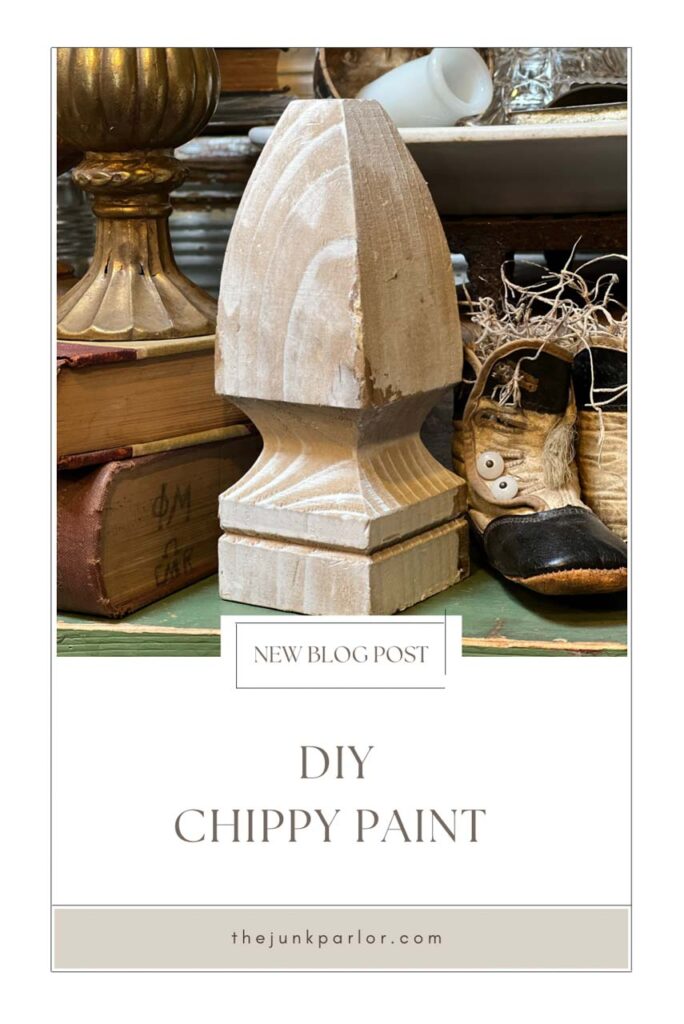
Have you ever wanted to take a new, plain piece of home decor or furniture and make it look aged? Here is one of the DIY chippy paint techniques I use!
I love aged, alligatored, naturally chippy paint. However, sometimes it’s worth it just to recreate the look myself! Old chippy, crackled paint can have issues that are hard to fix. One of those issues is that it looks AMAZING…until you touch it. And as soon as you touch it, it starts to fall off. Now, this isn’t a deal breaker, but it can make the decision to purchase or not purchase something difficult.
You can easily spray a sealer on the chippy paint so it’s less likely to fall off, but I don’t think there are many places that let you bust out a can of sealer in the shop to see if it’s going to work on a piece you haven’t bought. Want to know my favorite sealers? Read about it HERE.
Another issue can be that it will not clean. It’s stained with dirt and years of use. Sometimes this adds character, sometimes this distracts from the character! Get my favorite cleaning supplies for junk HERE.
So for reasons such as these, sometimes it’s best just to recreate the look of chippy paint!

Picking A Technique
Now there are many different techniques you can use to get the chippy paint affect! Someone can use anything from simply sanding and distressing a piece, to layering paint, to using a crackle medium, or even a heat gun!
But I enjoy using VASELINE! Yep, you read that right, you can use Vaseline to get the chippy paint affect!
Why is this my preference of aging wood?
Because you have control over placement of the distressing, yet the vaseline has a mind of its own. Now as I write this it seems contradictory, but it’s true! I can place my vaseline where I want it to distress, yet at the same time the vaseline will create a unique look to give me the chippy paint affect. This makes it seem more original than a forced distressing like sanding! At least dry, normal sanding.
Actually, I just did some wet sanding on THIS piece and am reminded that I should use that technique more often! Using Vaseline is very similar!
How To Do The Chippy Paint Technique
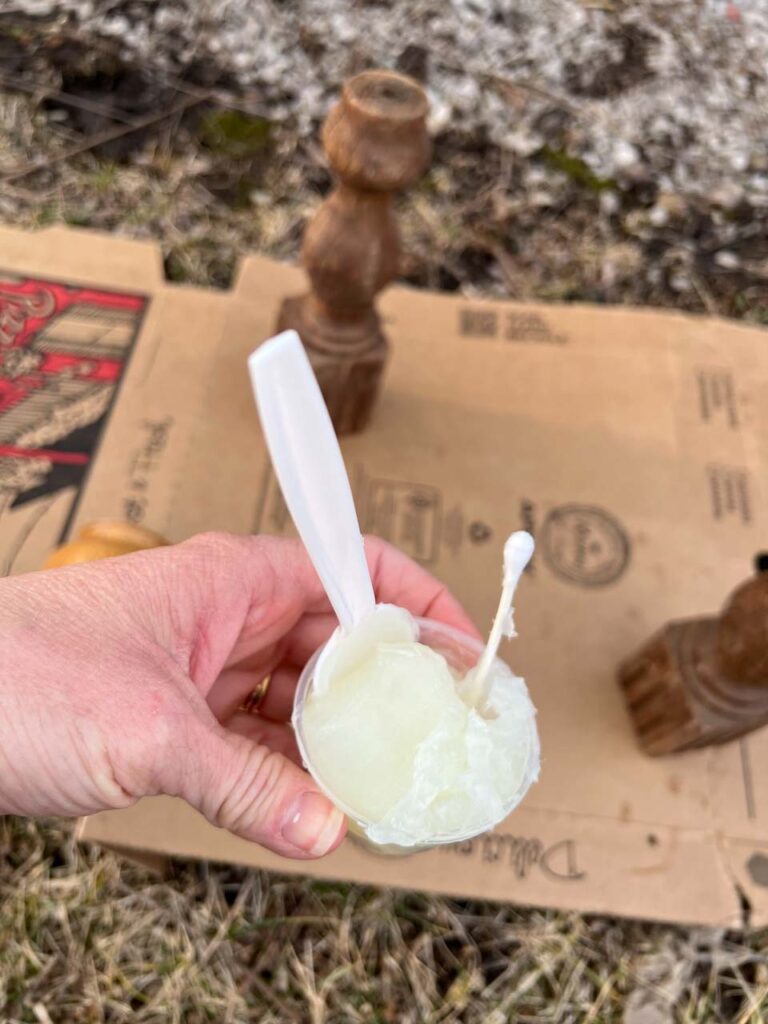
1. Add Vaseline
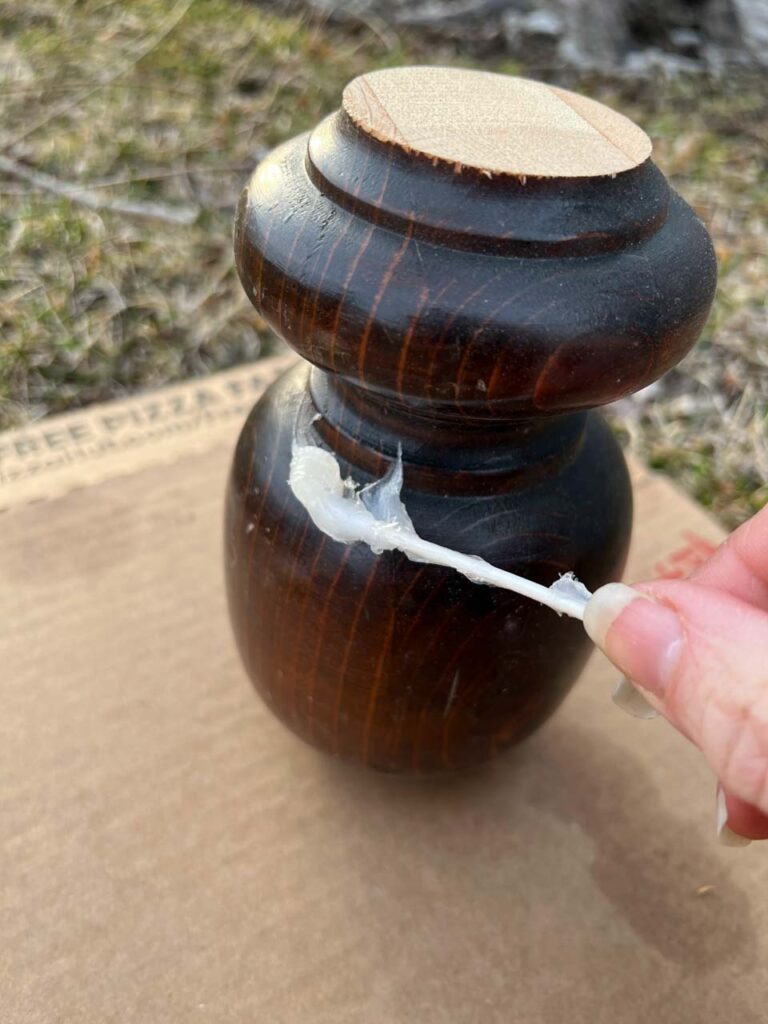
So, you have picked what you want to give the chippy paint look to. Now you need vaseline. I have literally purchased vaseline, just for the shop before! This time I was out, so I scooped some out from what we had in the house and made a new little container for the shop. Personally it would gross me out to use something in the house after it has been in the shop, but you do you!
Picking an Applicator
Use your finger, a brush, or in my case a Q-tip to apply the vaseline to the piece. Please note that whatever has vaseline on it will not take the paint! It makes a barrier between the paint and the item so that paint has nothing to stick to. So if you have vaseline on your fingers and you hold something in your hand, paint will not stick to where your fingers just were!
Once you pick your applicator, decide where you want to put the vaseline. Just like with any DIY distressing technique there is an art form to distressing. You want to think about a couple things. First, depending on what you are wanting to distress or make look chippy, you will want to think about how the item was used. Of course old things that were used and well loved are naturally going to have worn areas. Look at your piece and decided where that would naturally occur. Those will be places to add vaseline.
Distressing Placement
The other thing to take into consideration is creating visually pleasing distressing. Hence distressing is like art.
Have you heard of principals and elements of design? Think high school art class, can you remember that far back? Well, some of the things you think about when placing your vaseline are creating a pattern, using variety, having repetition, creating contrast, and balance. All of these things are what make something look pleasing to the eye and are all elements and principals of design.
If you put vaseline on the top right hand corner of a drawer, then the next drawer you might want to add vaseline to the top left and the third drawer top center. A zig zag pattern is often used when decorating and in this case distressing. When you work on individual drawers you will also take that into consideration.
For example, you do not want the right side of the whole piece or just the top half of a piece to be heavily distressed and chippy while the rest of the piece remains untouched.
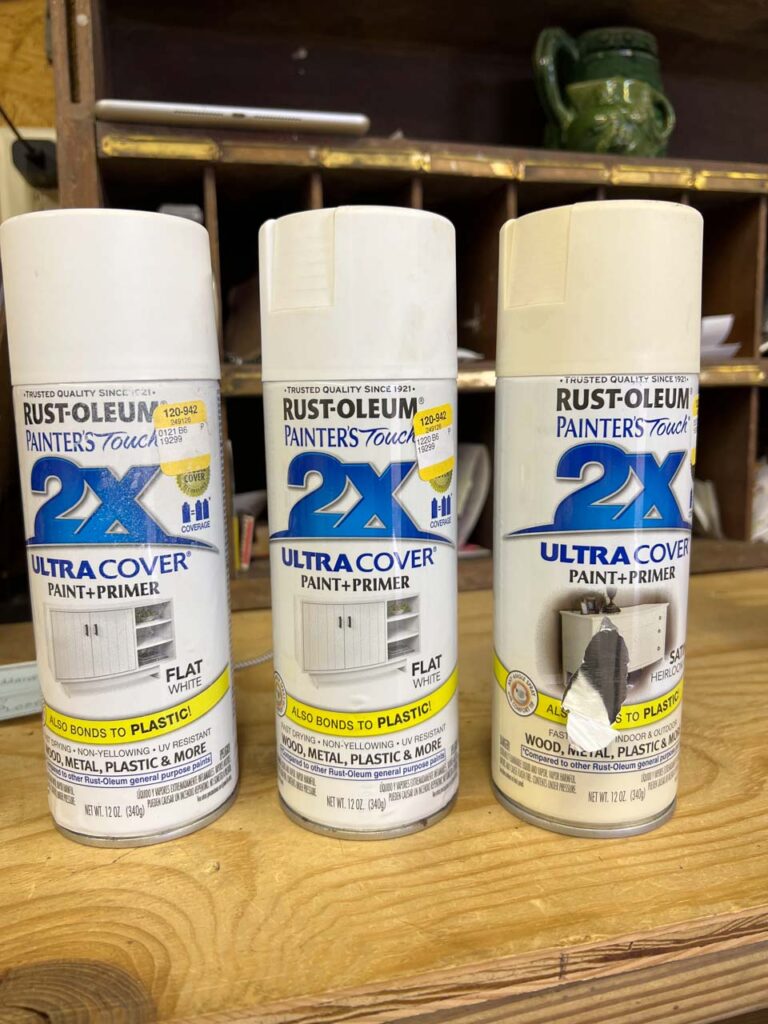
2. Add Paint
When creating a chippy paint look with vaseline you will need to use spray paint. When you brush paint on, you can’t help but get vaseline into the brush bristles which can cause the paint to not attach to your piece.
This was another reason I decided to use vaseline for this project. I had a ton of spray paint sitting on the shelf!
Watch The Entire Process
3. Remove Vaseline
This has got to be my favorite part of the whole process! This is when the magical affect of chippy distressed paint comes to life and you get to see the finished result!
Wait until your paint has dried before you remove the vaseline. However I would still recommend using gloves unless you want to be scrubbing paint off of your hands. The paint that is on the vaseline, is essentially still wet and can make a mess!
I save every old sock or let’s face it single sock without a match, to use as a rag. So grab your rags, paper towels work too, and wipe off the vaseline.
As you wipe off the paint you will see that the vaseline not only has blocked the paint from attaching to the piece where you applied it, but it also removes some paint from the edges giving it a naturally distressed look versus a clean edge. I often think the vaseline often acts as a sealer for the rest of the piece as well!
4. Sand if Desired
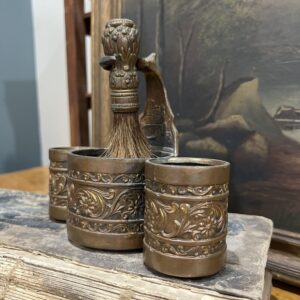
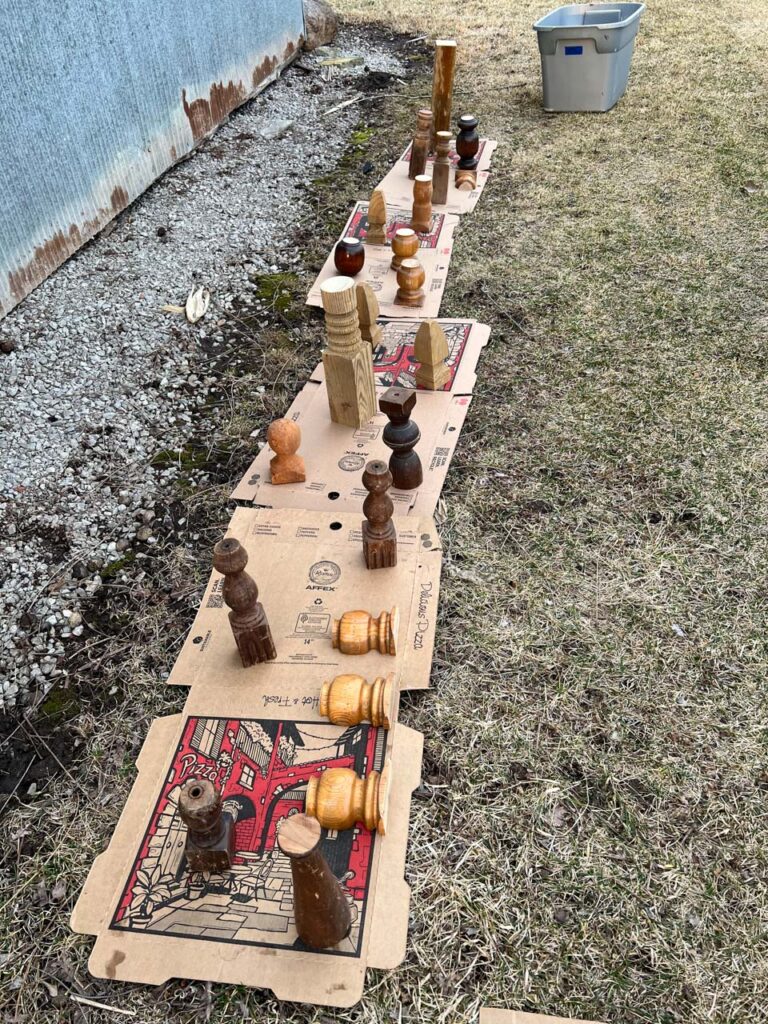
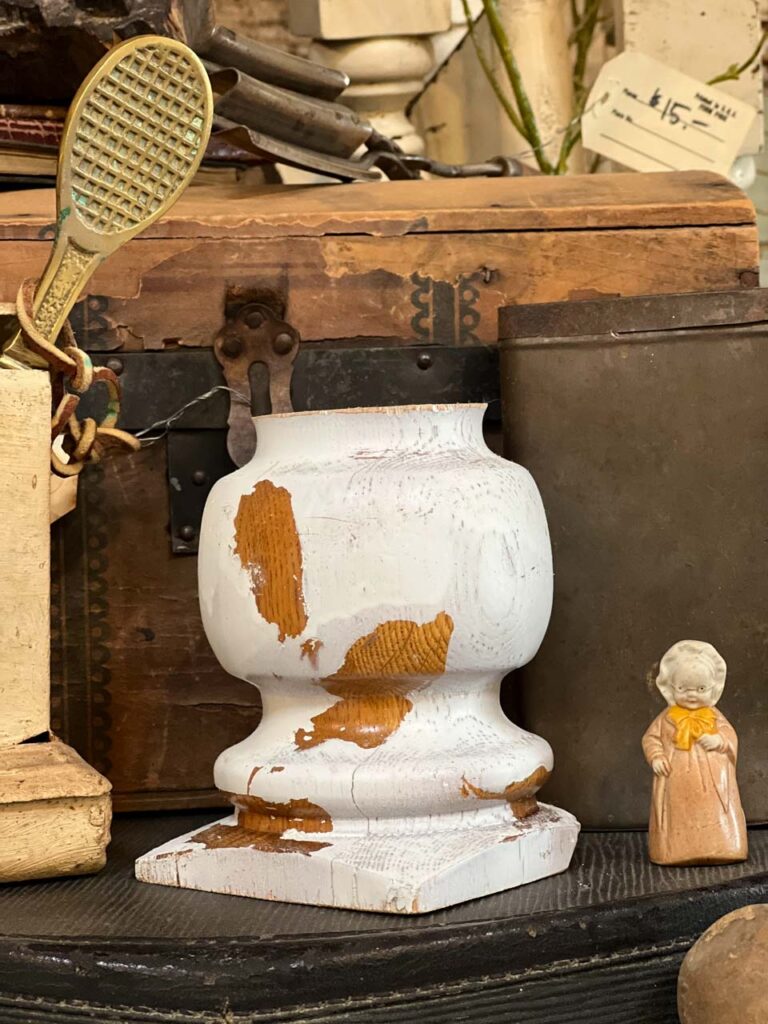
When I painted my risers, candle holders, pieces of architectural salvage, whatever you want to call them, I did not do any sanding to start with. When you cut table legs, porch posts and spindles, you will often times need to use sand paper to knock down the edges. The saw can splinter the wood when it cuts. Often times I wait to sand the edges until after I paint. And then while I have the sand paper out to do that, then I might choose to hit the rest of the piece.
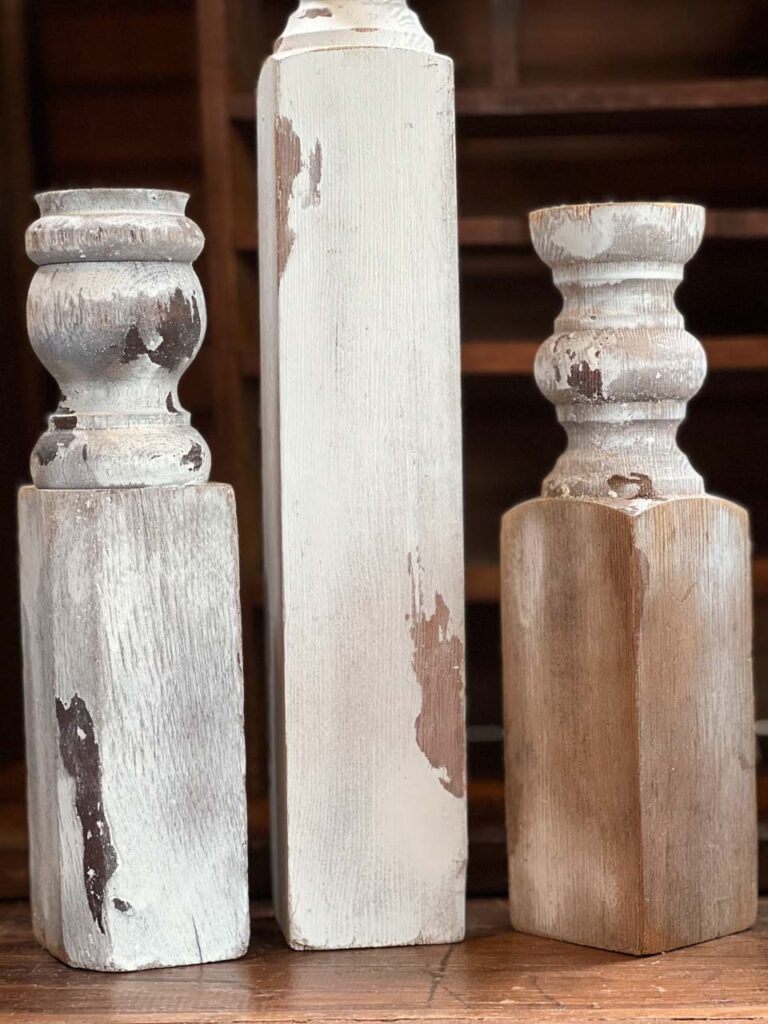
The three pieces pictured below I did hit with the electric sander. I have a couple old electric sanders, but I used one like THIS because it was already laying out from another project. The reason I do not like using the electric sander to distress pieces is because you run the risk of having little curly cues scratched into your paint. Look closely…can you see them?
When you sand by hand it tends to scratch in a straight line. Either way, that’s why I love using vaseline…no scratching. But the sander was out and it’s SO much quicker than doing it by hand, so I used it for the splintered edges at the tops and or bottoms of the pieces. Then, I hit the painted area, just because I didn’t really like how the vaseline technique worked out on these pieces.
5. Clean
Take a clean cloth and wipe down your pieces to remove the dust and any vaseline residue. If you got spray paint on your hands, I’ve had great success with THESE. And I always have them in the bathroom anyway!
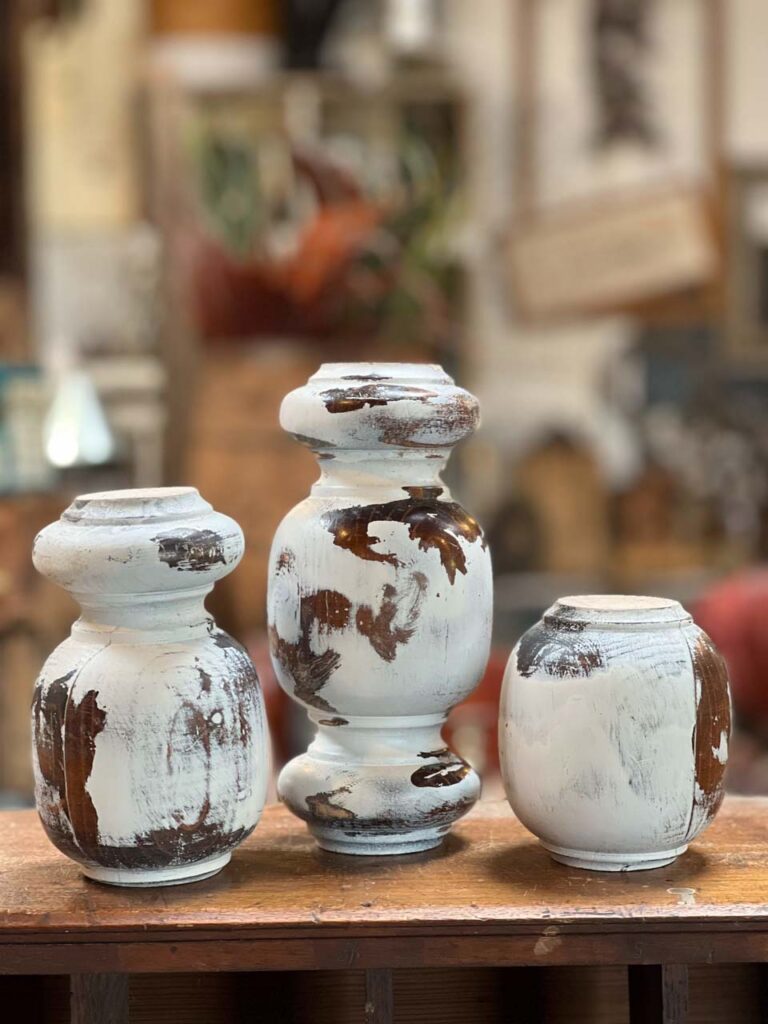
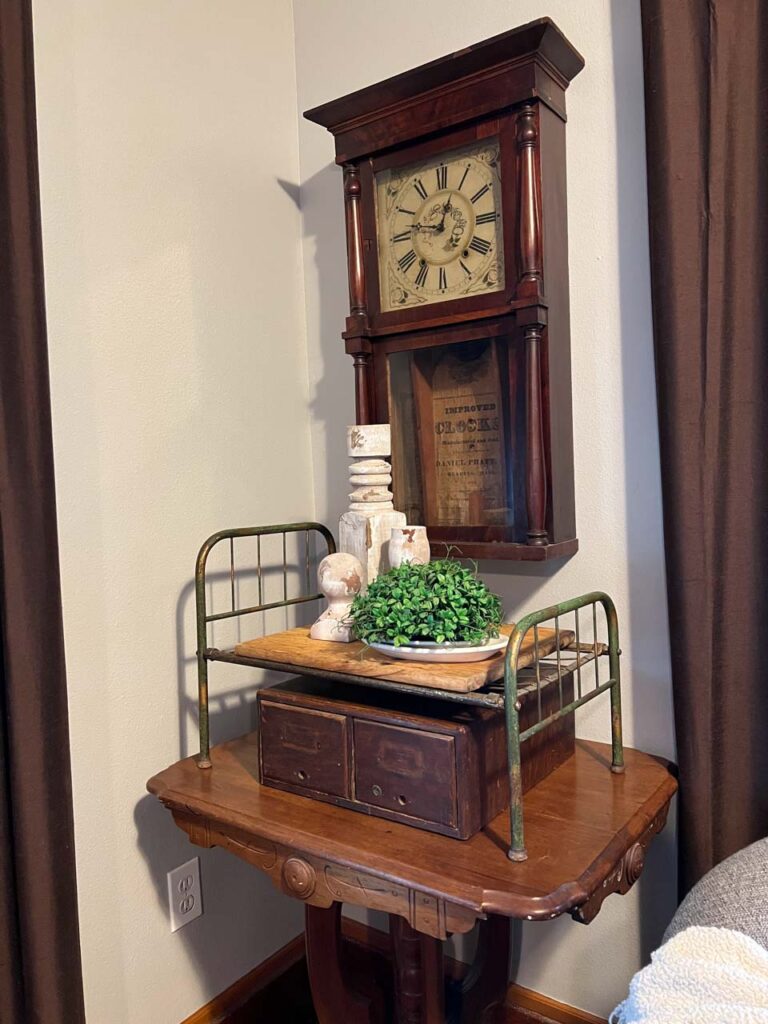
6. Decorate
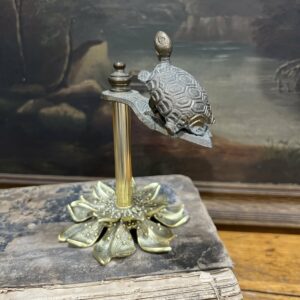
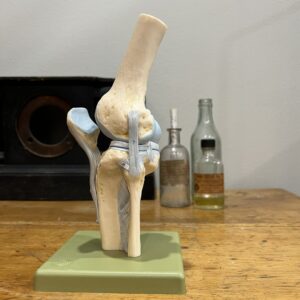
Architectural salvage like this can be displayed as is or you can add a candle to it. Those are probably the most commonly used ways. You can also use them as a riser for something other than a candle, like a figurine. Glue or screw together a round wooden cutting board or an ironstone plate to give yourself a riser with a larger platform.
Watch Me Use Fusion Mineral Paint for the 1st Time!
Pin & Share It
This post may contain affiliate links for the products I use and recommend. I am not paid to promote these products. If you purchase using my affiliate links, I could make a small commission at no charge to you.