As an antique dealer I tend to pick up bits and pieces of things and that soon grows into a collection. That’s what has happened with vintage jewelry. And it’s not the first time! So to help thin out my collection, I am making another framed vintage jewelry Christmas tree.

Collect Materials
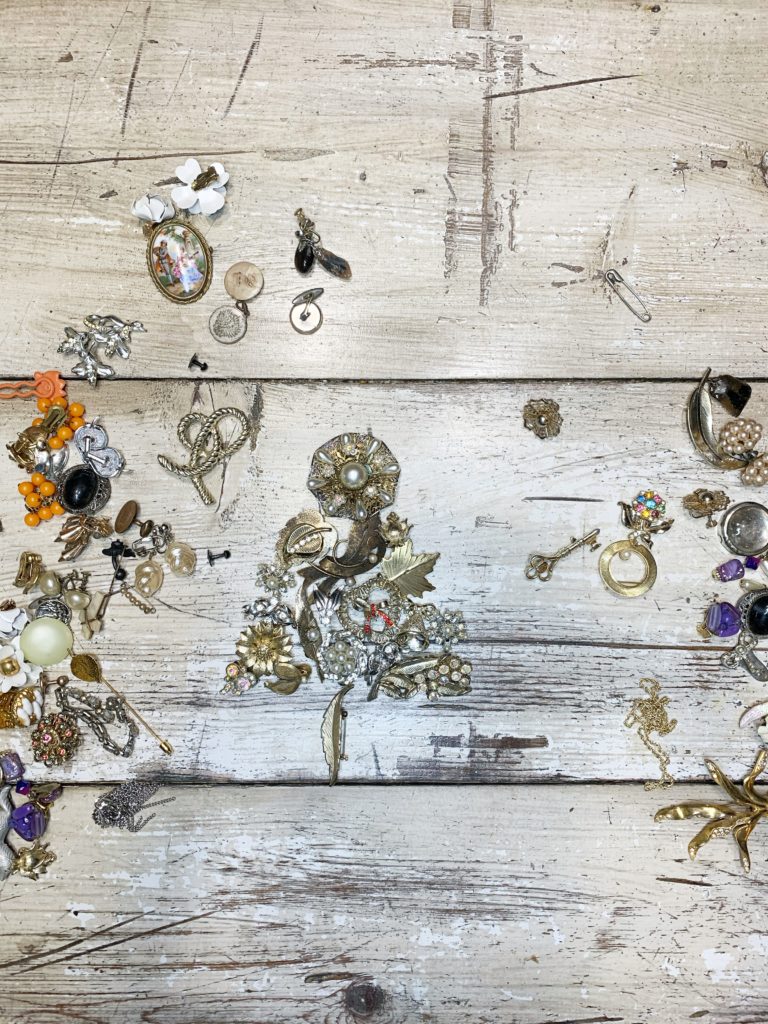
Talk about an easy project! The hard part is simply collecting brooches and earrings for your tree. You can even utilize necklaces and a string of pearls.
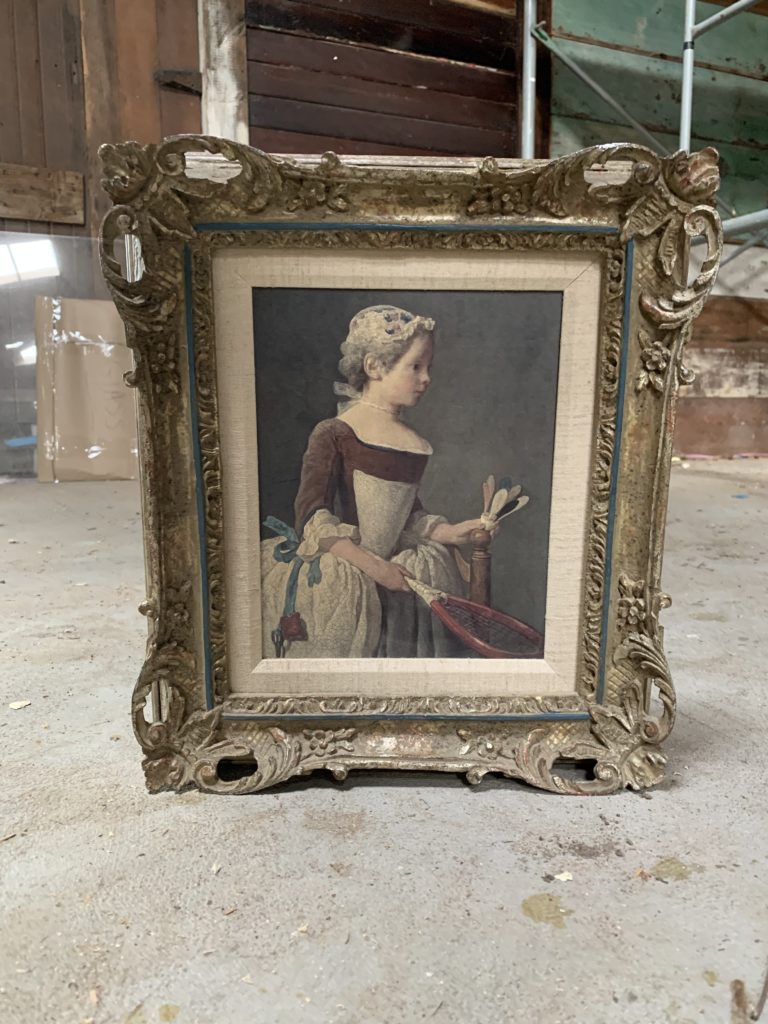
I start with a piece of framed artwork from the thrift shop. I get one with a good frame, but a picture that I do not like.
This post may contain affiliate links for the products I use and recommend. I am not paid to promote these products. If you purchase using my affiliate links, I could make a small commission at no charge to you.
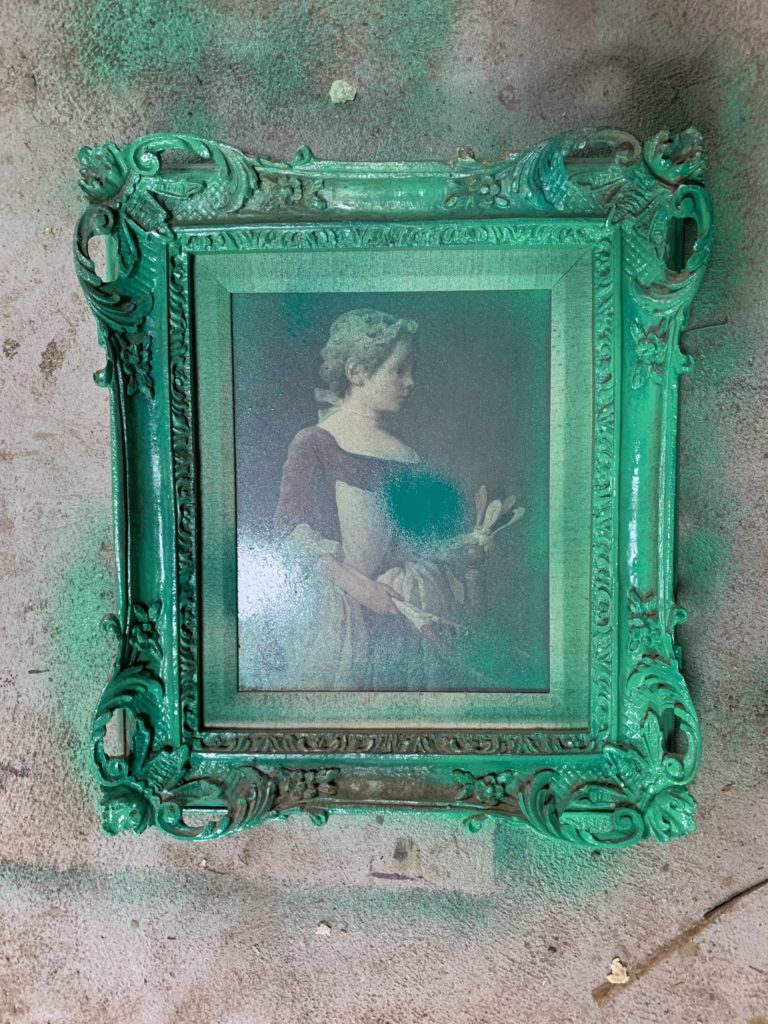
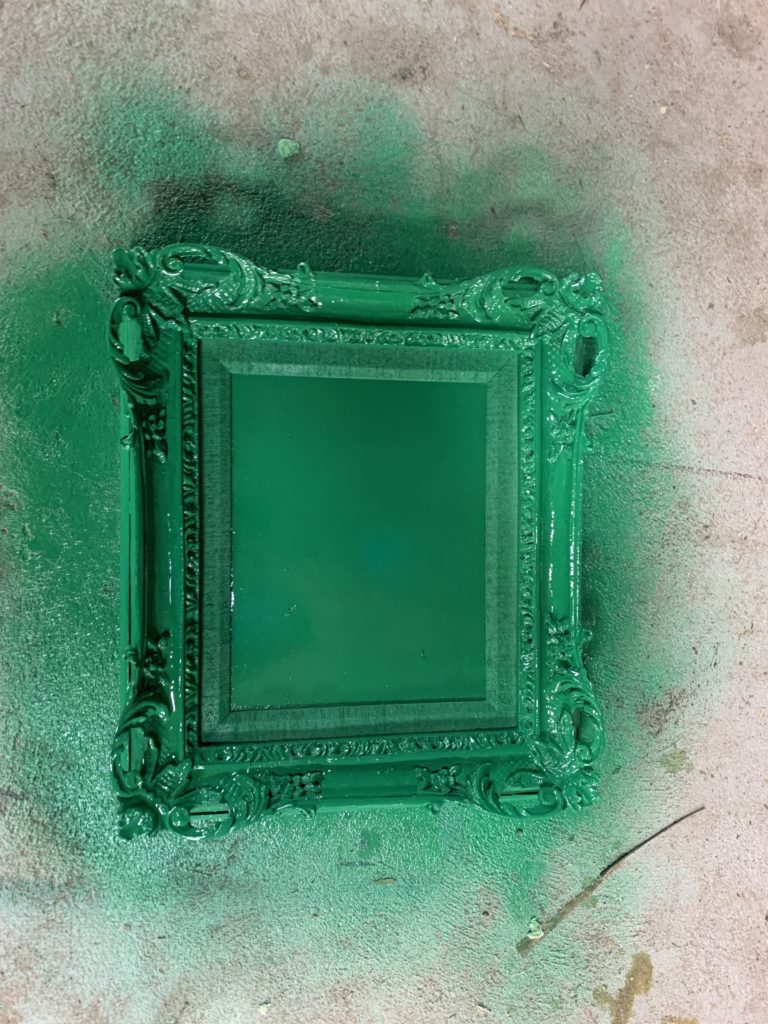
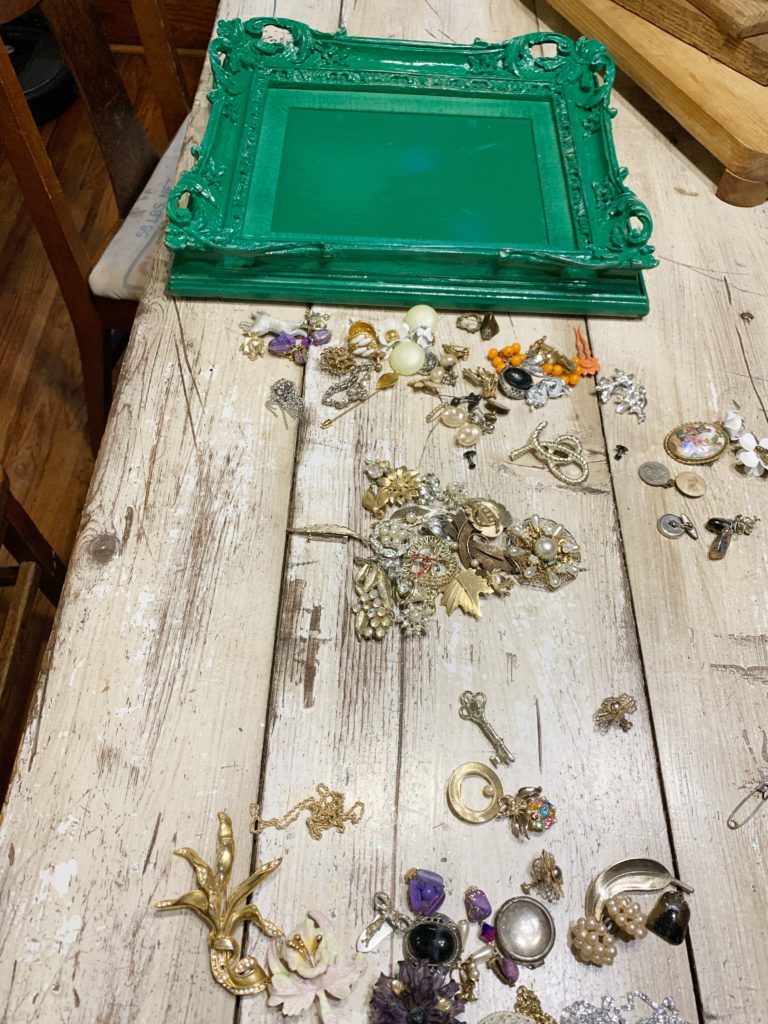
Prep Your Frame
Next, decide how you want your frame to look and paint it. You can also paint the picture the same color, a different color, or cover it with something a little more traditional like velvet.
Layout the Tree
Next, you will want to lay out the jewelry in a Christmas tree shape. You can sketch one that will fit your frame on a piece of paper and then decorate that paper tree. Or, just wing it, but make sure you know how tall and wide your tree can be to fit in the frame.
Secure the Jewelry
After you lay all of the jewelry out in a tree pattern, it’s time to transfer those pieces onto your framed picture. To glue the vintage jewelry to the frame, I would game plan. You may want to glue an outline of the tree with a necklace first, and then fill in from there. You may want to hot glue all of the large jewelry pieces before filling in with the rest. Or, you may want to start at the top and work your way down the tree.
Having a game plan should provide you with better results. You can always come in, once everything is glued in place, to add more jewelry, or to embellish the tree with a necklace garland.
It really is that easy! You will be ready to make more after you finish this project!
Interested in more from my 25 Days of Christmas? Check out these popular posts Decorating My Dining Room for Christmas, Candy Ribbon Wreath, and Architectural Salvage Ornaments.
One of my most popular Christmas DIY’s – THIS tree!