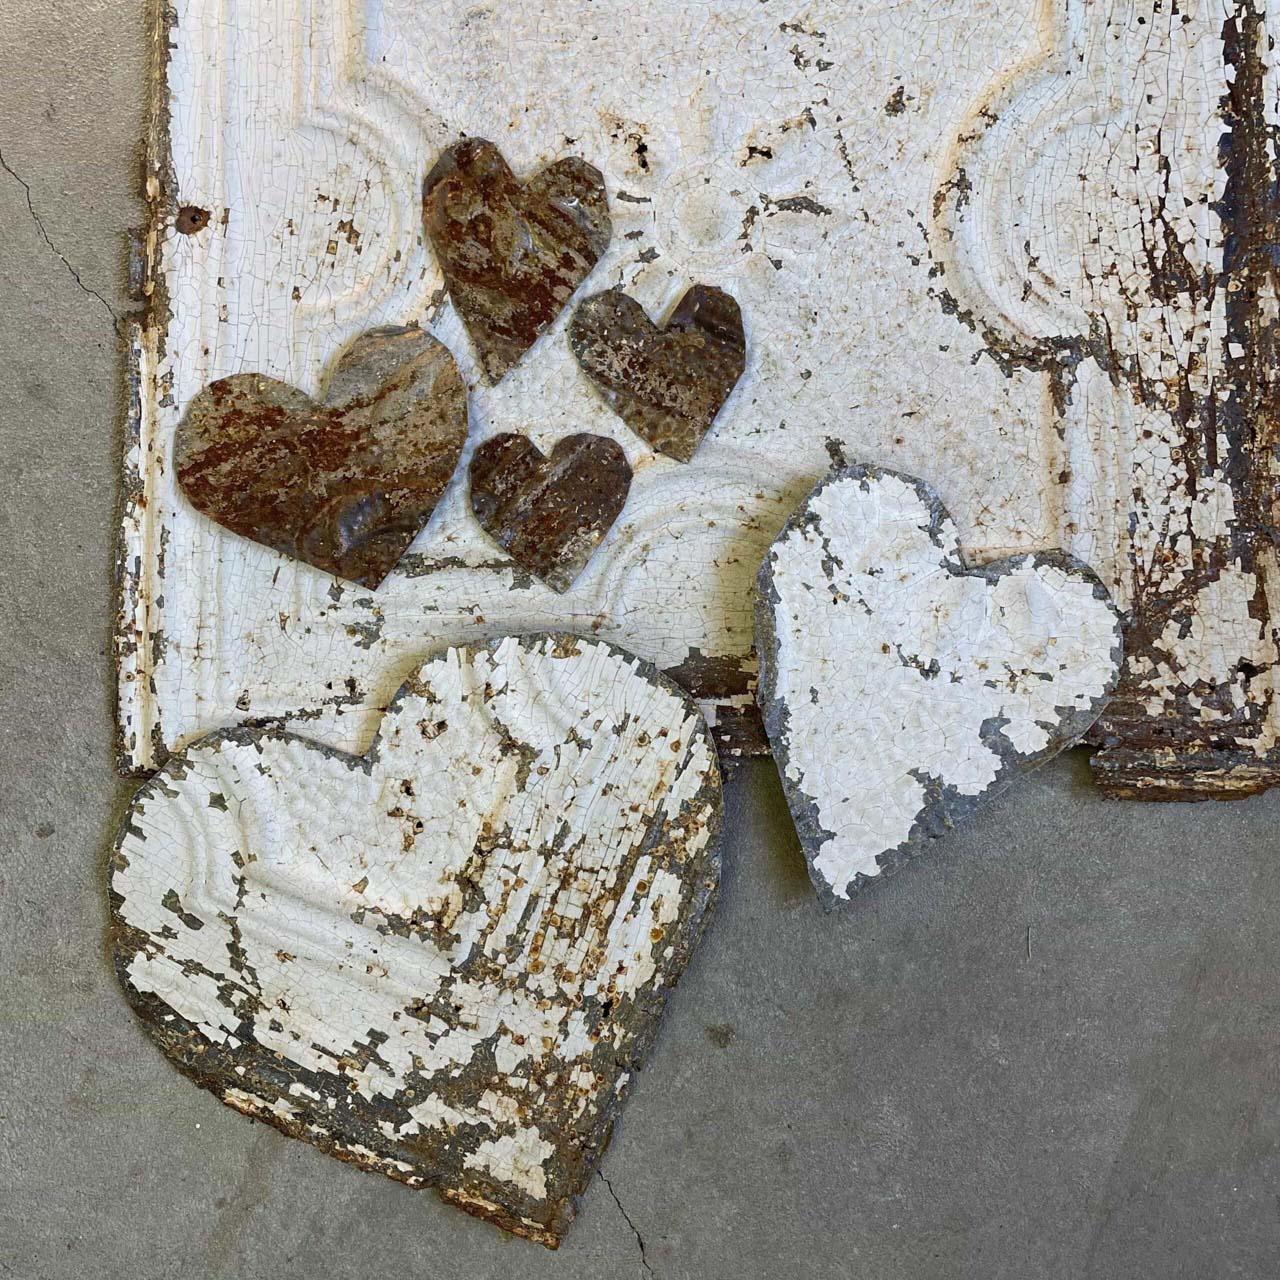
These ceiling tin scrap hearts have so much character and patina! Not just a great DIY for Valentine’s Day, but these are great to leave out all year long!
My ceiling tin Christmas tree was a hit, so I was trying to figure out what I could do with the ceiling tin scrap pieces! Well, Valentine’s Day is the next holiday and I still had my dad’s tin snips, so we decided to cut some hearts!
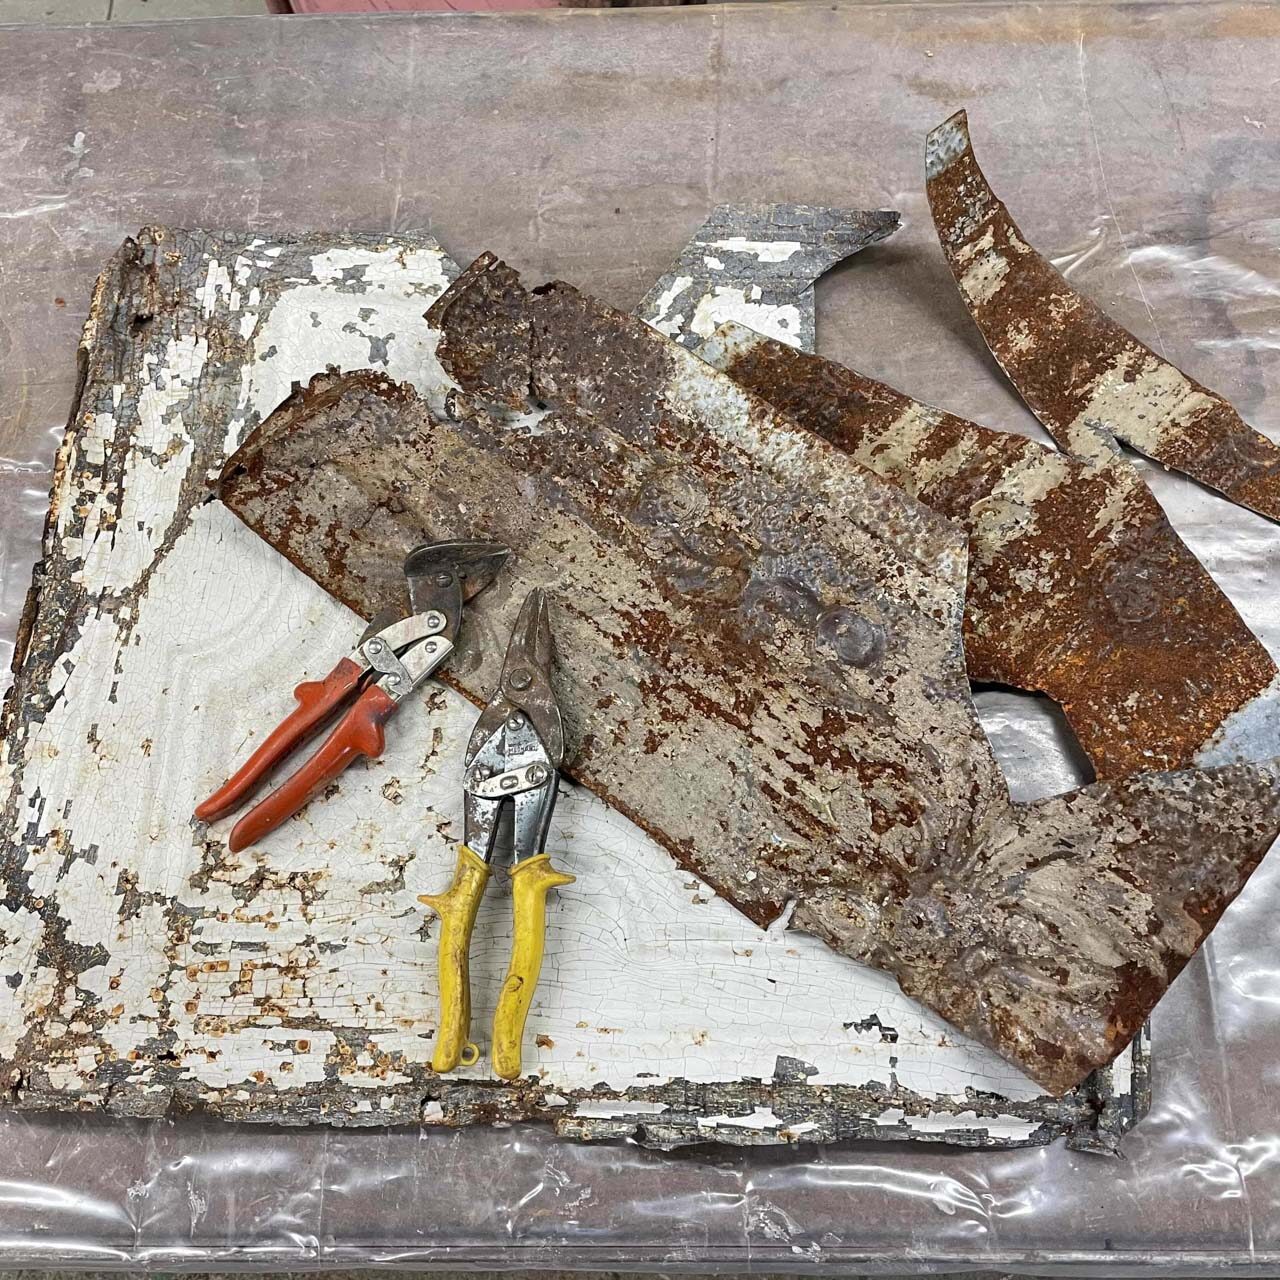
Ceiling Tin Scrap Heart – What you need
- Ceiling Tin
- Tin Snips
- Pliers
- Clear Coat
Ceiling Tin
Now, the ceiling tin I have left are really just scrap pieces and some of the pieces are pretty holey and rusted. But they are big enough that I didn’t want to throw them away. Depending on the size of the piece I cut out various shaped and sizes of hearts.
Need some ceiling tin? Try HERE.
Tin Snips
Ceiling tin might be hard to find, BUT a good pair of tin snips are crucial! It can truly be the difference between a successful cut and wanting to throw things around the workshop! That is probably why my dad repeatedly said, now I want these back!
I can’t find the exact ones my dad has because he’s probably had his for forever, but THIS style works better than the straight ones.
Sorry dad, I’ve only kept them a few months!
You may need to play with the angle of your cutting, and this is not the time to cut close to an edge. The tin ends up just folding instead of cutting. It is not like cutting out sugar cookies, where you want to have everything as close as possible.
Pliers
If, or I should say when the tin snips give you difficulties you may have to resort to some pliers. I’m telling you this, because no matter how good your tin snips are, you will have issues. So, at some point you will try to cut the tin and it’s just going to fold. I suggest trying to cut at a different angle and then from a different direction. If you are still having issues, take pliers and grip right at the fold. Secure the pliers so that they are tight at the edge of the fold and move the tin or pliers back and forth or up and down depending on how you are holding them. By going back and forth at the fold, the metal will eventually break.
If you are not having success with this, be patient, it can take wiggling it quite a few times. But, the only other option you have is to fold back this piece if it won’t break. Just pick which side is your front side and fold the section that won’t cut to the back. Set it on a sturdy flat surface and stand on or hit it with a mallet so that the excess piece is tight to the back.
I like to use locking pliers, because then you don’t have to squeeze the whole time or worry about being able to keep a tight enough grip. I also like when the release has a little rubber on it because I think it’s easier on my hands to get it unlocked. This pair has those features I’m talking about.
Clear Coat
A lot of ceiling tin is going to have old chipping paint on it. But, we want to keep as much of the paint and patina intact as possible, so to do this we need to spray it with a clear coat. For a job like this, spraying it is quickest and easiest, but there are other times when you are going to need to brush on the clear coat. I talk all about my favorite clear coats in this post.
Even if the ceiling tin doesn’t have chippy paint on it, it could be rusty. To keep the look of rust, but not have it transfer onto your hands or clothing, you can spray it with a clear coat. It’s quick and easy and keeps the original look that we all love.
Ceiling Tin Scrap Heart Directions
- Trace your heart
- Cut your heart
- Embellish the heart
- Decorate!
Trace
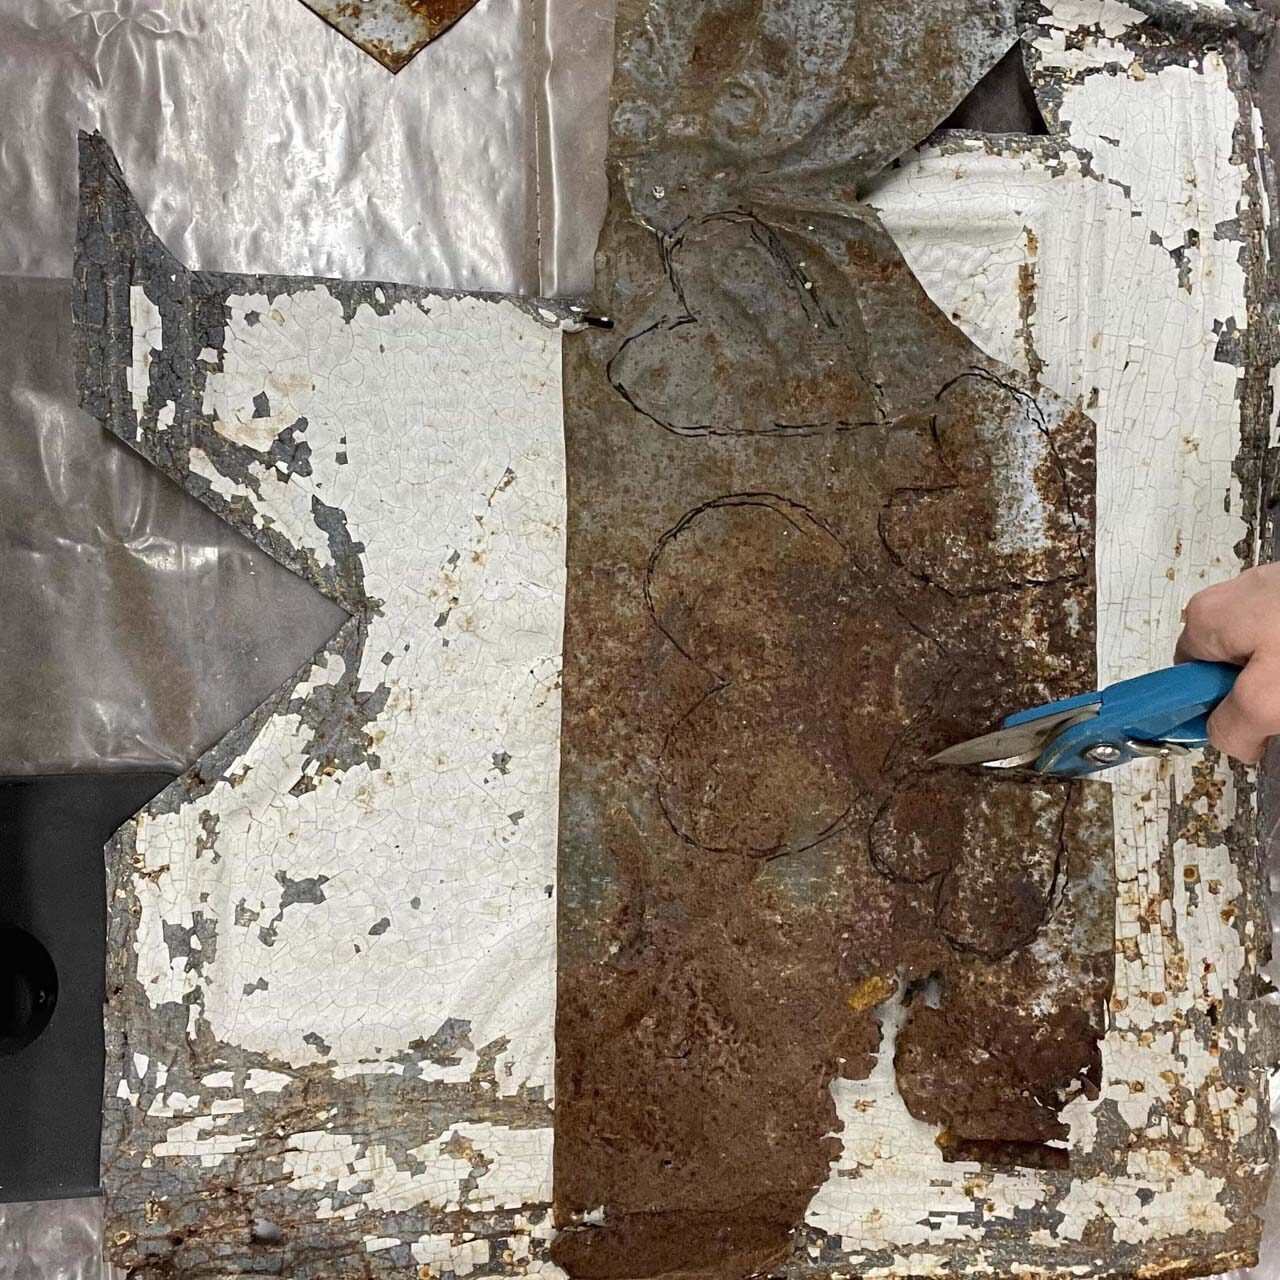
I am all for freehanding projects, but for this, I would use a marker or chalk to draw out your hearts. Then, you can focus on making the cuts and not making the cuts AND trying to cut a well shaped heart. Depending on if you use chalk or marker and the color of your ceiling tin, you may want to draw your heart on what you consider the back side.
That way if the marker is still visible you don’t have to worry about that being seen on the front side.
Cut
Again, use a good pair of tin snips. The more you cut the more you will get the feel of the angle you want to hold that blade. Sometimes, no matter what you do, the tin folds instead of cuts. This is when you are going to use the pliers to flex the ceiling tin. Going back and forth the full distance at the fold will eventually cause the tin to break.
If you cannot get it to break or cut evenly, then you can take the pliers and fold back the edges. This makes a nice shape for the front of your heart.
Embellish
Now I didn’t embellish mine, but you can add lace, buttons, keys, scrabble tiles to your hearts. You can also add wire to hang them and then tie on your little embellishments to the wire.
To add wire, use a nail, hammer, and board. Place the wood board under your heart where you want to make a hole for the wire. Hammer your nail into the tin and board. Then use the hammer to pull out the nail. This should leave you with a hole in your heart ceiling tin where you can thread through some wire.
To make this look even more finished, twist or wrap your wire around a pencil or your finger a few times to make a curly end. Do that to both ends AFTER you put them in the hanging holes you just created for your wire.
Decorate
Not only can you add wire to hang each heart, but you could also nail the heart to a barn board. You could also take little clothespins and string a bunch of hearts on twine. You could add a strong magnet to the back of a heart to create a magnet for your fridge. Glue a heart to a photo frame or even tuck them in and around your vignettes.
Visit HERE to see some decorating and embellishment ideas.

These hearts, both big and small, would be great for Valentine’s decor, but also year round!
Looking for a spring DIY? Check this one out!
Or checkout my whole 25 Days of Christmas projects HERE. THIS one is my absolute favorite!!
Subscribe to My YouTube Channel
This post may contain affiliate links for the products I use and recommend. I am not paid to promote these products. If you purchase using my affiliate links, I could make a small commission at no charge to you.





4 thoughts on “How To Make a Ceiling Tin Scrap Heart”
Wonderful finds! The only thing I wouldn’t have picked up is the trophy. This was fun to watch!!!
Thank you! Trophies are hot right now! I try to pick them up whenever I see them! 😉
Oh my goodness, what fun! I have really missed being able to browse (and buy) at antique and thrift shops the past two years. Your video made my heart pitter-patter! Love pretty much everything you found. Thanks for the junking trip!
Thank you Sherry! I share a lot of videos on YouTube if you want to come subscribe! https://www.youtube.com/c/BrookeJohnsonTheJunkParlor?sub_confirmation=1