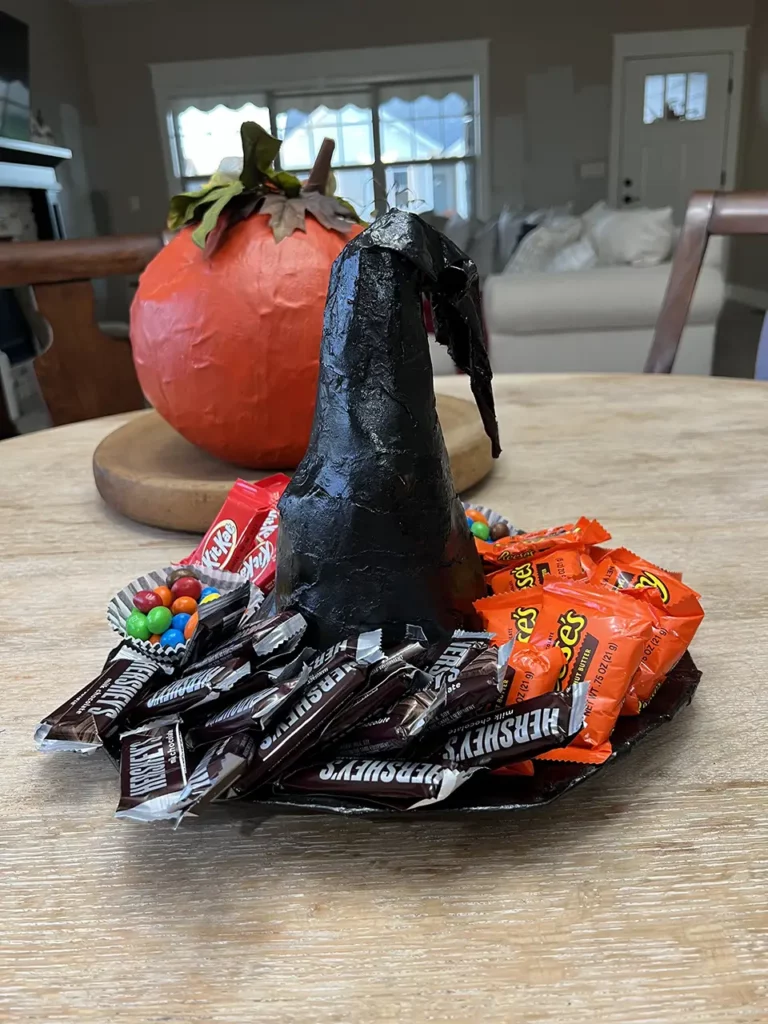
How to make a paper mache witches hat! Great Halloween decor, but I’m using mine as a candy platter & charcuterie board!
Don’t ask me why I wanted to make a paper mache witches hat this year! I really don’t decorate much for the seasons. After paper macheing a pumpkin last year, all I could think about was making a witches hat! Funny thing is, now all I can think about is making a bowl!
I am a fan of easy and affordable projects. I am even more of a fan of using what you have! This is one of those projects where you don’t need to buy anything. Well, you might need to buy some black paint, but I had that on hand.
The hardest part about this project is just simply waiting for the paste to dry. I waited an entire day between each step or layer. That was just an easy system for me, to do a layer a day. It would be possible to do a couple layers each day, depending on the humidity and temperature. I sat mine outside in the sun to dry so it seemed to dry rather quickly.
When I started thinking about making a witches hat, I really didn’t have a vision for using it. Of course I could set it out for Halloween, but sometimes it’s nice to make things that are functional too!
How To Make Paper Mache
Supplies:
Shallow Container
Paper
Flour
Salt
Water
Watch Me!
Directions:
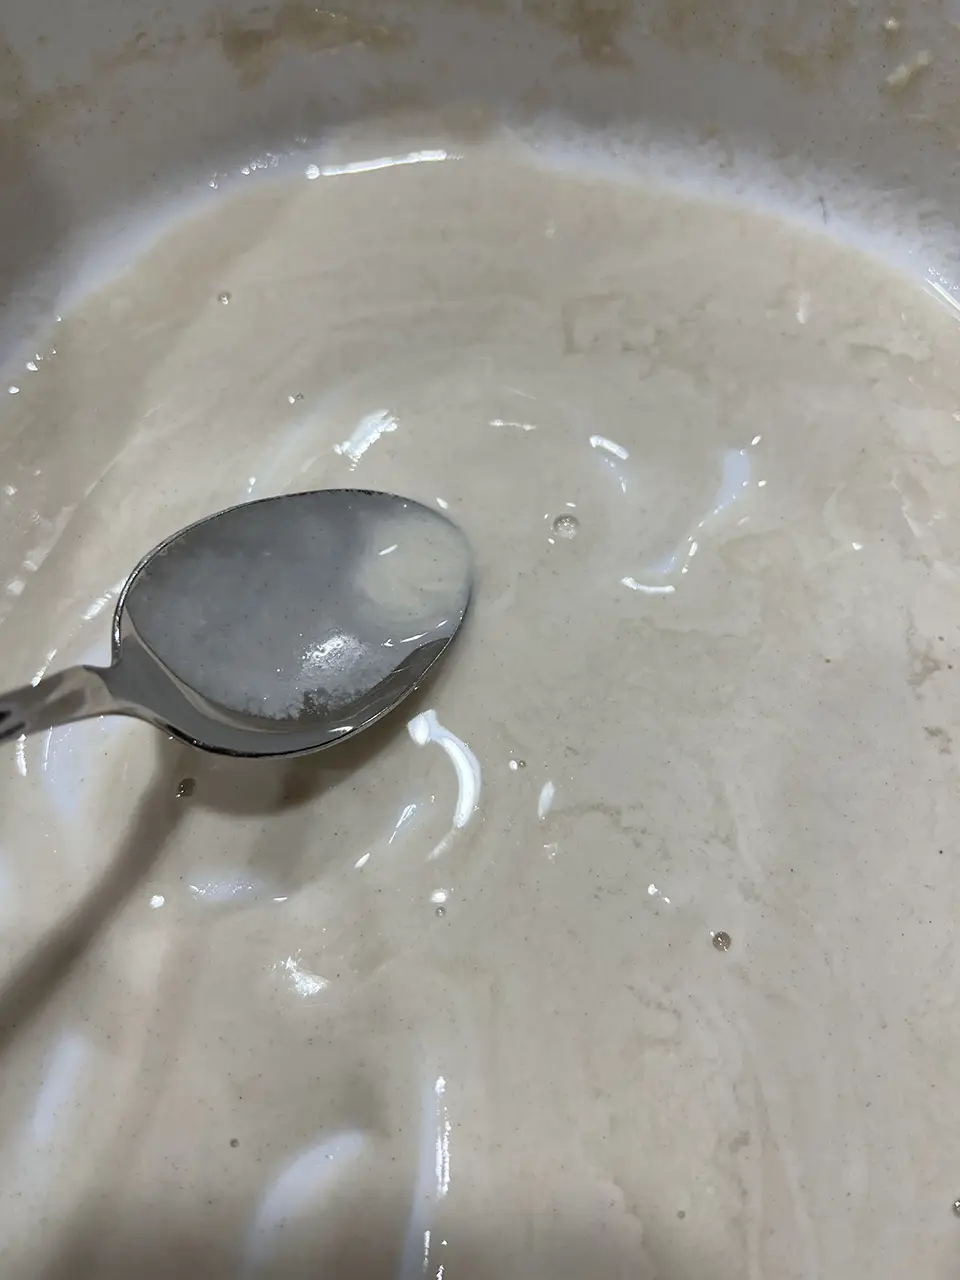
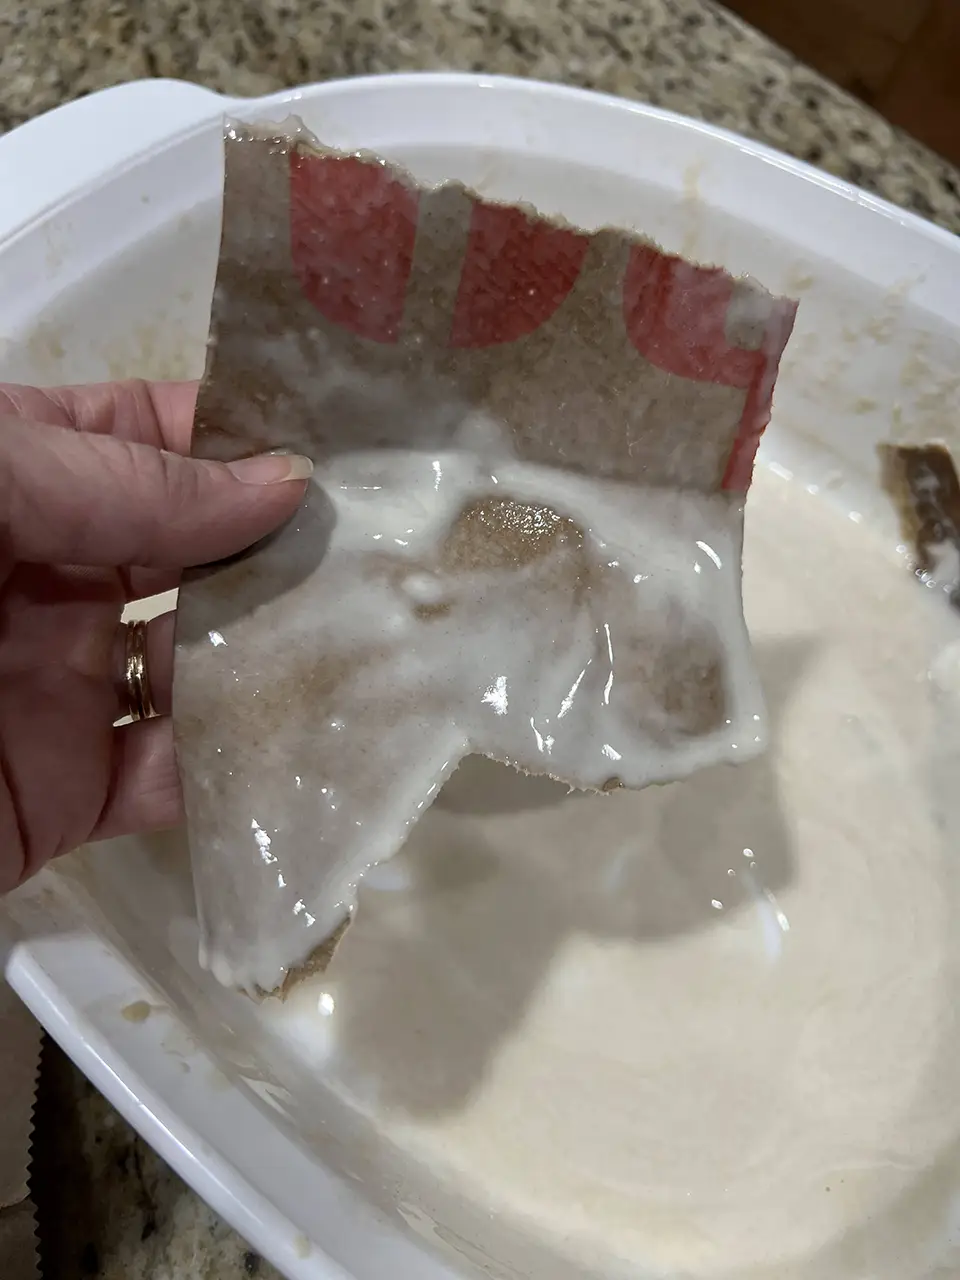
I have always used a shallow pan for my paper mache projects. I’m really not sure there is a good reason for this. So, if you only have a bowl for your paper mache mixture, then use the bowl. A shallow dish might be easier to mix the paste in. The flour does want to settle in the bottom of the pan. Especially if you let it sit between layers. I covered mine between each layer with PressNSeal.
I suggest adding some extra water before you cover the paper mache paste between layers. And then when you uncover it the next day, stir it. When you stir it, you will be able to tell if you need to add more flour or water. Don’t forget to add salt too!
In your shallow pan you will combine one cup of flour, a generous amount of salt, and then water as needed. You are wanting to create the consistency of pancake batter. You can use your hands for this. That helps the flour from sticking to the bottom of the pan and allows you to pinch clumps of flour.
You are going to get your hands dirty with this project, so might as well get them dirty now!
I have used newspaper, paper bags and kraft paper. I would use whatever you have available. I no longer get a newspaper, so that wasn’t an option. I also find newspaper to be thinner than a paper sack. The pros of newspaper being thinner is that it tends to curve or wrap more easily around your item.
Paper bags can easily be found by simply requesting to have your groceries sacked in paper. That is what I did this time to get bags. The pros of the paper bags are that they are thicker making them less likely to rip. It requires fewer layers to make your project sturdy. However because it is a little thicker it can be harder to shape around corners. It wants to keep a hard line instead of wrap around corners.
Kraft paper is also an option. In the past I have had a ton of this on hand, but this time I did not. It’s probably a medium thickness compared to newspaper or a paper sack.
How To Make a Witches Hat
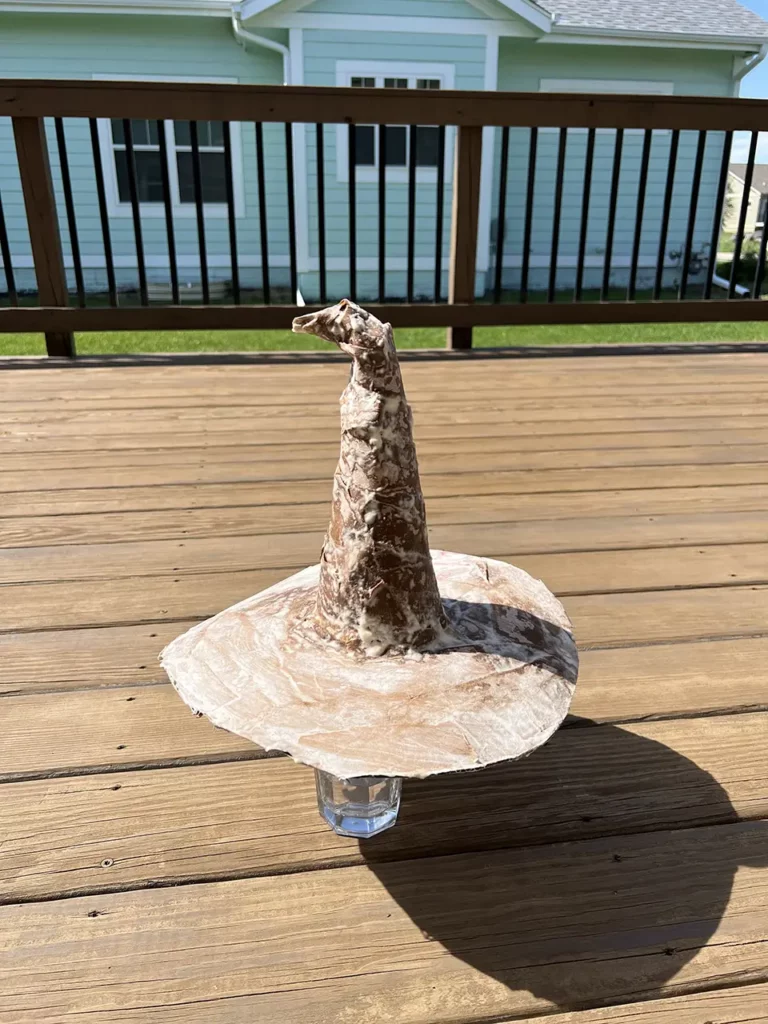
Previously when I made the paper mache pumpkin I had envisioned taking some big thick packing paper I had and twisting it into the top portion of the witches hat. However, a lot can happen in a year. One, was that I no longer had that paper. The other was that I had just disassembled a vintage floral masterpiece, and that had a Styrofoam cone inside. I saved it!
I use those cones to make carrots and Christmas trees, and this time a witches hat!
Since I didn’t have as much thick paper on hand, I decided that I needed some kind of form. The styrofoam cone was the right shape and turned out to work perfectly.
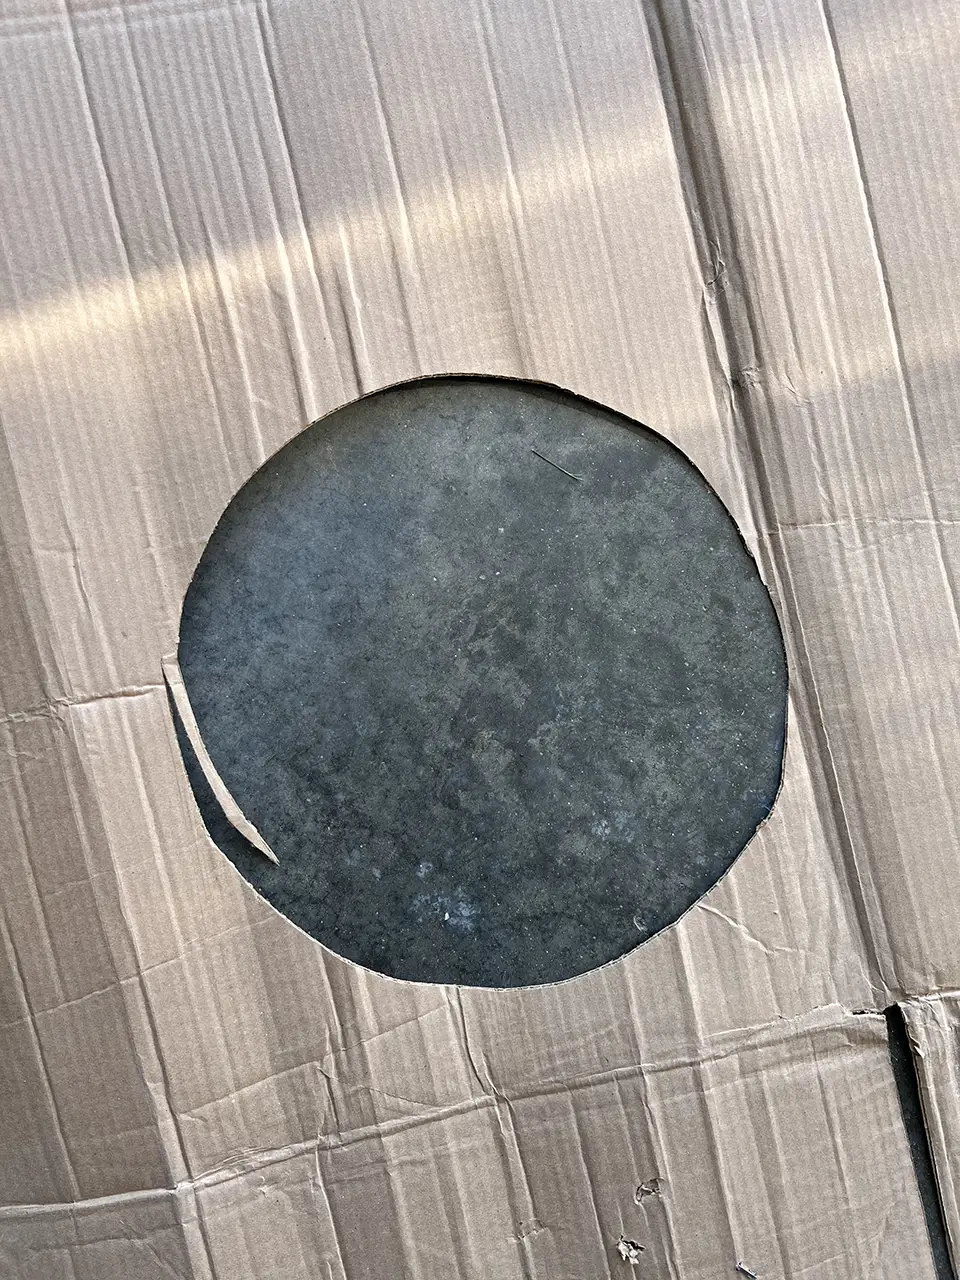
I cut a circle from a scrap of cardboard using a 5 galloon bucket as my stencil. I requested paper sacks at recent stops to the grocery store. That was all I needed for my hat.
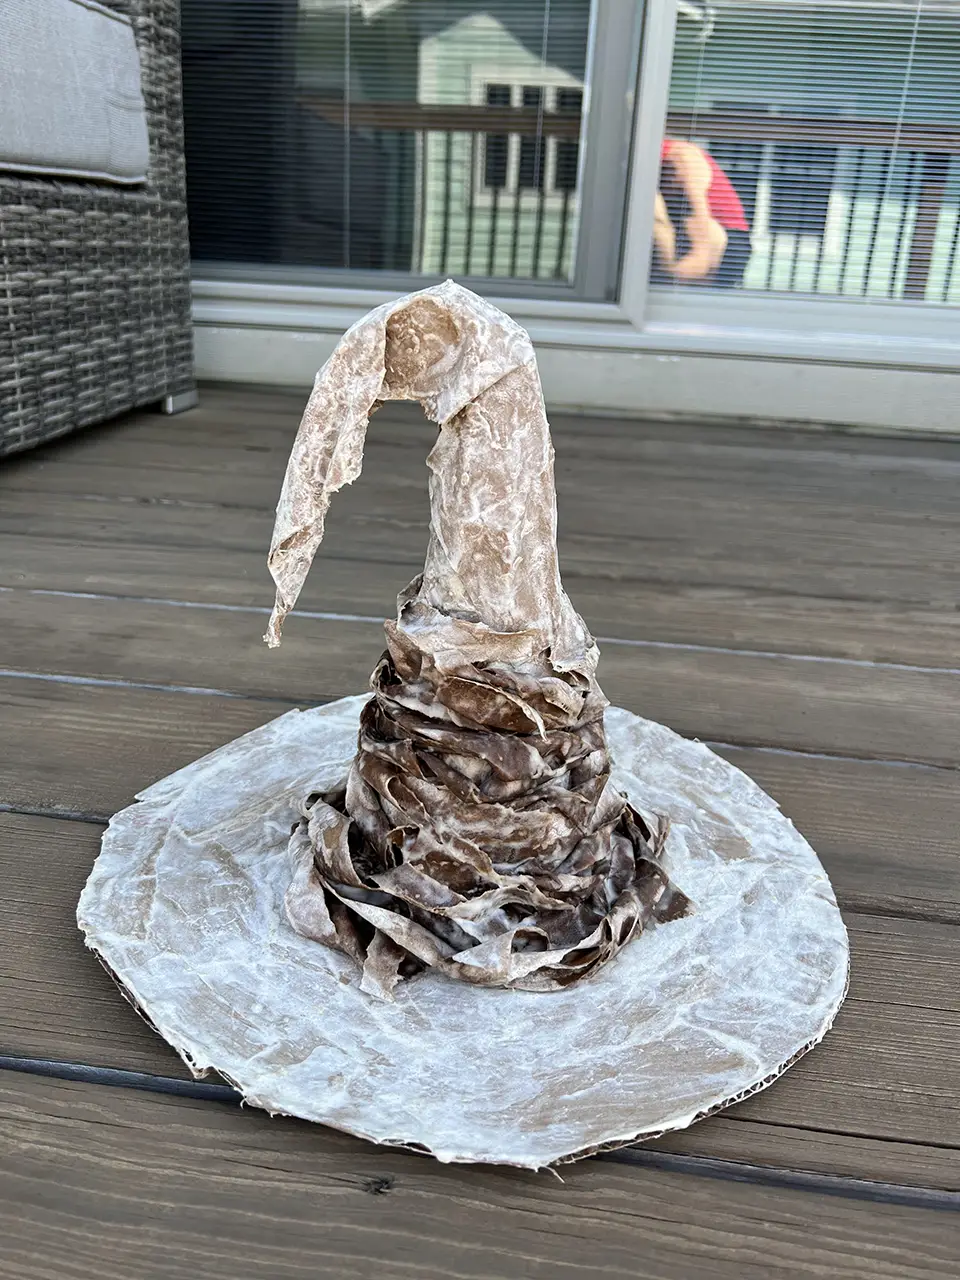
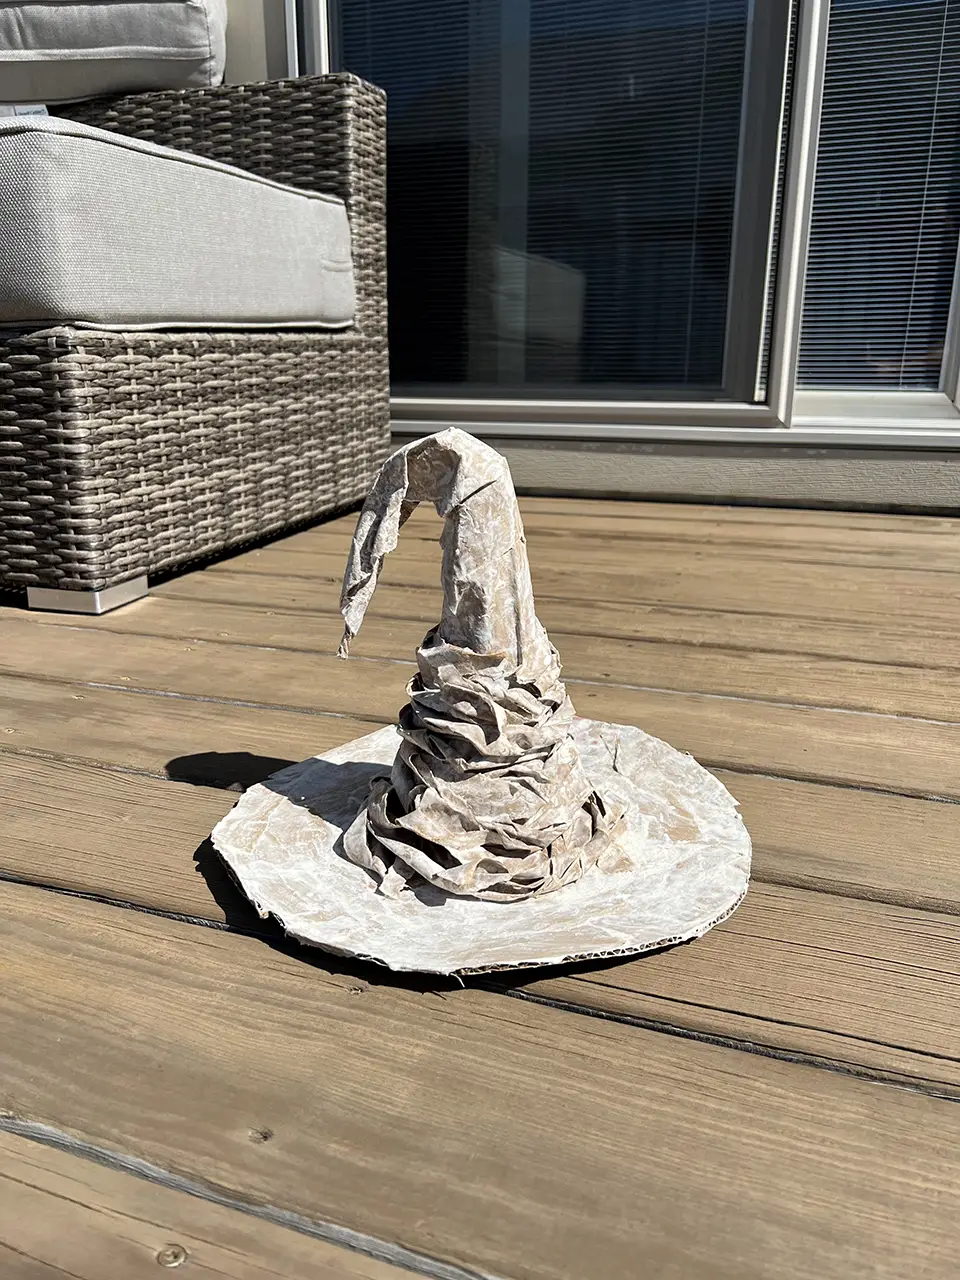
I glued my styrofoam cone to the cardboard hat rim. The proportions were close, but not quite right. The cone section needed to be bigger, wider. I ended up twisting some paper sack and paper macheing it into place. Hubby actually liked how it looked with the twists, but my vision was to have it smooth.
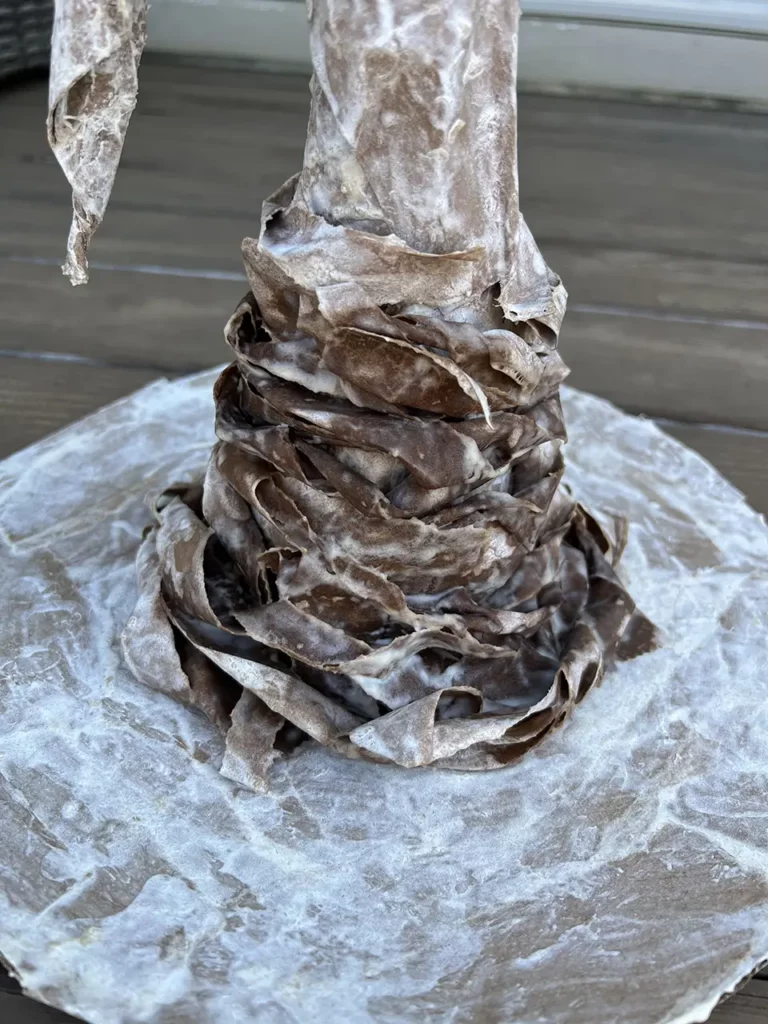
Then on another step I covered those twists to make it smoother. I also crumpled up some of the paper sack to make the tip of the hat. I wanted that hat end to be falling over like if it were fabric.
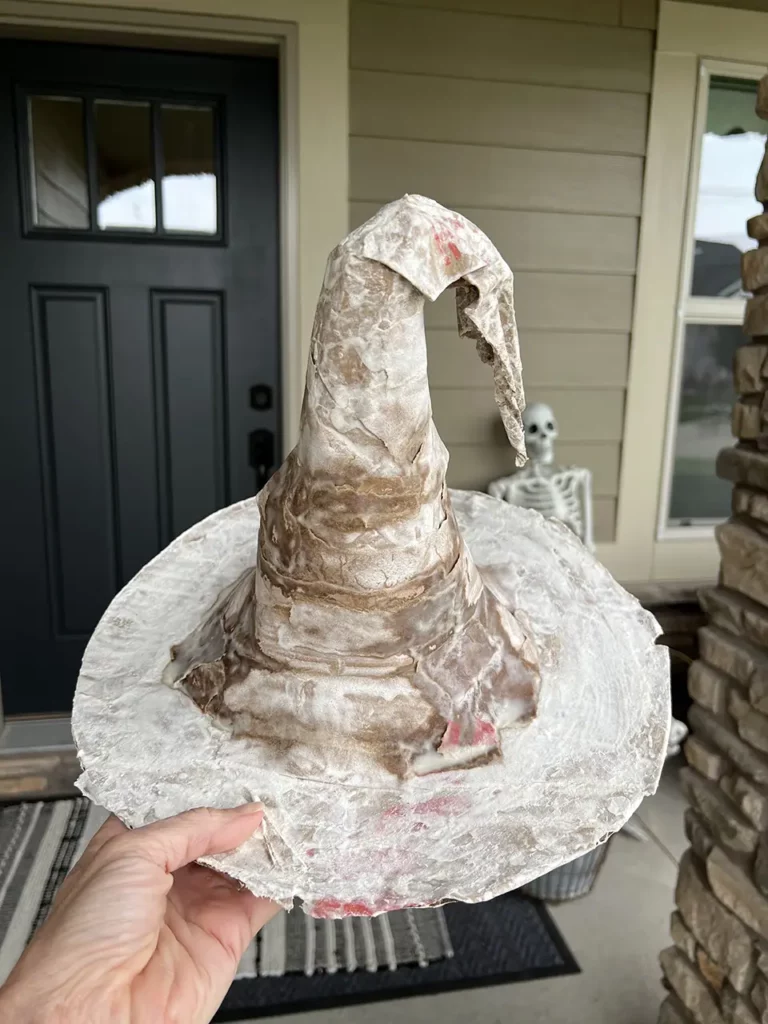
Folding and crumpling the paper allowed the hat to get the shape I wanted. The nice thing about paper mache is that it allows flexibility. You can mold and shape it when it’s wet. Once it dries, if you don’t like it then you add layers until you do! Worse case scenerio, you start over from scratch! Not a big deal when this project is virtually free!
To finish our witches hat I used black spray paint I had on hand to paint it black.
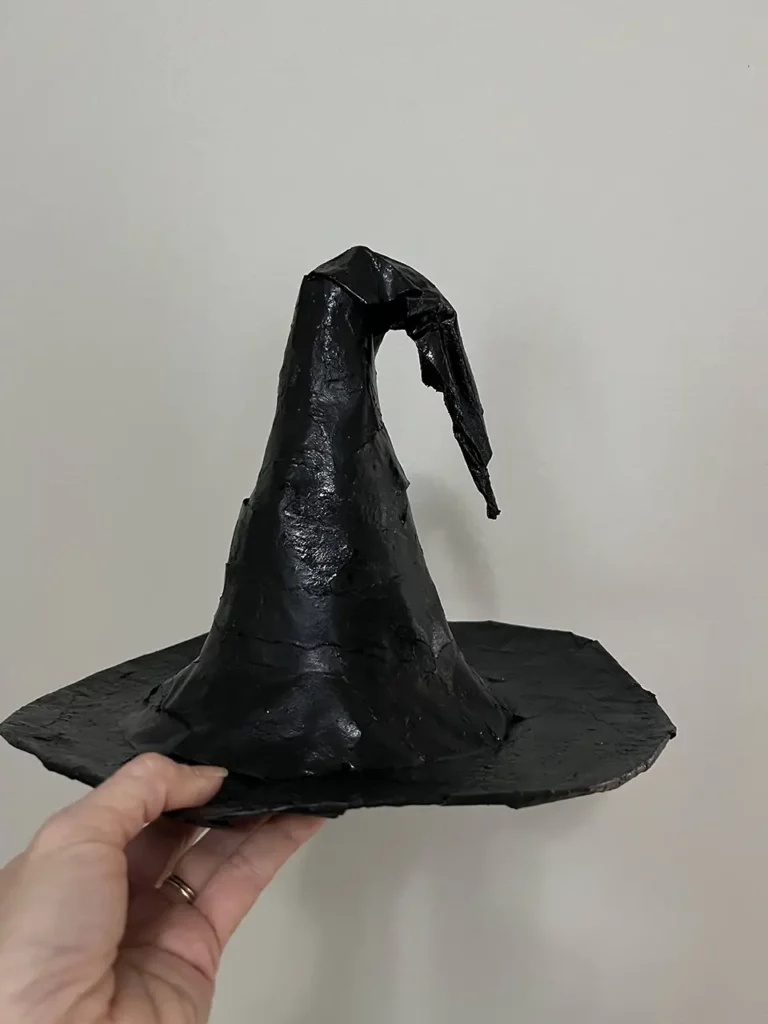
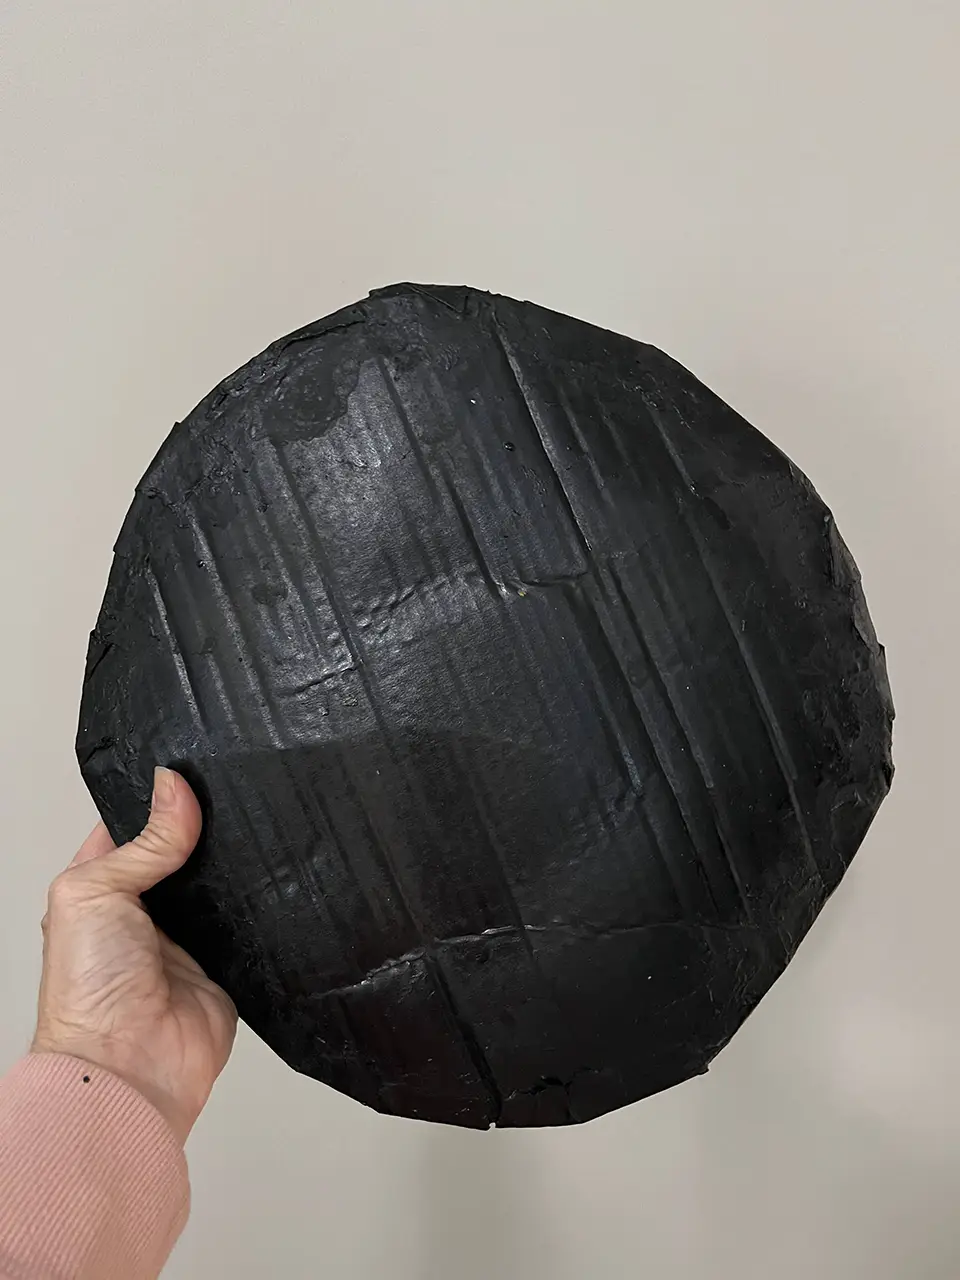
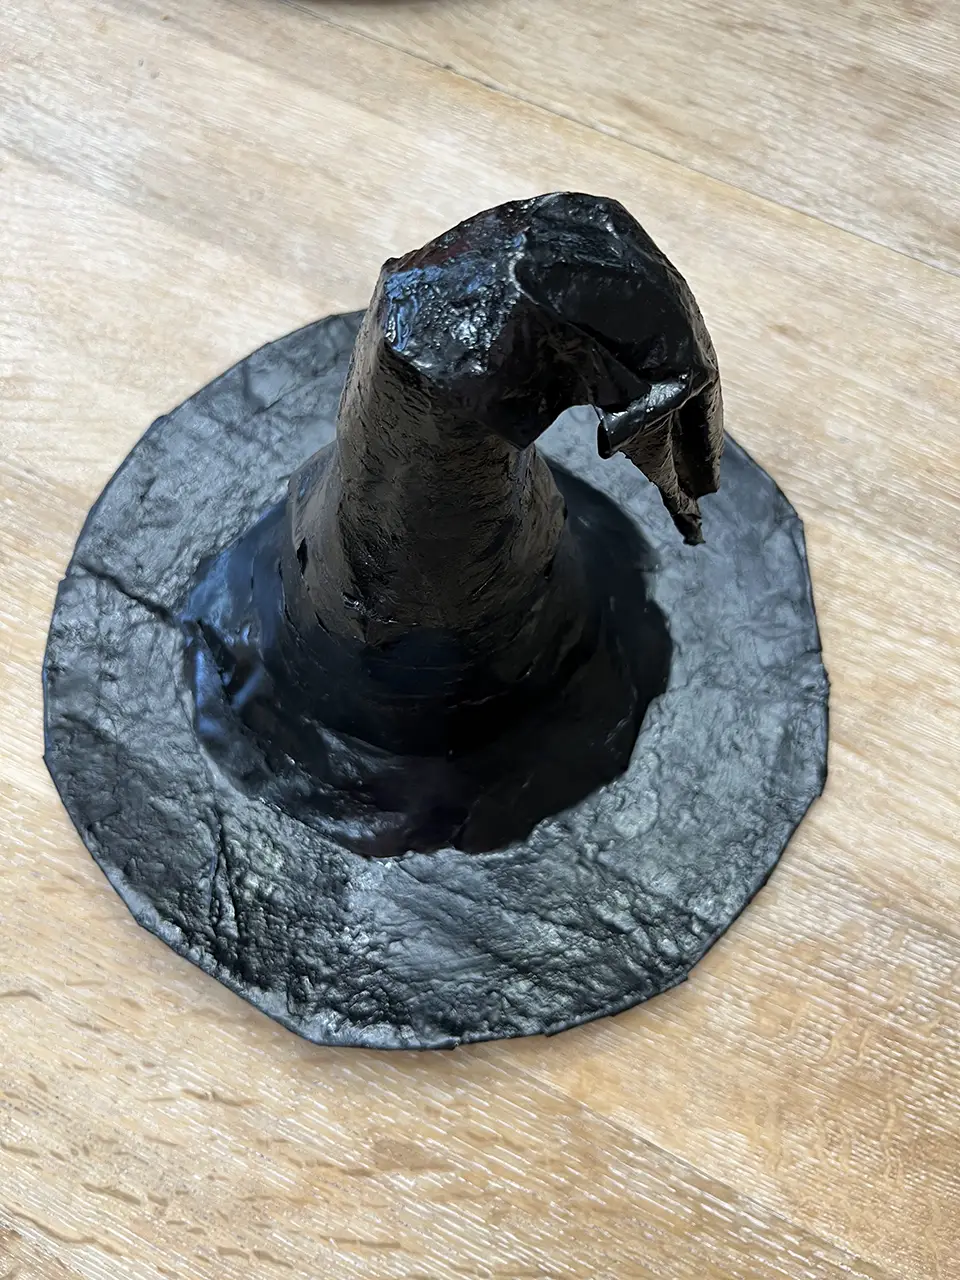
How To Use Your Paper Mache Witches Hat
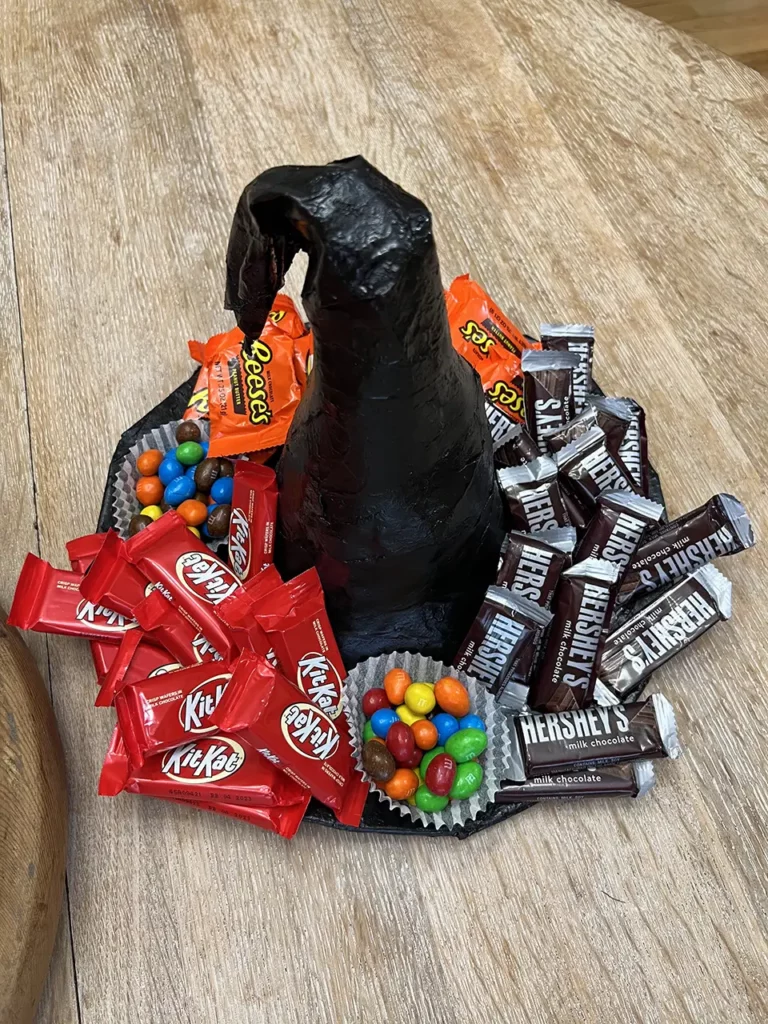
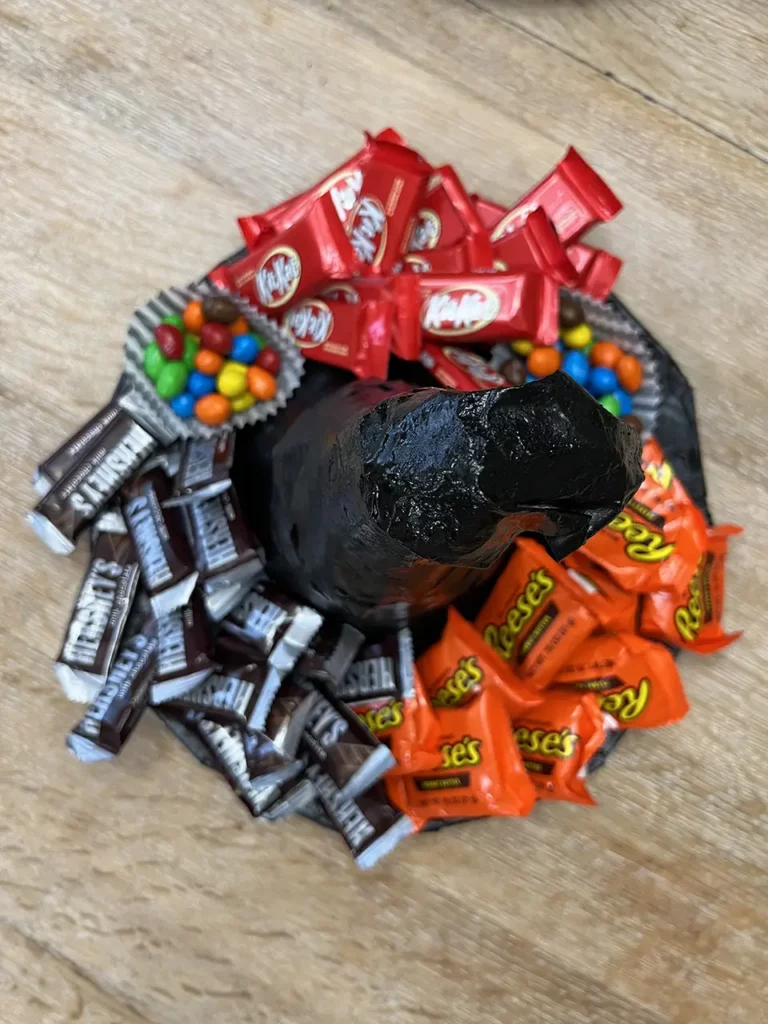
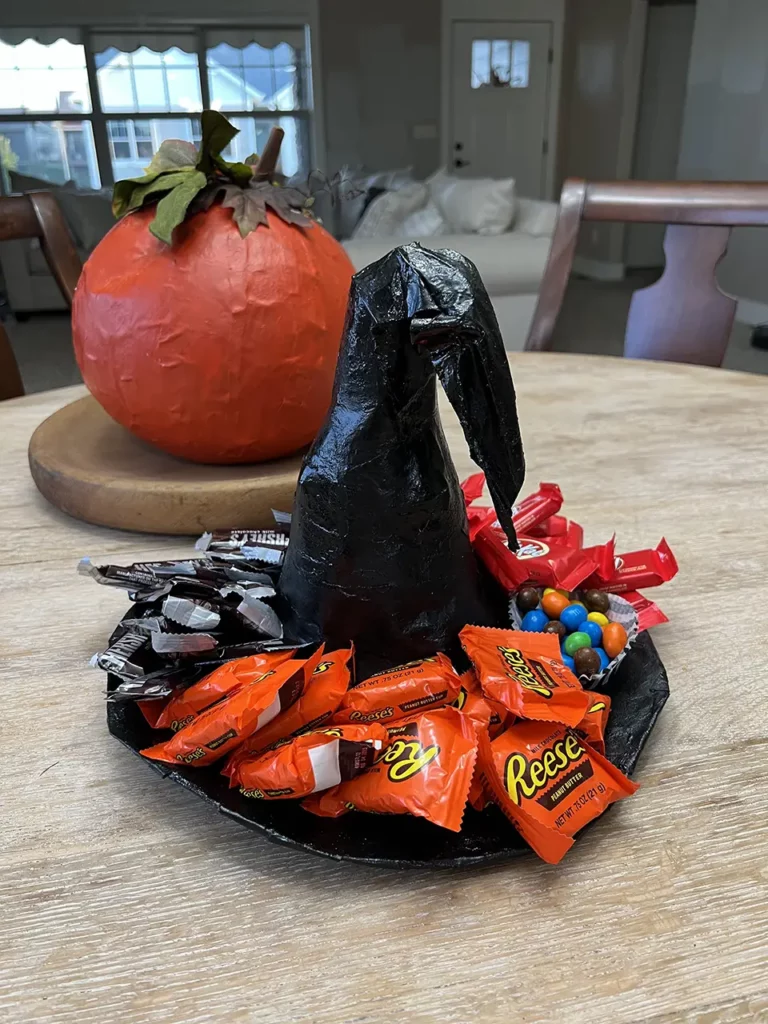
I mentioned that during one of the beginning steps I had an epiphany about how I wanted to use my witches hat. The idea was that I could use it as a charcuterie board! And then I had the idea of a candy platter for a Halloween party!! Eeek! I love it when good ideas pop into my head. Now I just have to resist eating all of the candy!
Whether you use your hat for decor or as a serving platter, you could always add some embellishments – black tulle or spiders for example! If you are displaying it on your porch, you could also add fairy lights! Here are some solar fairy lights and here are some that use batteries! You could also take fishing line and hang it from the ceiling or a light!
Paper Mache Pumpkin
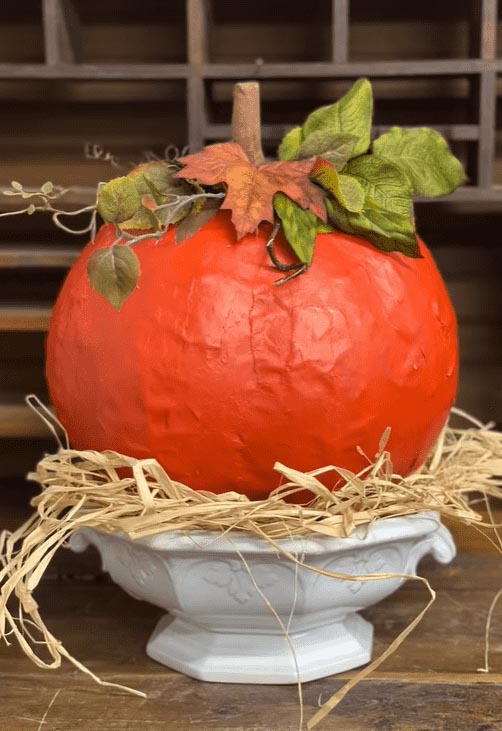
Watch as I make this Paper Mache Pumpkin!
More Fall DIY’s
HERE is a project using jar lids!
Hands down THIS is the best fall wreath ever!
Pin It!
This post may contain affiliate links for the products I use and recommend. I am not paid to promote these products. If you purchase using my affiliate links, I could make a small commission at no charge to you.
