If you have an old lamp shade that needs some love, I have the project for you! When you are out thrifting or antiquing, it is easy to find old lamps. Sometimes they have a really cool base that you want to keep. Sometimes the base can easily be transformed with spray paint. Then it gets to the tricky part . . . finding the perfect lamp shade. Sometimes ordering new is a hassle. Used lamp shades can be torn or stained and spot cleaning does not always work. This simple DIY can help you repurpose that old lamp shade into something beautiful!
Originally, I did this DIY years ago for my bedroom. I found a lamp for my bedroom that I really liked. The base was perfect, it was simple and plain and exactly what I wanted. However, the shade was crap. When I was trying to figure out what to do about the shade, I got a wild hair!
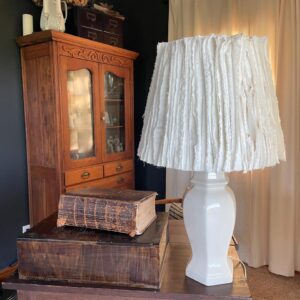
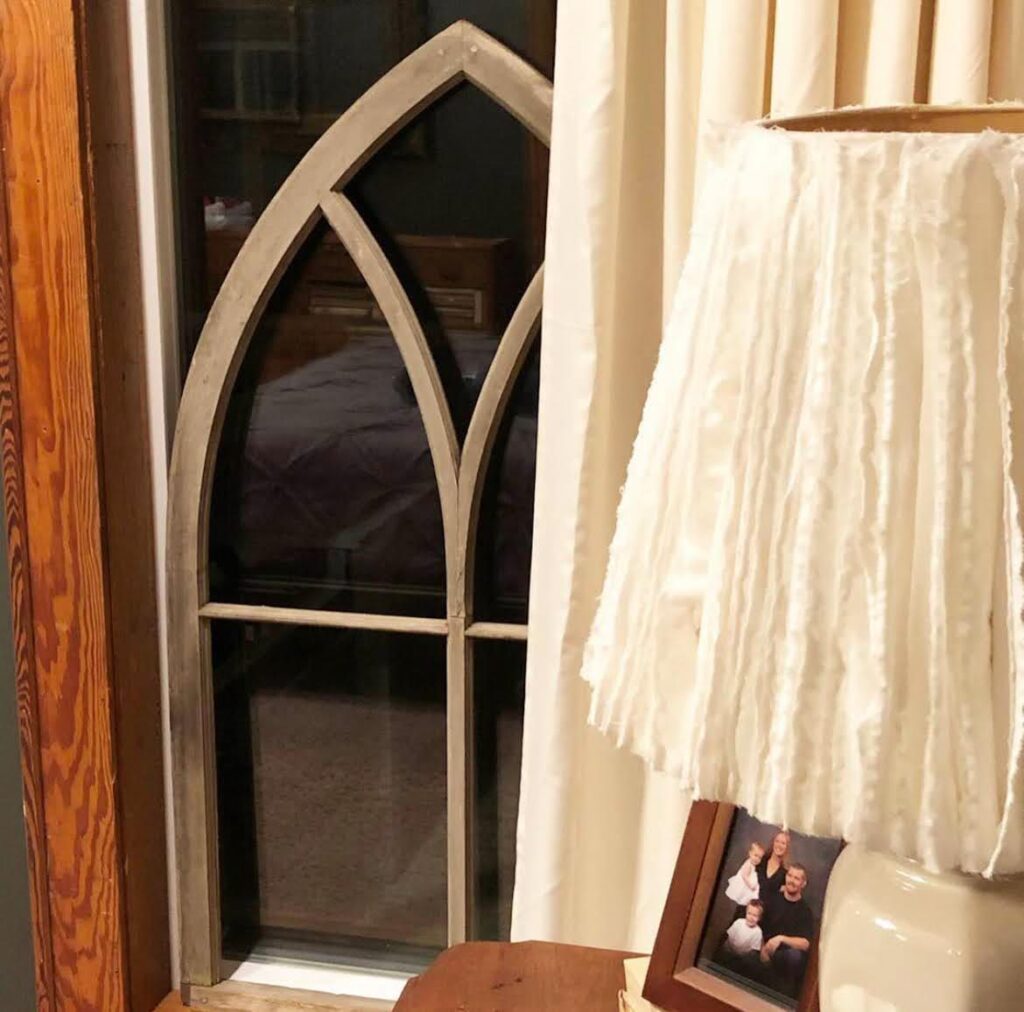
I decided that I would rip up strips of fabric and fold them in half, hot glue them down the center, and then stick them onto the ugly old lamp shade as a little refresh. I loved how it looked both with the lamp on and the lamp off.
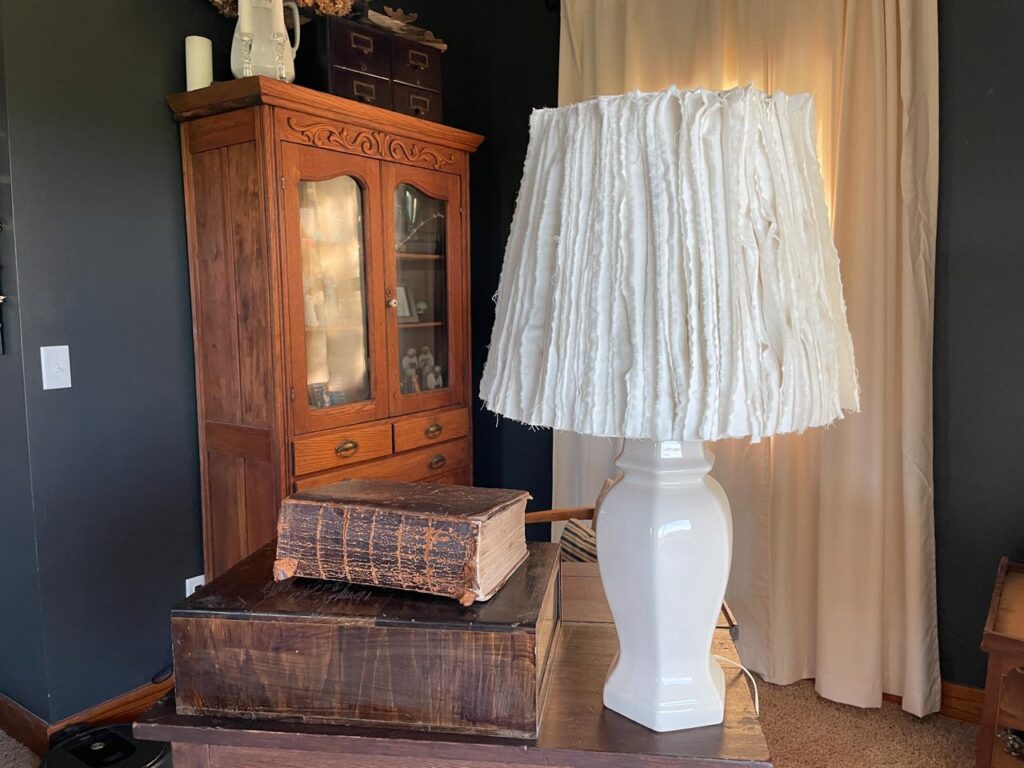
This project was done again at a later time with some fabric that was donated to me. I had been trying to use this fabric up for projects. If you want to see another project I did using this fabric, check out this Patriotic Bunting I made. Anyway, I had a few different types of fabric so I alternated them around the lamp shade. A variety of creamy shades and textures of fabrics still look great if you find yourself trying to use up several different types of fabric like I was.
A Few Things I Recommend
I recommend cutting your fabric strips longer than necessary, because they can always be trimmed.
The frayed ends give the lamp shade a soft, almost romantic yet still rustic look. I love it. Your strips might not fray as much as you like when you cut them, and that is ok. To get them to fray, tug on them with your fingers or throw your fabric strips through the wash. The fray adds even more texture to the lamp!
Finally, if I were to do it again, I would cut my strips a little wider and glue them a little closer together. If you find yourself needing to reposition your fabric on the lamp shade, the hot glue will make it easy to pull them off and try again.
Supplies
- Ruler
- Scissors
- Fabric
- Lamp Shade
- Hot Glue Gun & Hot Glue
Watch the Lamp Shade Upgrade DIY here:
Process
Start by laying out your fabric on a large flat surface. Using your ruler and your scissors, make a cut along the edge every two inches along the piece of fabric. At each slit, rip your fabric until you have a bunch of raw-edge strips of fabric.
Fold each strip in half, then take your hot glue gun and run a bead of hot glue the length of the lamp shade vertically. Place the strip of fabric into the hot glue at the fold. Continue doing this all the way around the lamp shade. If you have extra fabric hanging off, no worries! Just trim it off with your scissors. The spacing between your strips of fabric is up to you. The closer together you put your strips, the more dense and fluffy your lamp shade will look.
This DIY is easy, it just takes a little time and a few simple materials. It is definitely an easy one to customize. I’d recommend going to the thrift store and looking for some vintage fabric. An old flat sheet or table cloth could make a really neat lamp shade! Just think of all the endless color and fabric combinations!
If you want more lamp shade DIY ideas, try one of these:
If you want something funky and unique, try a Deconstructed Lamp Shade! An old shade with with an interesting frame is perfect for this project.
If you want something a little more earthy, try a Moss Covered Lamp Shade. Start by deconstructing a lamp shade and then add moss. This will give your home a fun conversation piece for sure! You don’t even need to stick it on a lamp . . . try hanging a grouping of these in a bland corner for an eye-catching vignette!
Lamp Shade Upgrade
Materials
- lamp shade
- fabric
- scissors
- ruler
- hot glue gun & glue
Instructions
- Lay your fabric out flat.
- Using your ruler and scissors, make a cut along the edge of your fabric every two inches.
- At each cut, rip the fabric so you are left with a bunch of raw-edge strips of fabric.
- To glue to the lamp shade, fold each fabric strip in half, add a bead of glue down the lamp shade and then attach at the fold.
- Using the same method, glue strips of fabric all around the lamp shade.
- To finish, cut off any excess fabric hanging around the top or bottom of the lamp shade.
Want more from The Junk Parlor?
Looking for more DIY ideas? Inspiration? Stick around on the blog a little bit longer!
If you love working with textiles, try making a Burlap Garland. I made this garland for the holidays a few years back, but burlap is perfect neutral and can be used for any season.
Have you heard the news? We moved recently! Read my blog post about Our Move. For more updates on our new house and how I am settling in and decorating make sure that you are following along on my social media (see below), I post often!
Check Out my Latest YouTube Video:
Ways to Connect with The Junk Parlor
There are so many ways you can keep up with me! I am always sharing DIY tutorials, my latest antique and vintage finds, going live and doing sales, and even showing you bits and pieces of my life. Keep up with me here on the blog or on my social media!
This post may contain affiliate links for the products I use and recommend. I am not paid to promote these products. If you purchase using my affiliate links, I could make a small commission at no charge to you.
