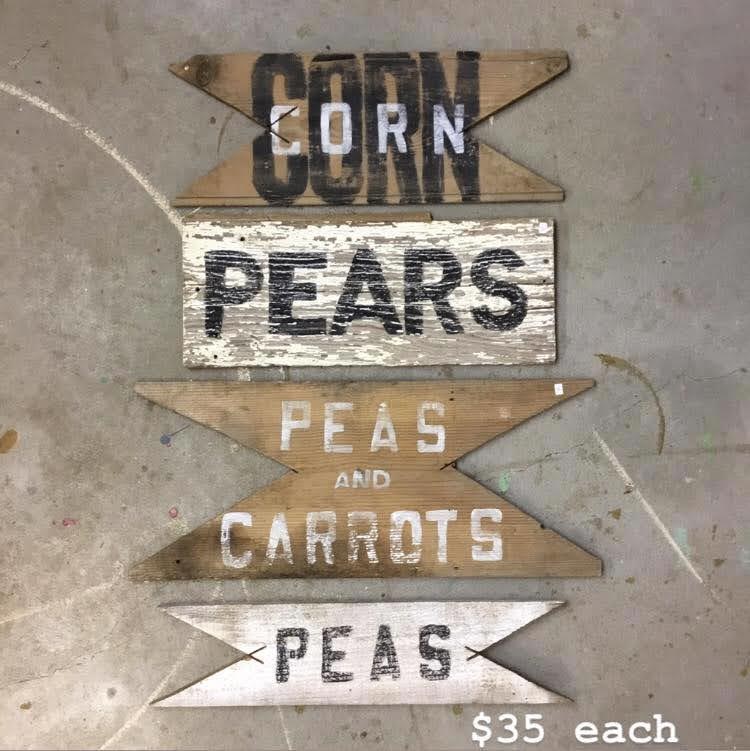
Learn how to make DIY farm stand signs that give your indoor or outdoor decor the perfect rustic farm touch!
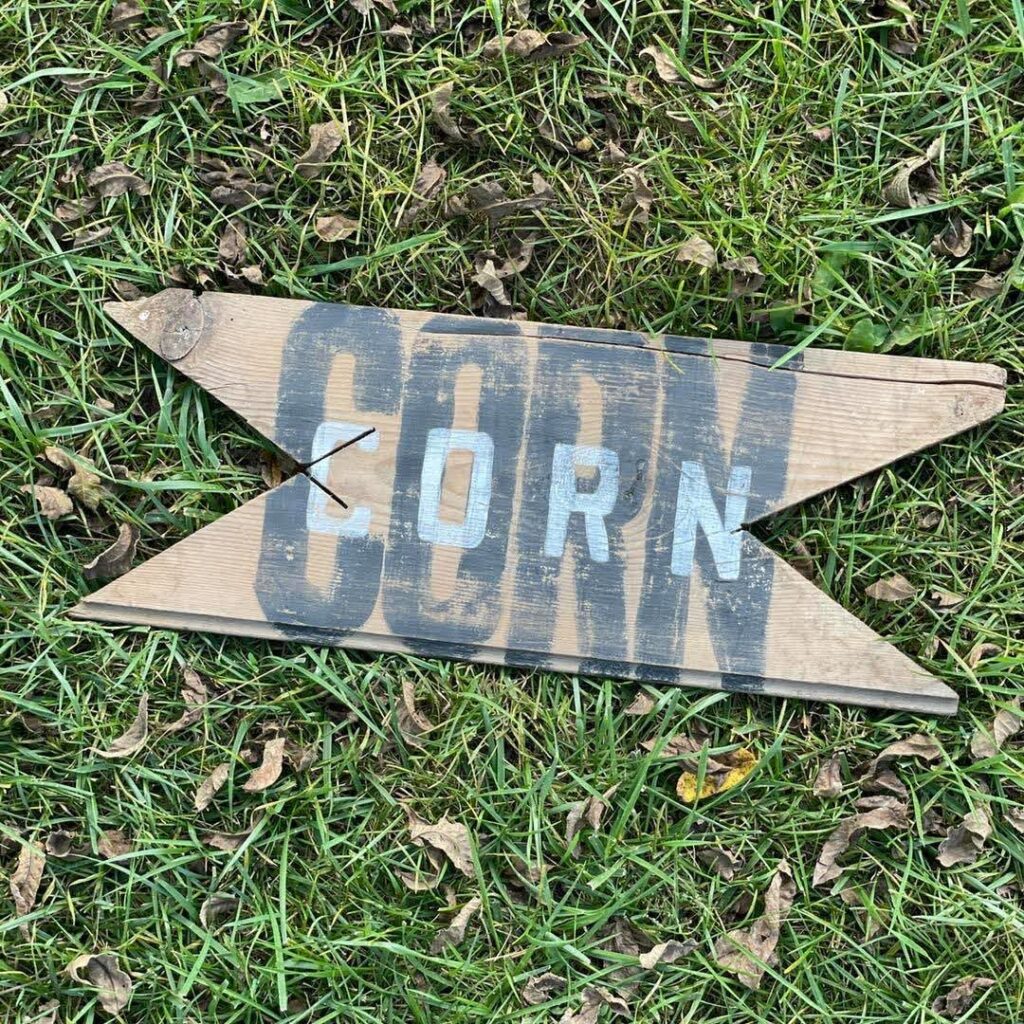
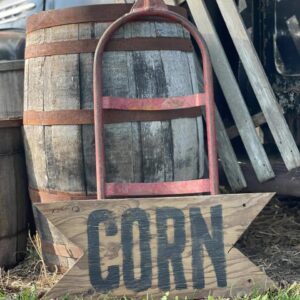
I know sometimes I’ll see a sign that says corn on it being sold by an antique dealer and they are asking $85 to $125! It’s literally a scrap board that someone years ago stenciled corn onto. Now after sitting in the elements for multiple seasons, it’s somehow worth a good chunk of change!
I love junk and antiques, but this “authentic” sign is not where I would choose to spend my money. Especially when I can make my own!
Let me show you how I made these! And I’ll show you some other paint distressing tips!
A friend had a bunch of random things to get rid of and one of those things was a bunch of Christmas lights. These were the big colored bulb strands that people would put on their house for the holiday’s. Someone had taken some scrap boards and notched each end. The Christmas lights were then wrapped around these notched boards. It was actually a great way to store them because the notches left little “feet” on the boards and the lights could stand up on the boards in the shed or garage during the off season. Thanks to the notches the strands did not come unwound.
I ended up removing all of the bulbs from the strands and placing them in big jars. They looked awesome displayed this way and then I sold them in bundles. I took other bulbs that had lost most of their paint and painted them for THIS project.
I took the Christmas light strands and burnt them. You might be asking why Brooke???? Let’s just say that burning Christmas light wire creates the most beautiful fire!! The colors are so beautiful and different than the colors produced in your typical fire. Trust me, the next time your Christmas lights stop working, DO NOT throw them in the trash, but instead put them in your fire pit or next campfire!
I decided to give them boards a new purpose too! Because they were notched, they weren’t a typical board, but I loved the uniqueness and randomness the farmer used cutting the notches. After thinking about it for awhile I decided to use the boards to make some signs!
Supplies
- Wood Boards
- Stencils
- Pencil
- Paint
- Paint Brush
If you are like me, and have a little bit of everything around, then it should be easy to find your supplies for this farm stand sign DIY! I will say, the older the boards the more rustic and farm fresh your signs will look! If you want the signs to be extra distressed, then pick boards that have paint flaking off.
As you paint on those boards pay special attention to not letting paint get under those flakes and do not brush or wipe the board before painting. Leaving the flakes on will allow the painted word to natural distress once it dries and you do wipe those flakes off.
Don’t have any stencils? Learn my tips for hand lettering HERE!
Speaking of stencils…
When I was out picking once, I came across a really cool vintage stencil and I have made several signs with it! Check out my vintage stencil HERE! This just goes to show that you seriously never know what you might find out picking and how you might use it!!
Process
To create your own farm stand signs, the first thing you need to do is find some old boards. If you can’t find any old boards, new is fine too! They will weather over time if you plan to display your farm stand signs outside. You can even create the sign or signs and then leave them outside for a season or year, to get that aged look you are after!
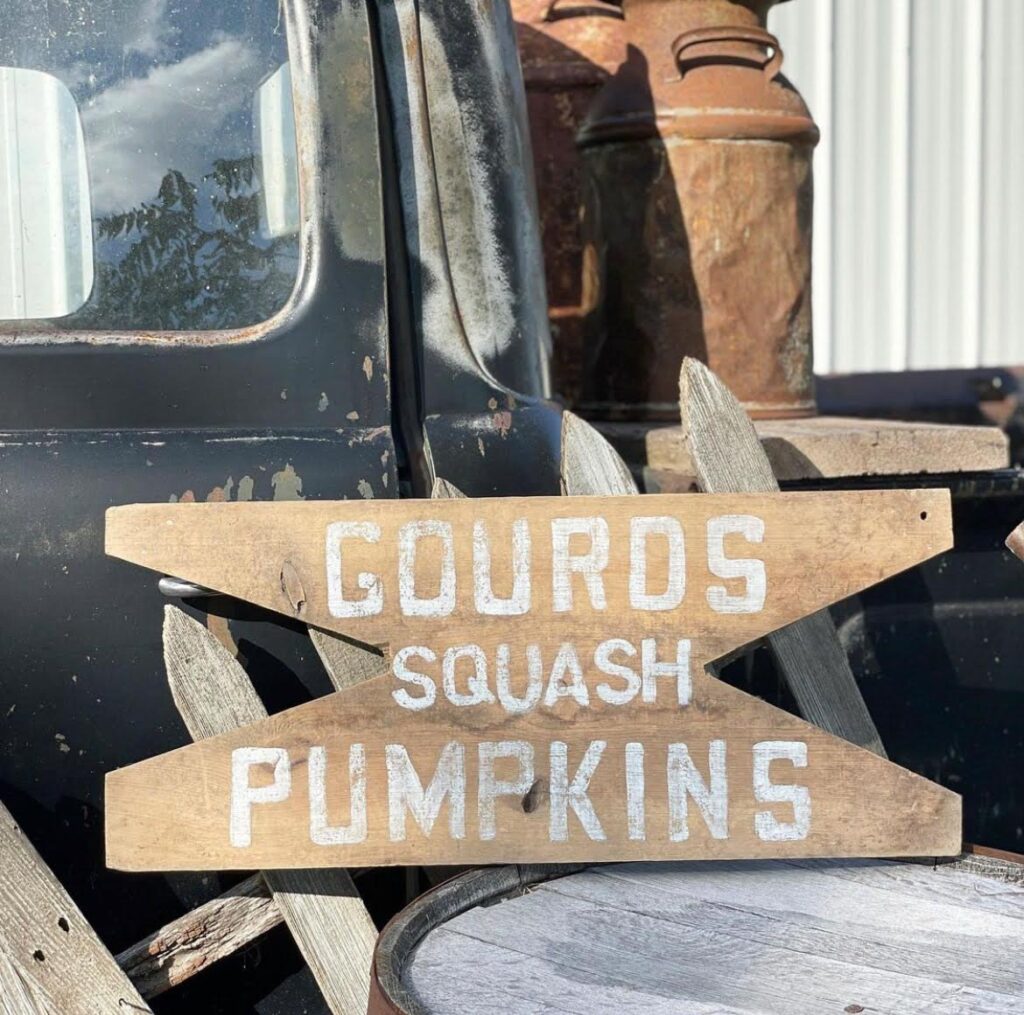
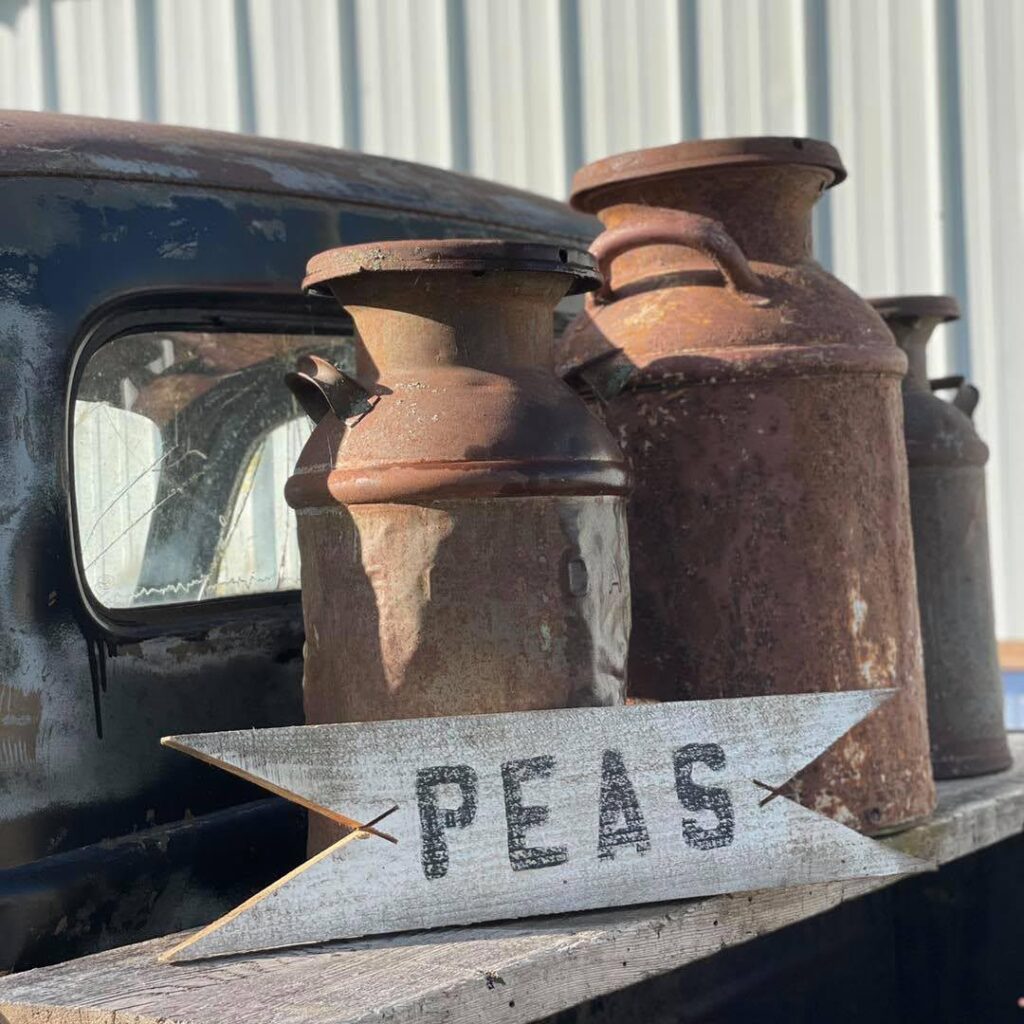
Before you trace your stencils onto your boards, lay them out and make sure you have room for what you want to spell out. I went with vegetables, but you could do fruit too! If you want to set yours out for summer, try corn, peas, zucchini, strawberries, peaches, green beans, etc. If you want your boards to have more of a fall theme, use pumpkins, squash, gourds, etc.
It really just depends on the length of your board, size of stencil and where you want to display the sign!
Using a pencil, trace each letter onto your boards. There are a couple ways you can do this. First, just as you would probably first imagine. Let the led from the pencil be your guide. A way you might not have thought about is to use a pencil with less lead or one that is more rounded at the end. You can even use an ink pen if it is a push button and you can leave the ink inside. If you hold the pen at a 45 degree angle from the board, or use your dull pencil, you can press into the wood as you follow the stencil.
Old wood is typically soft and you can easily press a groove into the wood. This can be a great sign making technique if your hand is not steady. The paint from your brush can go into the groove as you paint. This helps make a cleaner line. Having a groove, depending on the board, can also be easier to see sometimes than pencil lead.
After you have your letters traced, it is time to take your paintbrush and fill in the letters! You may need to do multiple coats on each letter to get them to really stand out. This just depends on the type of paint you are using and the look that you want! If you are going to sand it and distress it, then one coat will probably do the trick. It might not look very good until you sand it. If you sand it and don’t like it, just add another layer of paint!
After your paint is dry, you can distress your signs using sandpaper. Rub lightly over your lettering until you achieve the amount of distressing you want. If the board you started with is very chippy and has paint flaking off, then sometimes all you want to do is rub off those loose chunks. On smoother boards you might want to hit it with more sand paper.
I would recommend trying to sand in the letters until you can see how the paint is reacting with the boards. I’m talking about bleed through, which can happen with sanding too. I find it happens a lot when I have white paint with red letters. Sanding the red letters can transfer red onto the white background. That does not make for a good look and can only be corrected if you paint the background.
Stencils are a great way to transform items and give them a new personality! If you have a steady hand and a good paint brush for lettering then you can always go freehand too!
Check out another stencil project HERE. And HERE I do some paint distressing techniques while making another sign!
Watch the Process Here:
DIY Farm Stand Signs
Materials
- Wood Boards
- Stencils
- Pencil
- Paint
- Paint Brush
Instructions
- Choose a board to make your sign with and lay out your stencils across the board.
- Trace around each stencil with your pencil.
- Take your paint brush and paint and carefully fill in each letter.
Watch This Video for More Sign Making Tips
Want more inspiration?
Looking for more DIY ideas? Inspiration? Stick around on the blog a little bit longer!
I have been adding my own flair to our new home! Check out my latest post about it HERE.
Are you planning to take in any flea markets before summer is over, or this fall? Check out my flea market shopping tips HERE!
Looking for more ways to get a chippy paint look? Check out THIS technique!
Ways to Connect with The Junk Parlor
There are so many ways you can keep up with me! I am always sharing DIY tutorials, my latest antique and vintage finds, going live and doing sales, and even showing you bits and pieces of my life. Keep up with me here on the blog or on my social media!
Check Out my Latest YouTube Video:
This post may contain affiliate links for the products I use and recommend. I am not paid to promote these products. If you purchase using my affiliate links, I could make a small commission at no charge to you.