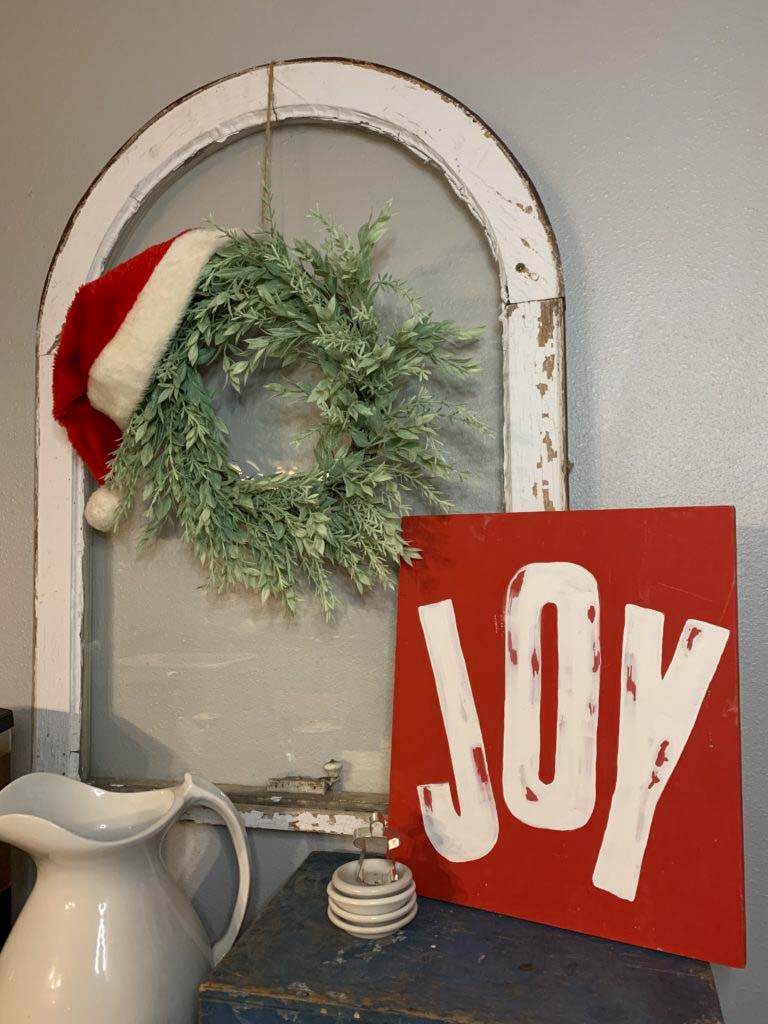
Today’s 25 Days of Christmas project is about making your own distressed sign. While I paint this JOY sign for Christmas I’m sharing with you paint distressing techniques as well.
All of these techniques are easy to do and can be done on signs, furniture, or any wood piece like I did HERE.

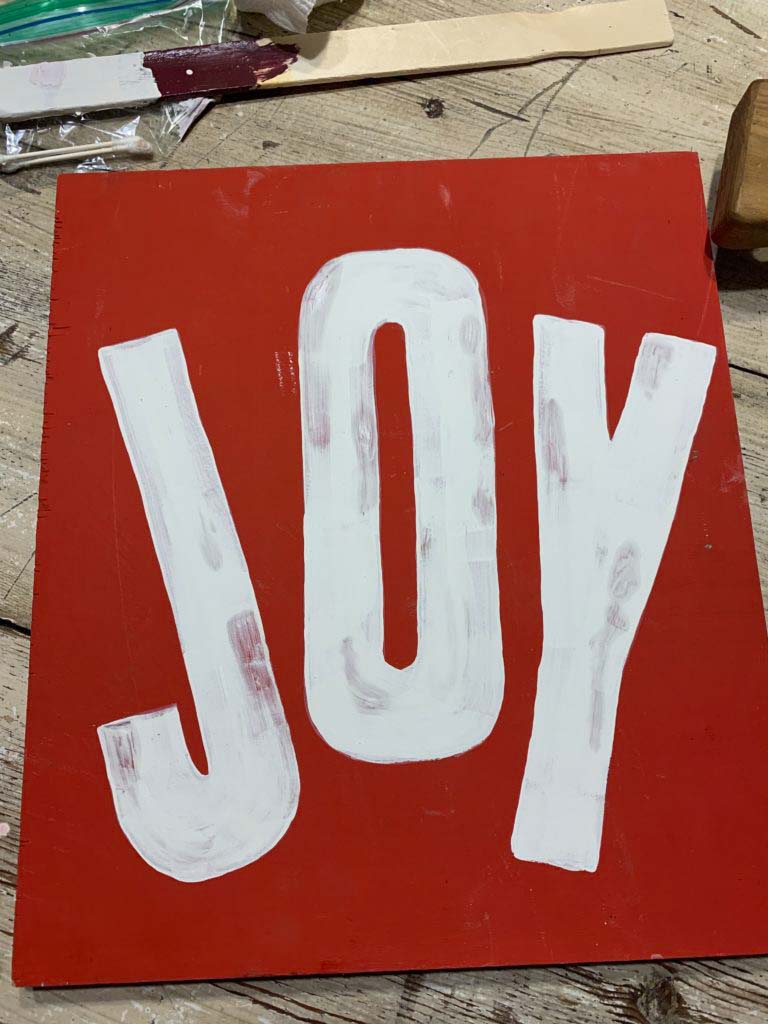
Painting signs does not need to be hard. And making them look aged, doesn’t need to be hard either. The first step to an easy sign, is simply to use a stencil. (Here is a tutorial using stencils) In today’s video, I use a scrap piece of plywood that I have painted red. I then stencil on JOY.
Watch the Process
The next decision is to decide what paint distressing technique you would like to use. To show you different options, I painted stripes on the back of my board.
Paint Distressing Techniques
For one section I let the paint dry, almost completely. Then I stuck on duct tape. The idea is that the duct tape will then peel off paint to make it looked distressed. I didn’t think that this did much to create a distressed look.
This post may contain affiliate links for the products I use and recommend. I am not paid to promote these products. If you purchase using my affiliate links, I could make a small commission at no charge to you.

On another section, I let the paint start to dry before wiping off paint with a paper towel. This technique is called wet sanding. Here is another time I used wet sanding on the frame of a mirror and more recently when I used that technique when painting with Fusion Mineral paint. I like this technique because you do have some control of how much paint comes off based off of how much pressure you apply. And it is so easy!

Next, we have traditional sanding. Now of course since I wanted to demonstrate the problem with sanding, there ended up not being a problem! In the past when I have sanded red and white, the red sawdust created from sanding, mixes with the white and makes it have red or pink streaks. So be careful when you sand and try to stay inside the lines.

The last technique I used was ultimately the distressing technique I chose to use on my sign. I add Vaseline to places I would like to see distressed. Then, you paint over the Vaseline. Let the paint dry completely before taking a paper towel or rag and wiping off the Vaseline. Again, focus on staying inside the painted area in case the paints want to mix.
Now it’s your turn! Show me a sign you have made and distressed! I’d love to share it in my stories over on Facebook & Instagram!
More Christmas DIY’s
For more 25 Days of Christmas, checkout…
Gift Wrapping Inspiration or Decorating for the Holidays with Vintage Finds
Learn More About Sign Making
In THIS post I give all kinds of tips and resources about sign making. Check it out HERE.


