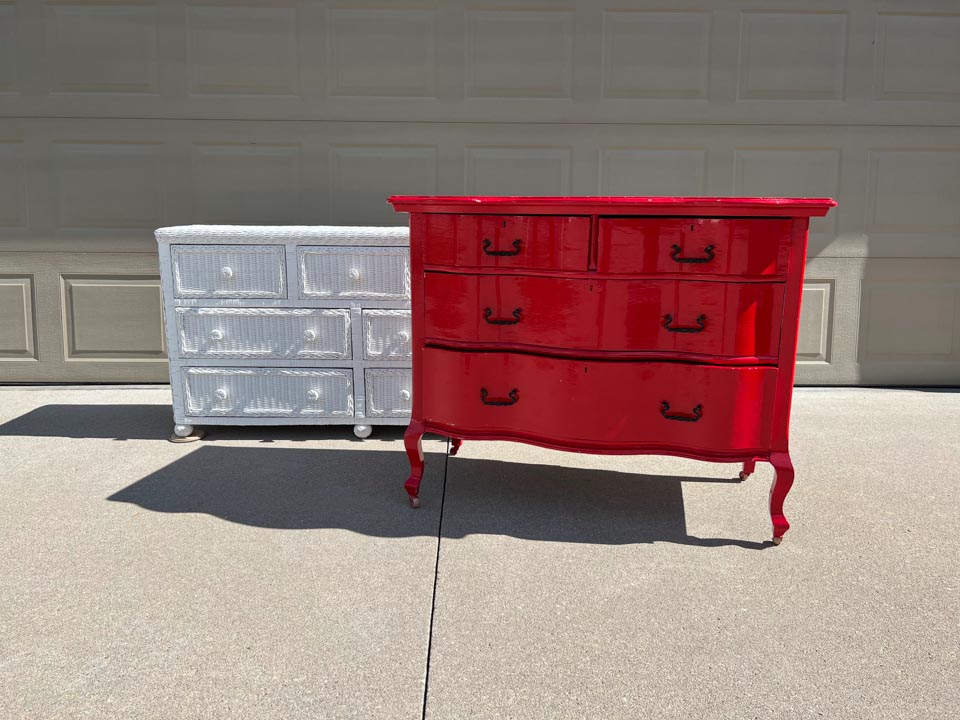
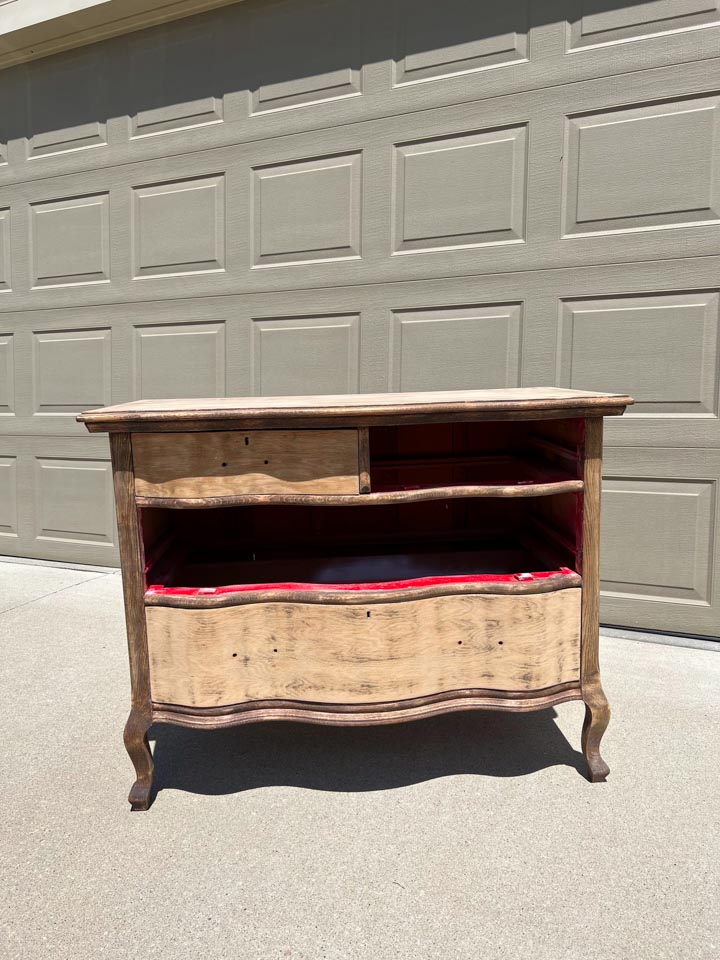
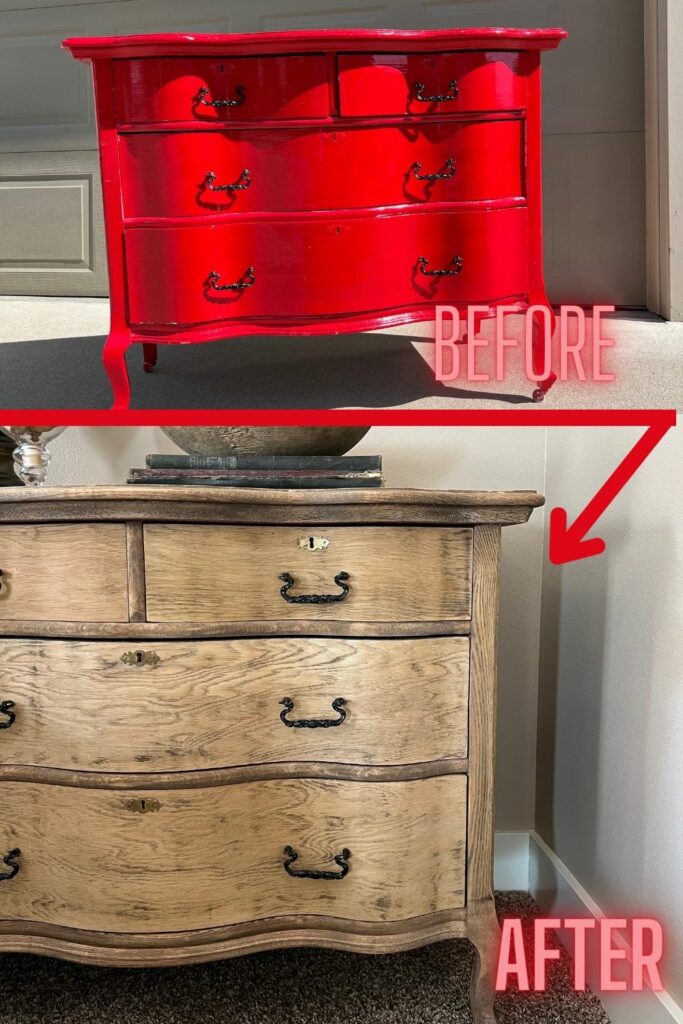
Raw wood finish DIY on a dresser I picked up for FREE along side the road! I’m giving this vintage dresser a makeover!
Did you catch that? I got this vintage dresser for FREE! The family and I had just moved into our new house. The kids wanted to go out to eat for EVERY meal! I mean I don’t blame them, we went from a small town of 5,000 to 5,000 people in our subdivision! (Don’t hold me to those numbers)
The food selection is amazing and I do not get joy from cooking, especially when there are other things I would rather be doing! So, we explained to the kids that we will go out to eat ONE time a week! We said that we will go somewhere with gluten free options for Kyler as much as possible and that we will rotate who gets to pick where we go!
This night we were headed to Wasabi Ankeny in the District for their sushi. Kash, our youngest, picked the restaurant. He is slightly obsessed with sushi at the moment. On the way to the restaurant, which is maybe a mile away, we spot 2 dressers sitting at the curb. I announced to the car load, that the old me would have said we are turning this car around! We would have gone back to the house, gotten the truck and picked up the dressers.
However the new me, said keep driving!
We finish eating and take the same path back to the house. The dressers are still there!
We walk the dog and go by the house. The dressers are STILL there!
We stop and talk with neighbors, one of which owns the dressers. He knew that they were really tempting me with these FREE dressers. But I continued to resist bringing them home.
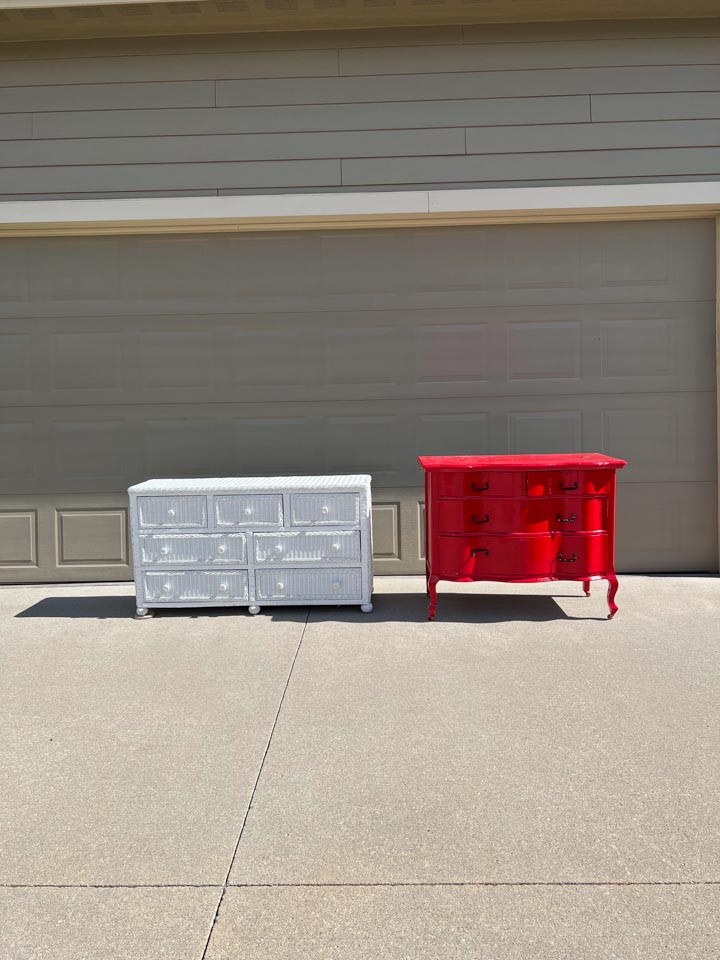
Free Dresser On The Curb
Then, I couldn’t sleep. I spent all night thinking that I should have snagged those dressers! I wait until 6:30am, hop out of bed and into the truck. I load these babies up by myself and bring them home!
If you buy and sell antiques for a living, then I’m sure you too have learned how to load and unload things you shouldn’t be loading and unloading by yourself! While loading one of the dressers one of the little boys undies were still inside. Also in their yard are a pair of kid shoes.
Please note that these are neighbors that I had talked to multiple times at this point. 😁
I grabbed the shoes and underwear and laid them out in the grass, just to be funny! It was a few days later before I talked to them again! They had been very confused about where the underwear came from!
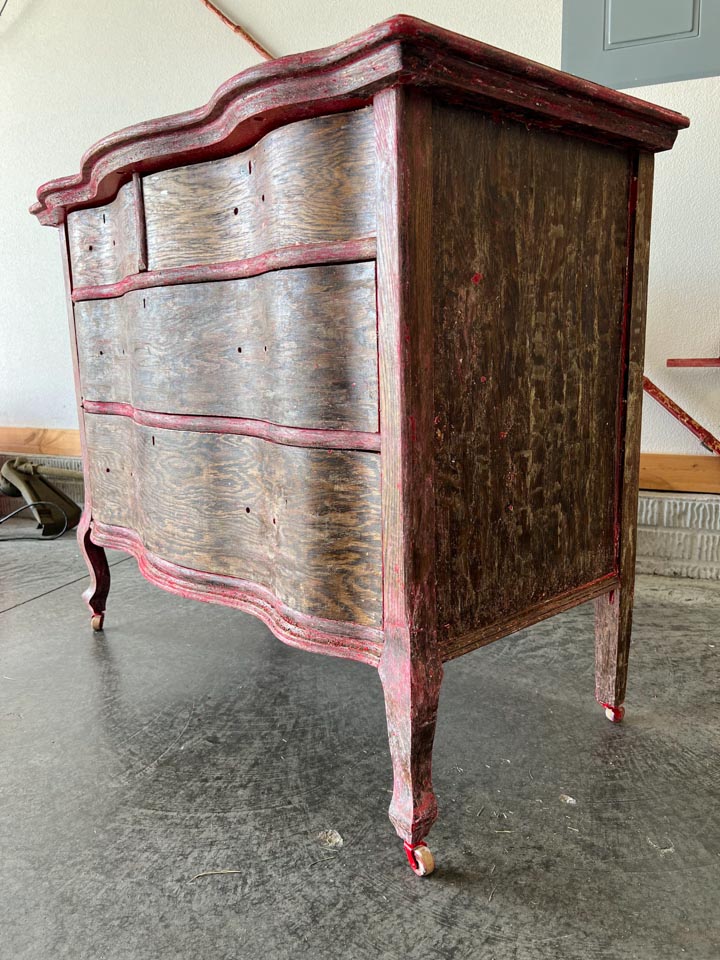
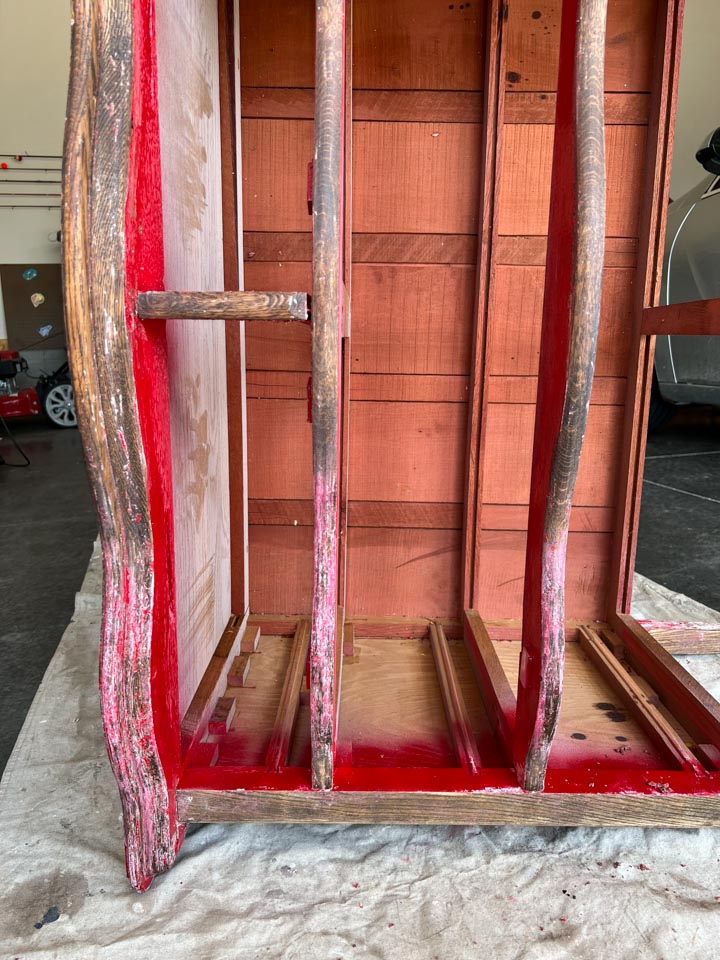
I knew immediately that I wanted to take this red, very red, excellently painted red, with a gazillion coats of spray paint red, dresser back to raw wood.
My History
I have stripped A LOT of furniture. It all started back in grade school when my mom had me refinish pieces for 4-H. I really hated it then and I’m sure I let her know it every second of the project!
Typically I use a chemical stripper but during a LIVE video when I stripped furniture, everyone talked about how I should use a heat gun. So, I bought a heat gun to use for future projects. This is the heat gun I purchased.
I did use it for some projects and I honestly wasn’t that impressed with it.
Years pass and I’ve used it a handful of times. For some reason THIS project seemed like a good time to try it again!
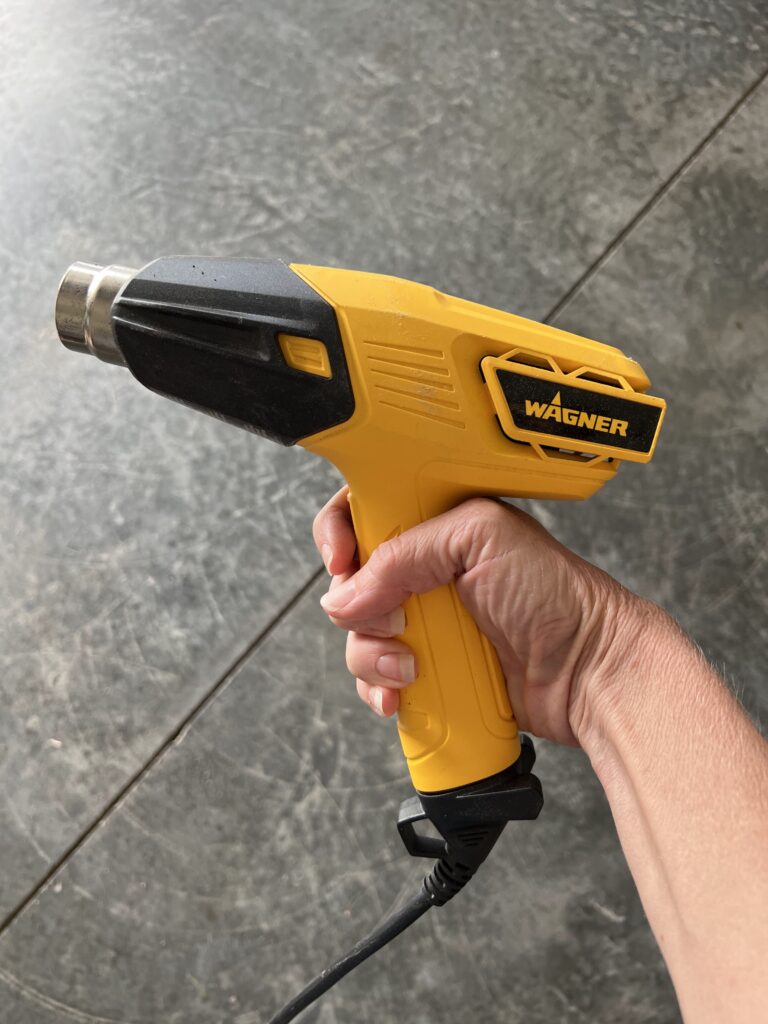
Above is my old heat gun and HERE is a newer version.
I was very pleased with how it removed the red paint and the white paint underneath it. I was not impressed with how it removed varnish/ polyurethane. As I write this I’m having an epiphany! Heat gun works best on painted surfaces, but leave the chemical stripping for the polyurethane and other sealers.
And yes, I know that using oven cleaner is all the rage right now. I’ve actually heard many people say that it doesn’t work well on paint, but does work well on polyurethane! Maybe I should have tried it for this project!
PS. I have some to use on my next piece!
I might add that if this piece hadn’t been free and if this piece wasn’t going in my own house, then I would have NEVER finished this project. I would have slapped some paint on it and called it good. This project took a lot of time and energy!!

The Process
Heat Gun
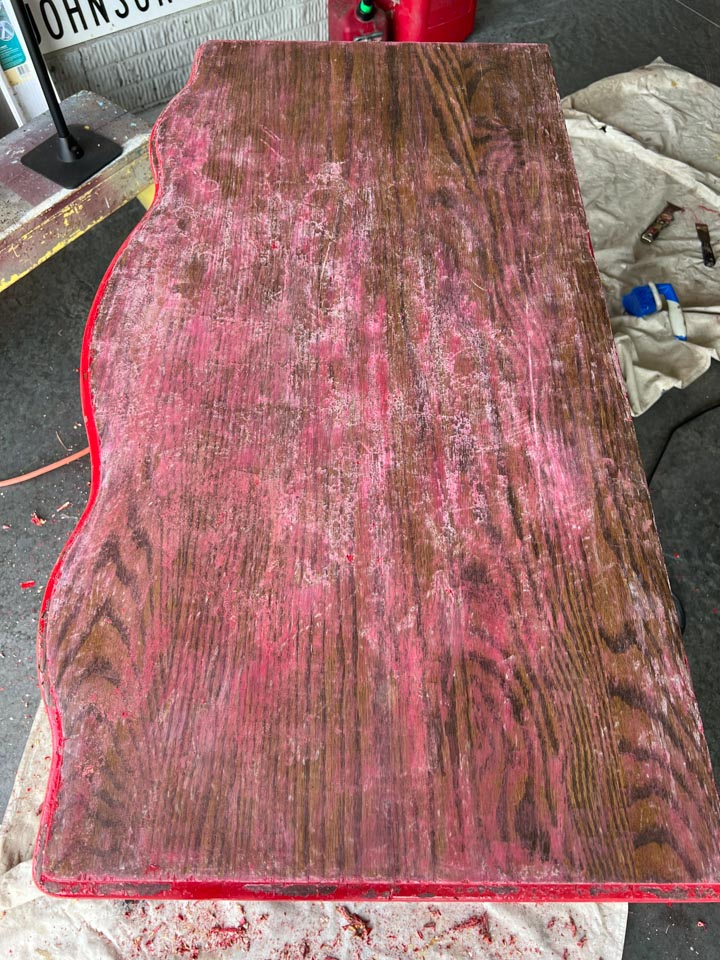
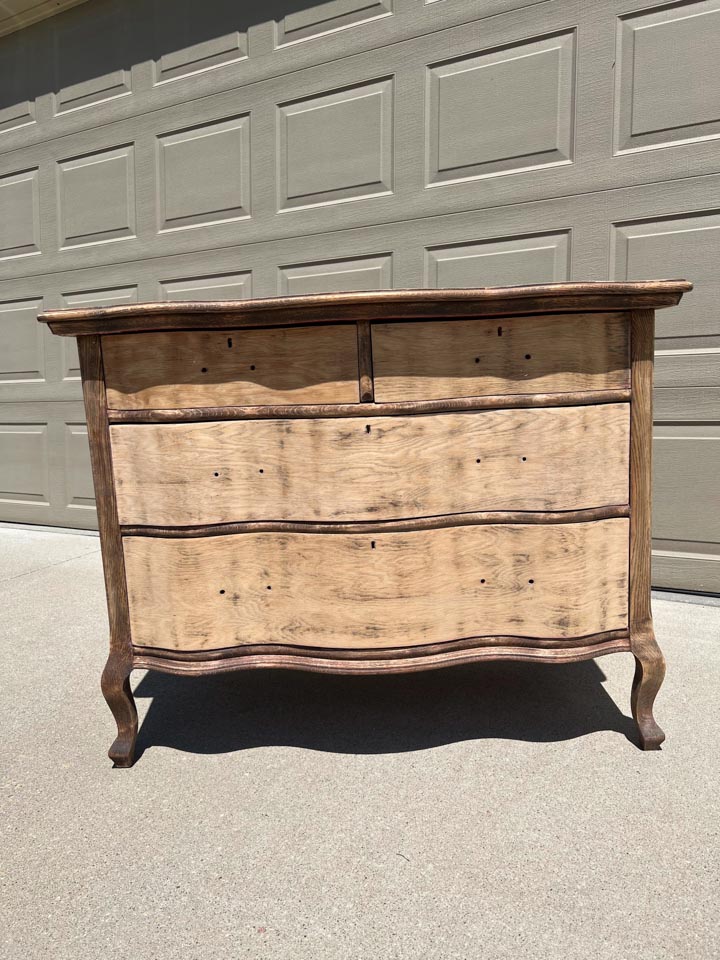
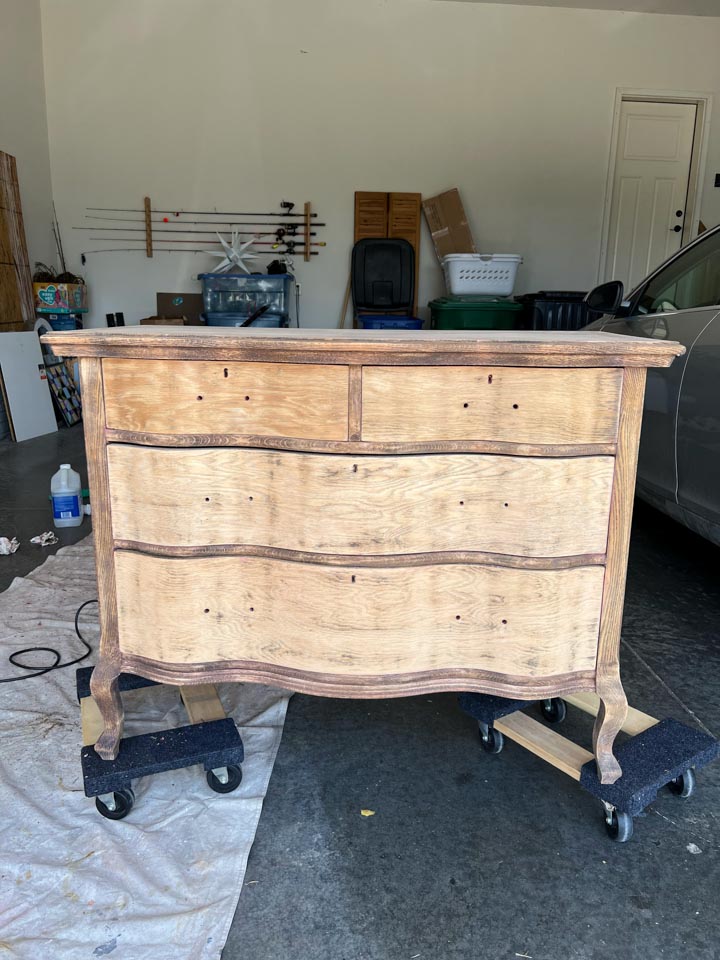
As I mentioned, I started using the heat gun. I did the drawers, dresser frame, key hole covers, and pulls with the heat gun. I had laid the wheels out to do as well, but decided in the end not to put them on the dresser. Below you can see what it looked like after just using the heat gun.
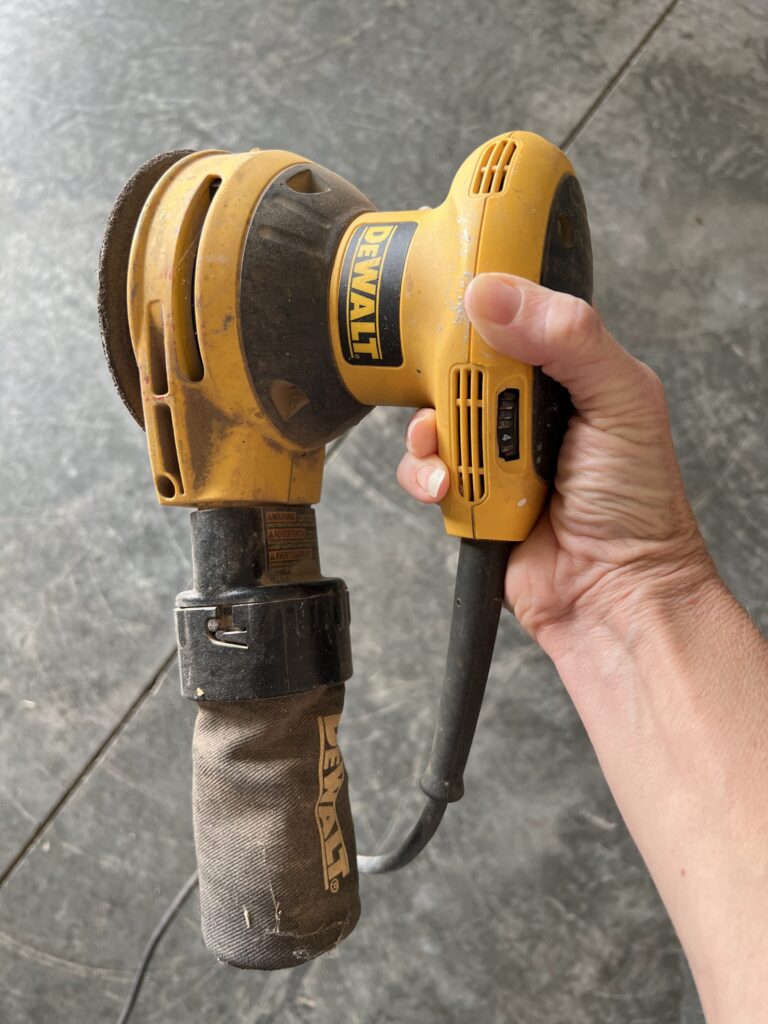
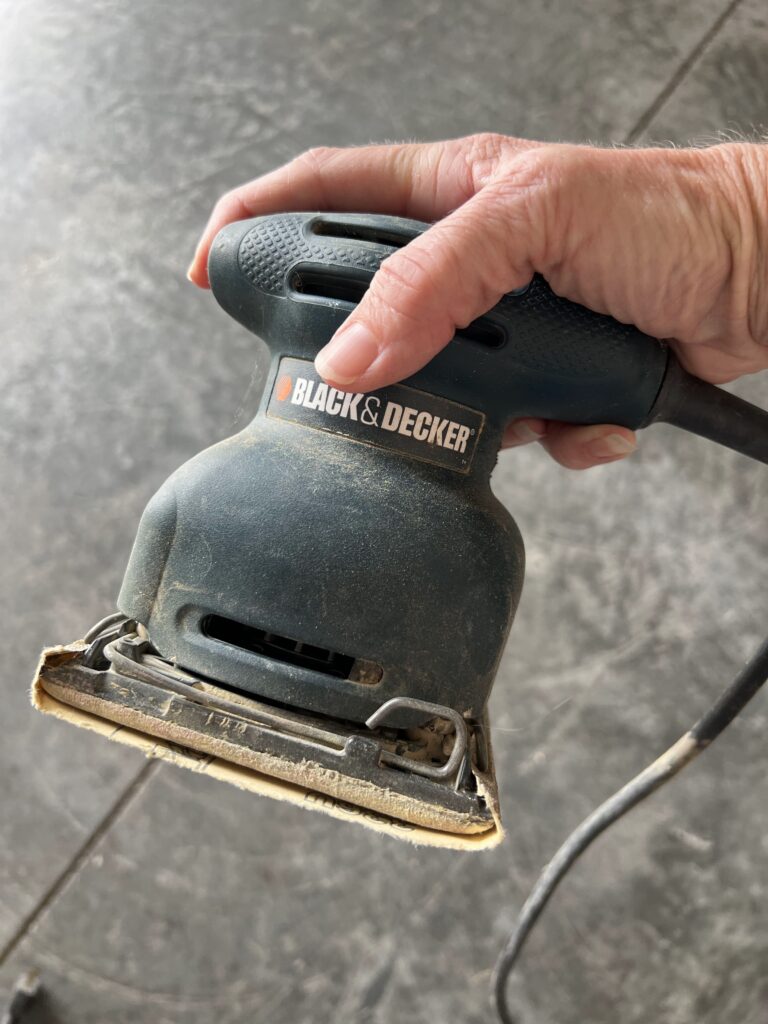
Next up is the sander. I need a new orbiital sander. I have to use a fingernail and hit the perfect spot to turn it on. Often times I have to leave my finger on the on button to keep it running. While that is not ideal, that isn’t even the biggest issue. At some point the grippiness on the bottom of the sander has lost its grip. So the sand paper is constantly flying off the sander. Trust me, it is very hard to sand anything if the sand paper doesn’t stay in place.
My sander holds the sandpaper in place essentially like things velcro together. I have not figured out any other way to make it work!
I do have a sheet sander, but I prefer the orbital. When it works as it’s supposed to!
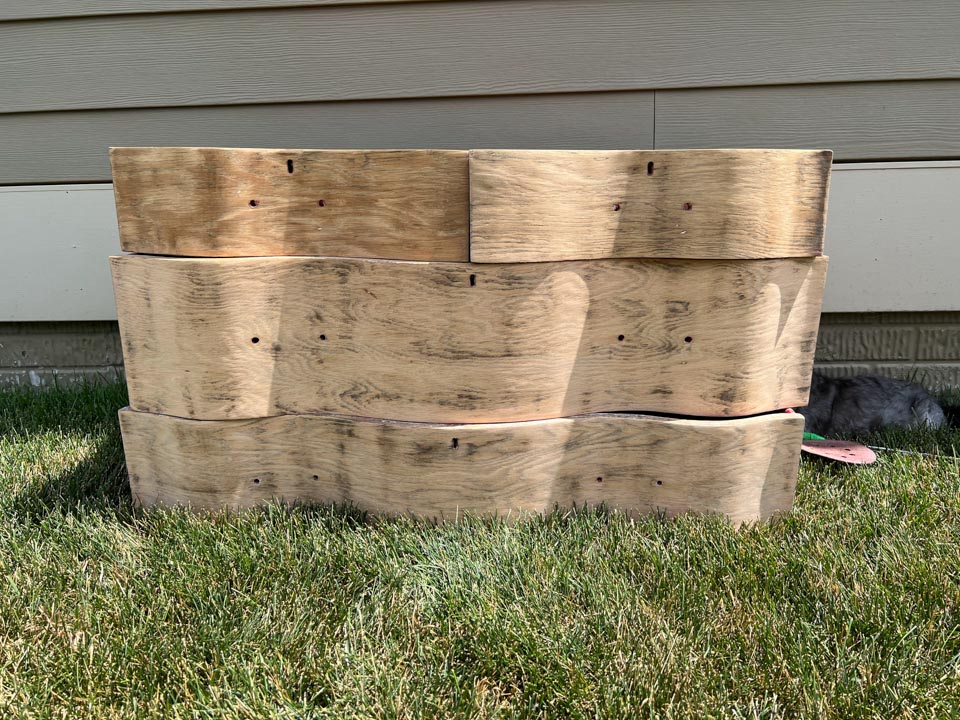
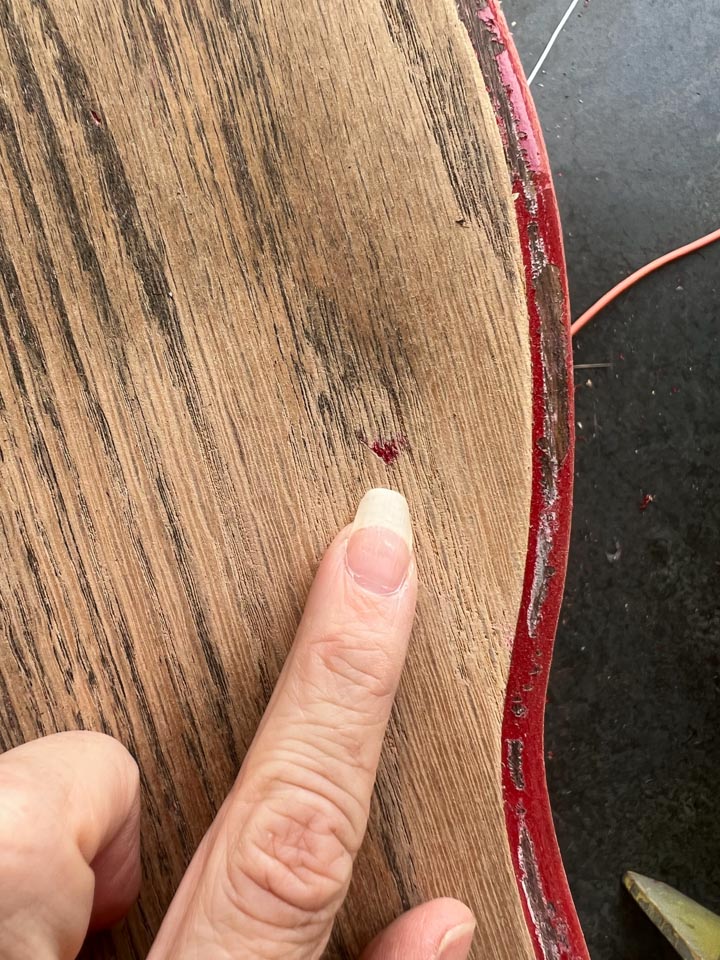
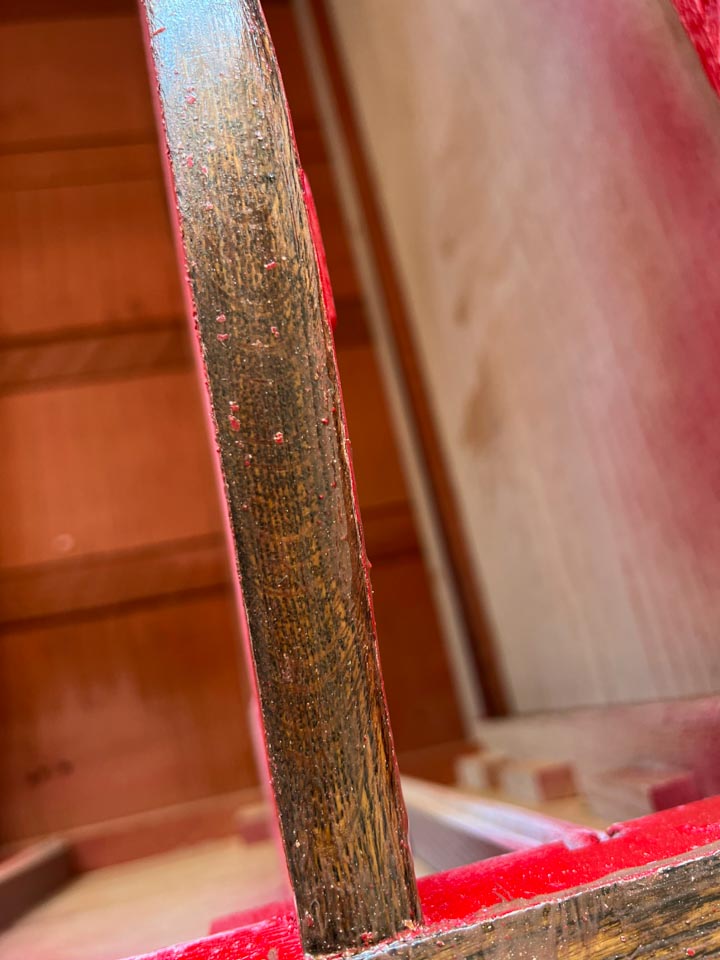
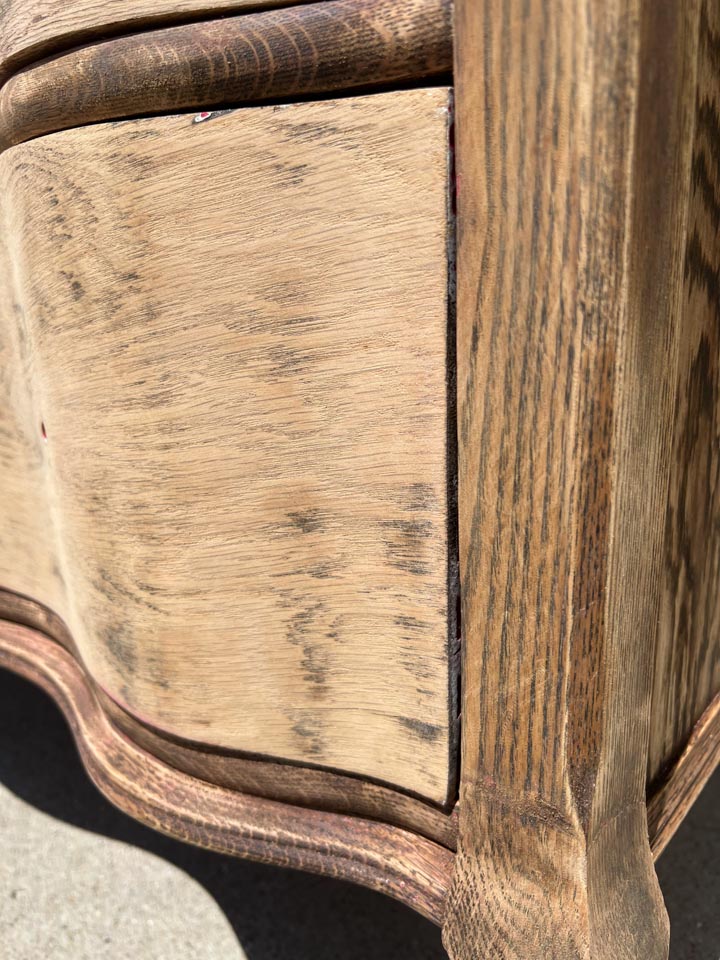
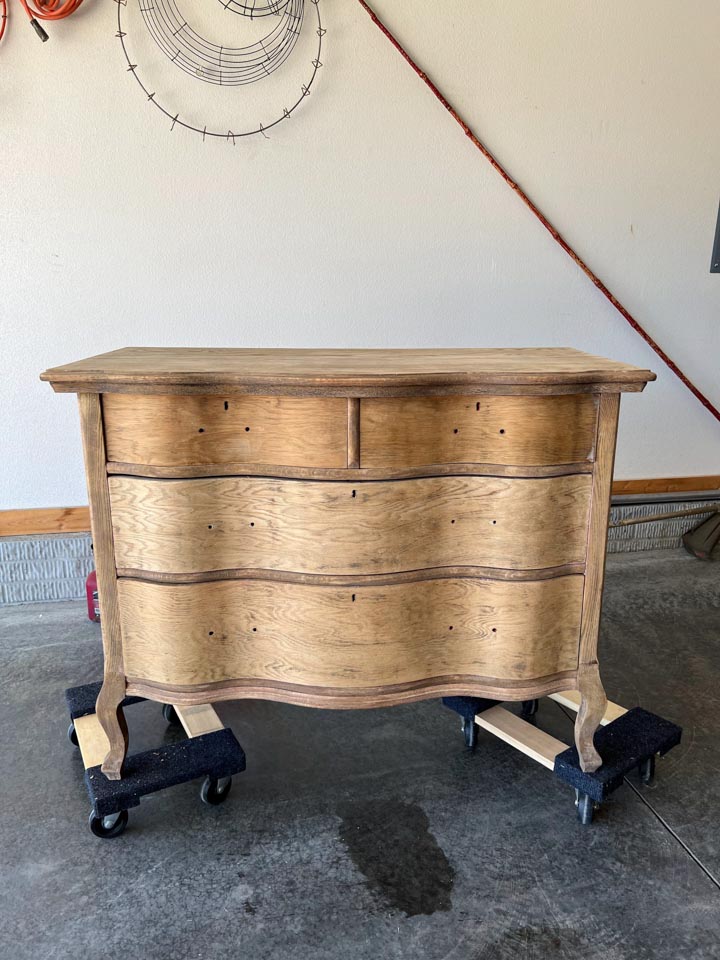
Here are the drawers after using the sander. The top of the dresser and the drawer fronts were very close to being finished after using the heat gun and sander. However, this dresser had a lot of nicks on it as pictured below and these two methods were not going to tackle that issue.
Sander
Here are my 2 sanders, but older versions…
I have a Black & Decker sheet sander. HERE is a similar version, but with the upgrade of having a dust collector, which I strongly recommend!
I have a DeWalt orbital sander. Mine is similar to THIS ONE. An upgrade I would suggest to the one I have is to go cordless like THIS.
Chemical Stripper
After sanding I could clearly see that the dresser needed more stripping. Since I had used the heat gun, orbital sander and sheet sander, I figured I’d try the chemical stripper next.
It worked ok! I used a scrapper, steel wool, and a wire brush this round. I knew that I wasn’t going to be done, even after this step. The dresser had a lot of dings and recessed spots that were still bright red even after all I had done. The polyurethane also was very difficult to remove on the sides of the dresser.

But I continued moving around the entire piece a section at a time with the chemical stripper.
Then, it was time for more sanding. At this point I mainly used the sheet sander. There were a few areas that were more difficult to hit with the sander and I sanded those by hand.
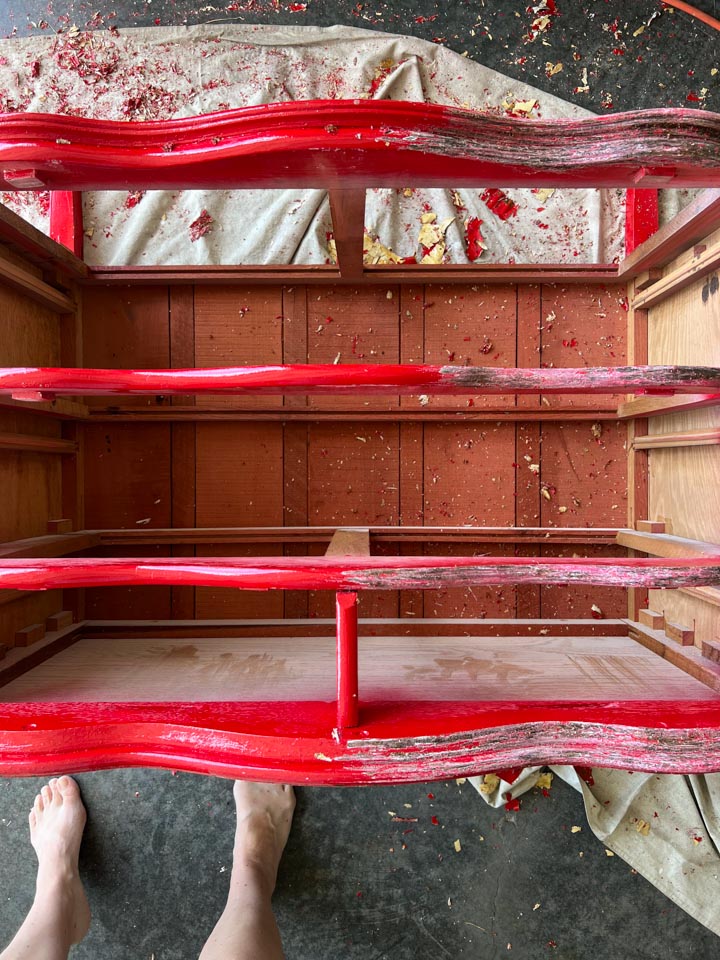
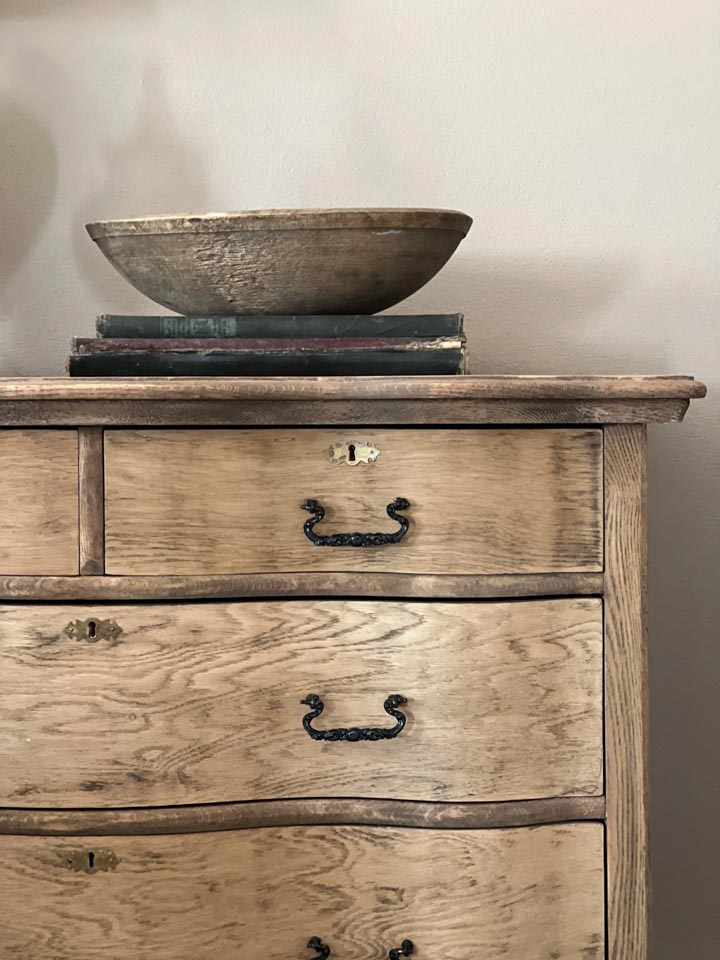
BEFORE I put everything away I put all of the drawers back in. On old pieces drawers are often flush with the dresser frame. Because of this once you close the dresser you can sometimes see the frame on the inside of the drawer. I wanted to make sure that I hadn’t missed any areas.
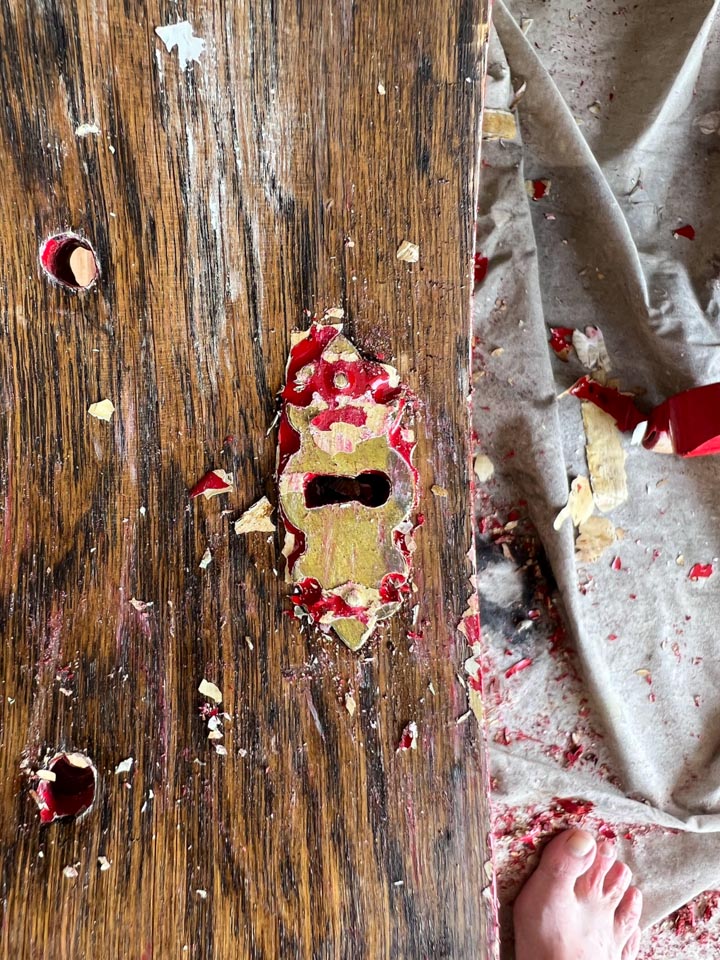
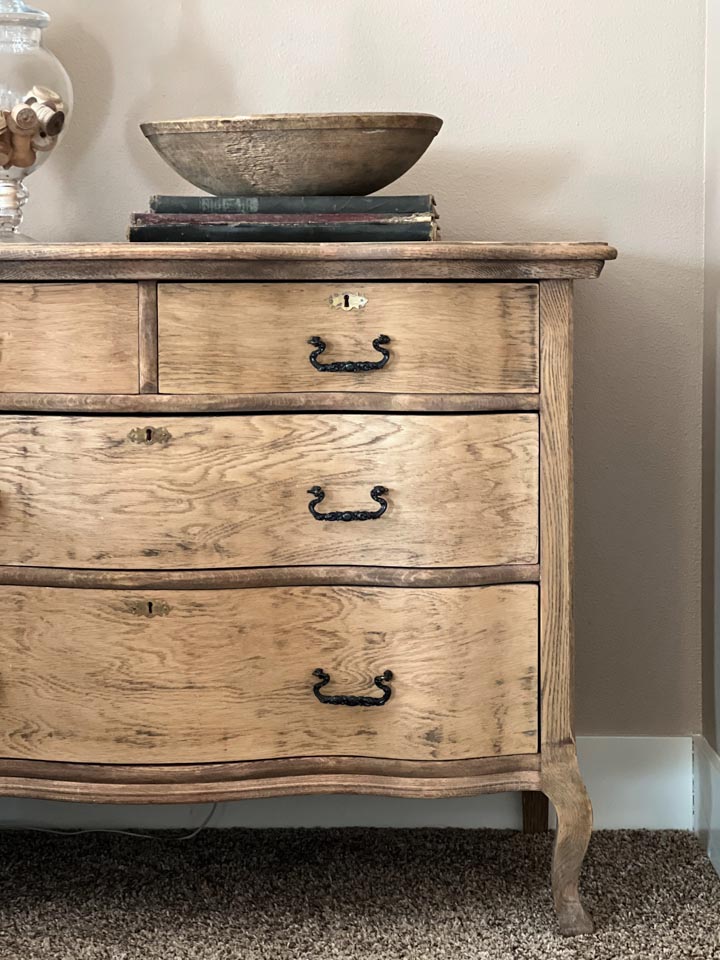
The key holes were a different story! They were bright red, but I didn’t think there was anything I could do. I tried to strip inside of them as best I could and then I gave up! Hey, my room is pretty dark anyway😉.
Once I added the key hole covers, that hid even more of that bright red paint.
Whitener
Social media is always giving suggestions on how to bleach furniture. Because my stripping and sanding job wasn’t perfect, I decided to try a couple things I had seen others do! Now, I caution you to do this at your own risk as mixing chemicals is always a no no!
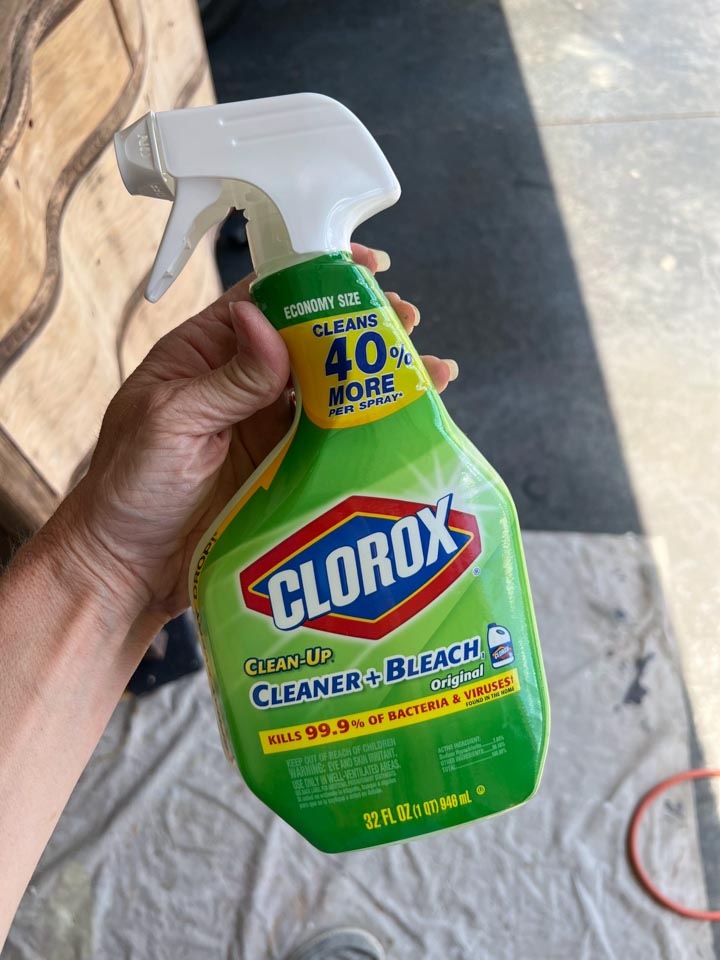
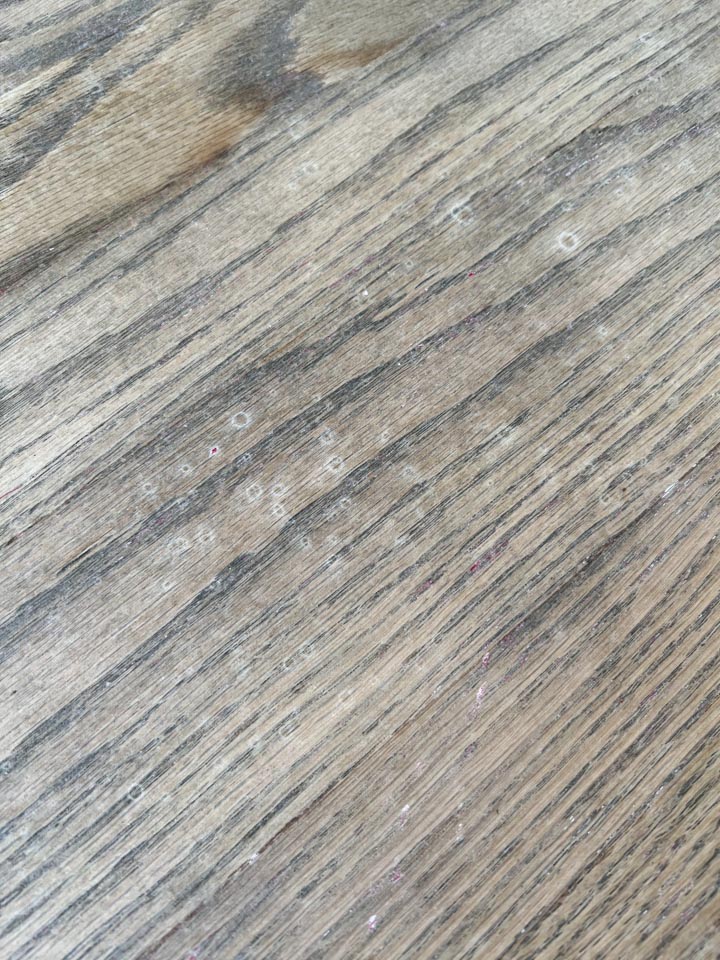
I did not have any bleach in the house, but I did have Clorox Bleach Cleaning spray! So I hit the piece with that and let it sit in the sun to dry. Sun is also known to lighten wood. The bleach cleaner did nothing noticeable other than leave some spots. Then I tried the Magic Erasers. Again, lots of people share that as a technique for lighten wood. I had some on hand, so I essentially cleaned off sawdust with it. It did smooth out some spots from the bleach cleaner, but I’m not sure if it made the piece lighter.
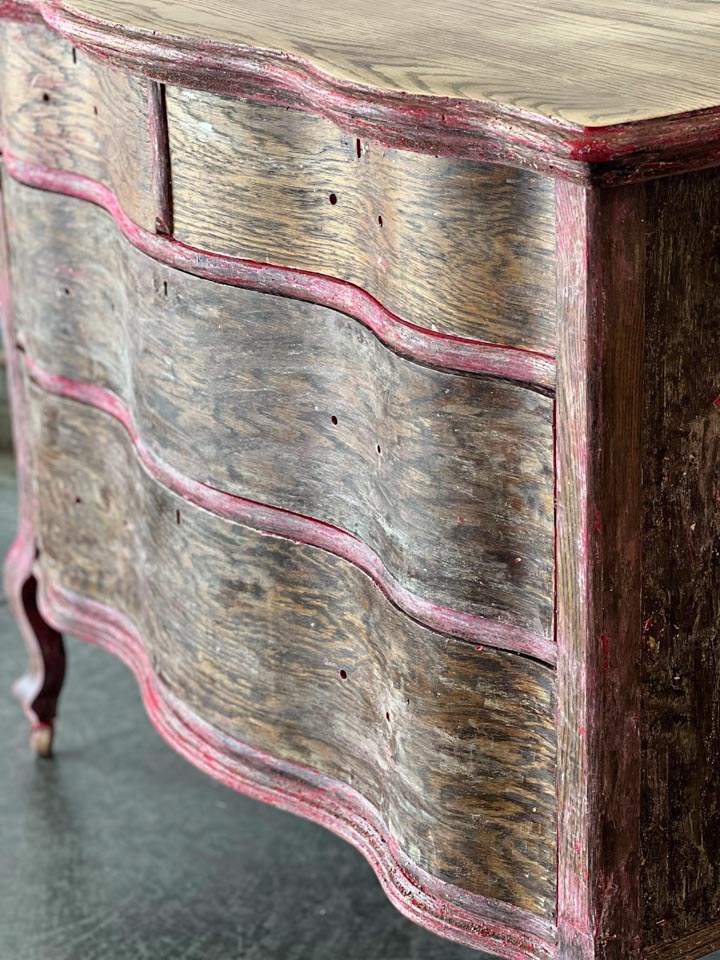
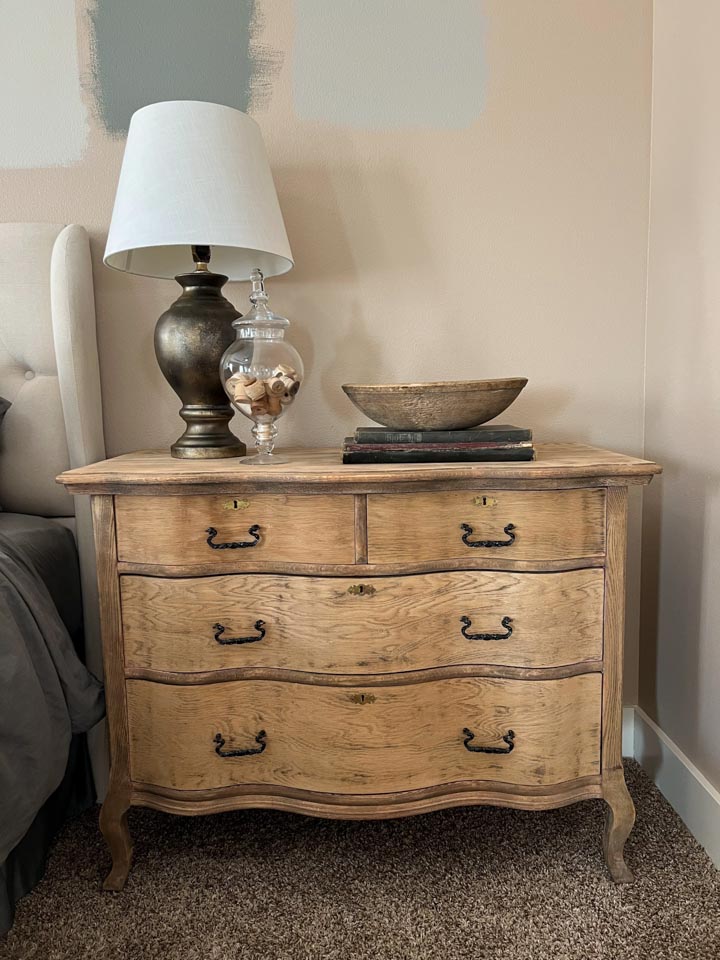
Finishing Touches
Because I wanted the raw wood look, I left it. I don’t even use a side table. I don’t read in bed. I don’t watch tv in bed. I don’t turn on a lamp. I don’t keep a drink in my bedroom. I leave my glasses in the bathroom and my phone on the charging station. Hubby and I literally just sleep in the bed. So there’s really nothing functional to put in or on a side table. I just have one because it looks good and takes up some space.
I’m sharing all of that with you because I’m not worried about it not being sealed in some way.
I have tested out quite a few products and no matter what you use to seal a raw wood piece, it will change the patina/coloring in some way. I didn’t want that, so I left it.
Watch the Process
Tips for Your Raw Wood Dresser Finish DIY
Mentally prepare yourself for this to take longer than planned to execute!
Try different things if they are available to you! What works for one person might not work for you. All furniture, old paint, prior finishes, et. will be unique.
Use a drop cloth! It makes clean up so much easier!
Don’t clean up until you finish! This saves you time AND is motivation to finish!
Rotate your furniture as you work so you have a flat surface to work on.
Install drawers and shut doors before you put things away. Make sure you really got all visible areas.
Stick Around
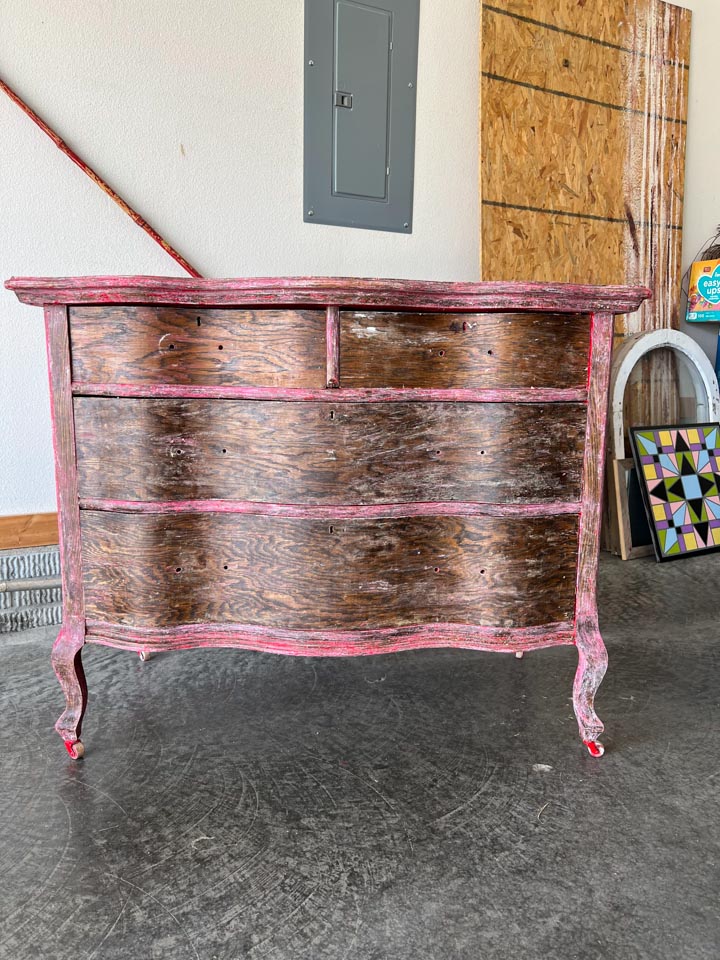
You may notice in a lot of the photos that I’m living in a house with camouflage paint on the wall! That is because once we moved into the new place, we knew we wanted to paint, but we’re not sure what color we wanted. We ended up ordering a sectional for the new living room and I wanted to wait until that came in before deciding what to do!
You might be thinking, but Brooke, this is your bedroom! Well, what can I say I haven’t been in the mood to paint! That just makes it easy for you to know older photos vs newer ones!
You can read and watch videos all about moving, the old house and the new house too!
Raw Wood Dresser Finish DIY Pin It!


14 thoughts on “Raw Wood Finish Dresser DIY”
Beautiful! I’ve always loved oak furniture with very little finish. I might oil it as during the winter the bare wood could dry out.
Oil will completely change the look, so no oil for this piece!
You can replace the “Velcro” bottom on your orbital sander… I had the same problem!
Oh my goodness! I never would have even thought about that being a possibility!! I will definitely do that! Thank you so much for sharing!
I love, love the new look! Beautiful! I think well worth the save & effort!
Thank you! I’m very happy with it!
I love it just like it is and I agree that any sealer changes the color. I think the color and style looks really nice. I’m not sure I would have had the patience for that much work but it was worth it and really love free!!
Yes, I was getting annoyed that it wasn’t coming off easier!
It is a beautiful piece with gentle lines. Well done!
Thank you! It was labor intensive!
Love the dresser! Awesome job!
Thank you!! Much longer project than I had imagined!
Hi Brooke! That is alot of work. It is a beautiful piece of furniture. My favorite kind! Serpentine, oak and free. Have you tried a liming wax?
I have just tried cerusing wax and matte poly. Have you used liming wax?