Summertime is the perfect time for patriotic decor! With the Fourth of July right around the corner, I am rounding up my favorite patriotic DIY projects and including a new one!
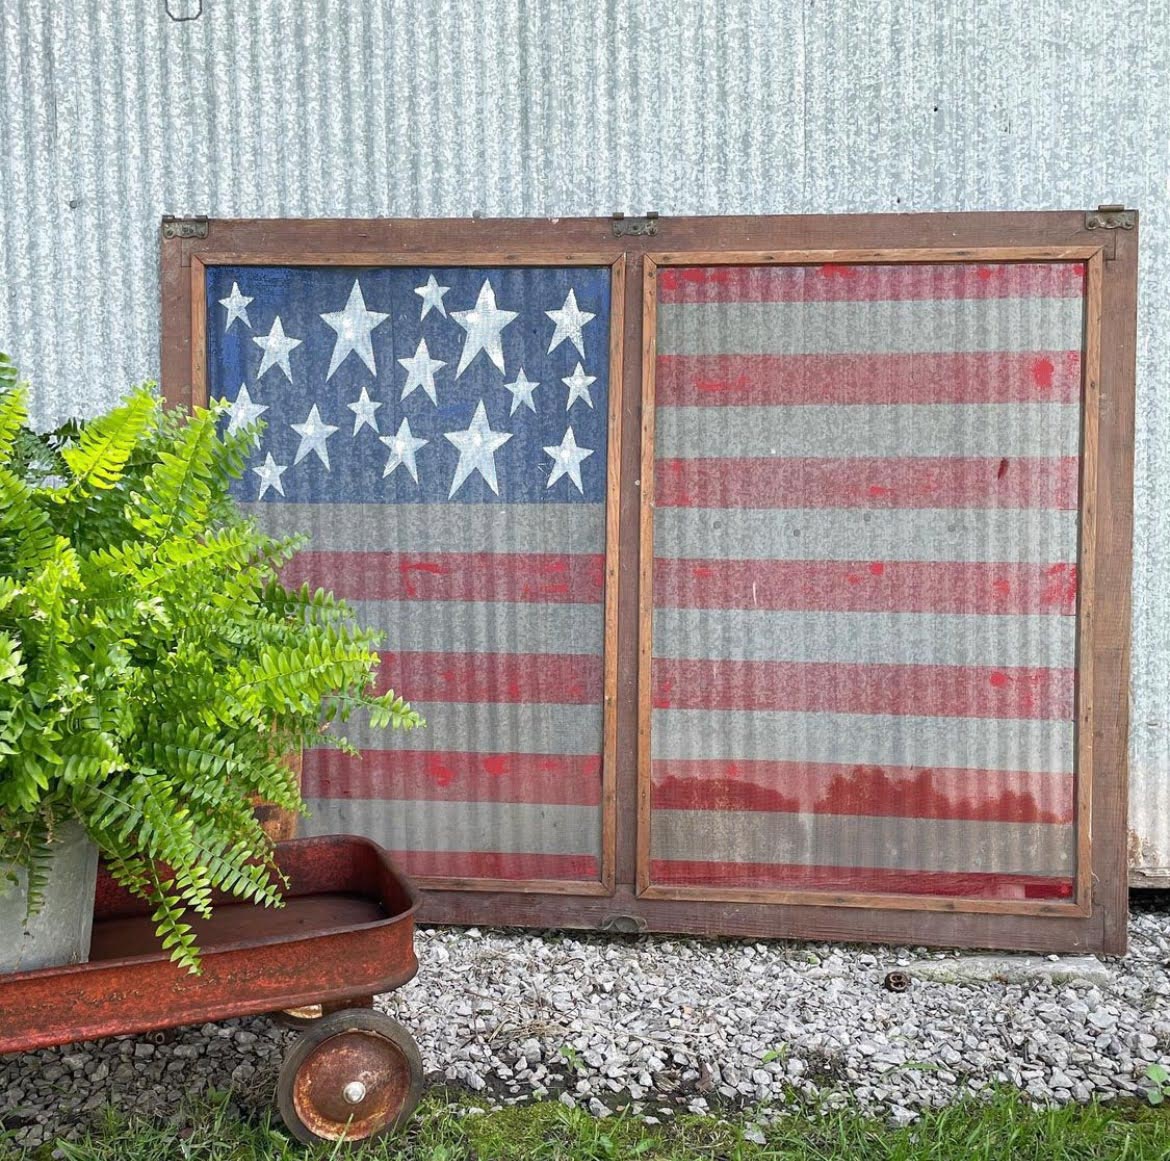

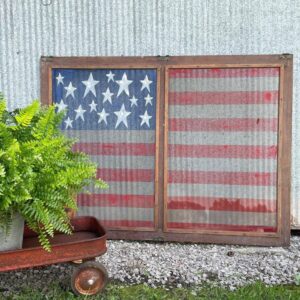
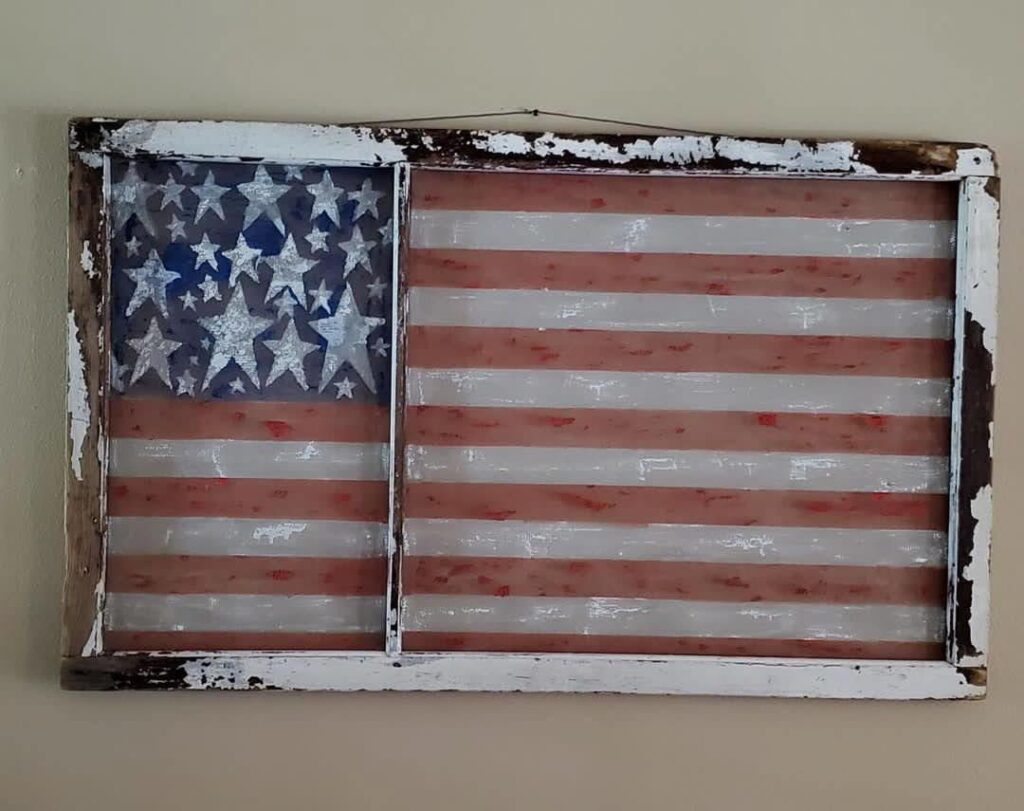
Let’s start with a new project! Learn how to paint an American Flag on a window screen with me!
American Flag on a Window Screen
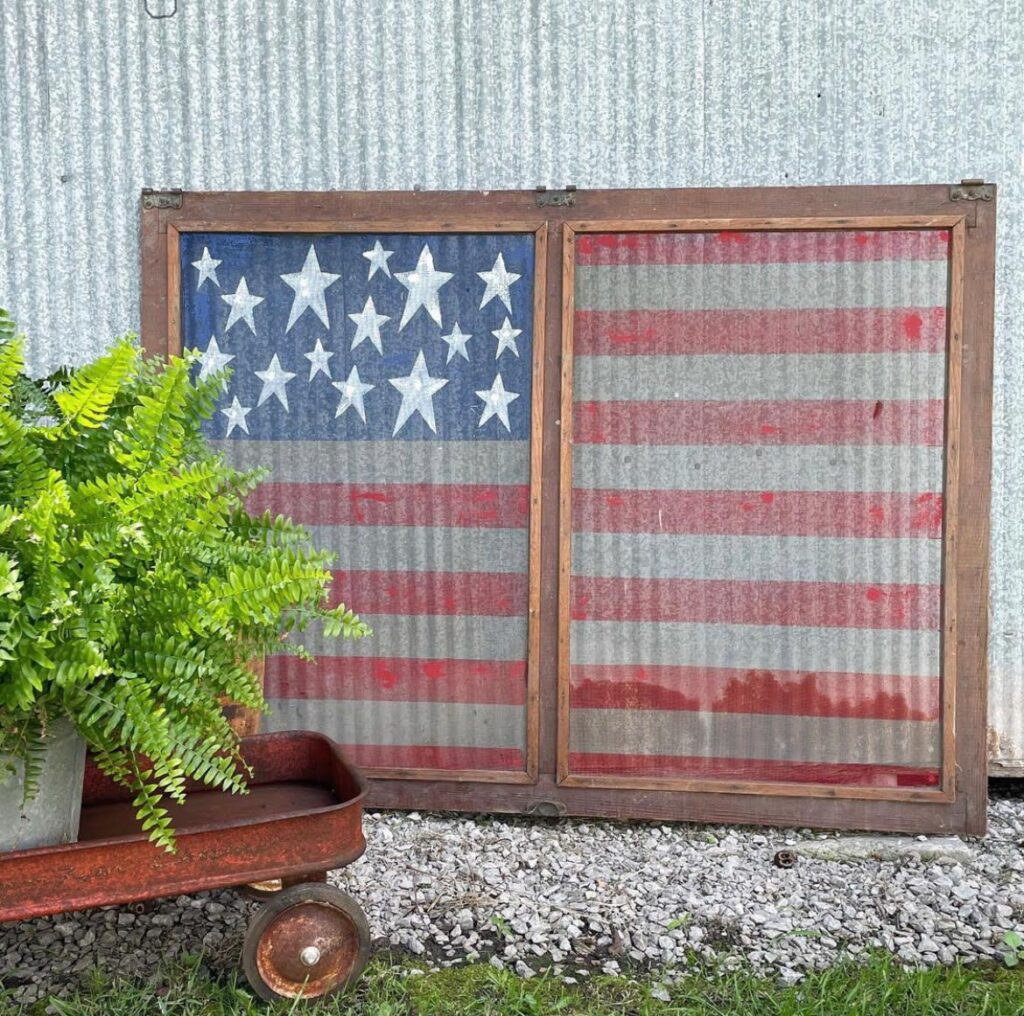
I have seen tons of flags painted on barn doors and they are super cute, and figured I could get a similar look by painting a flag on a screen. In my stash, I had a bunch of screens that I had sold. I used my last one for this project, and I love how it turned out!
Supplies
- Old screen door or window screen
- Painter’s tape
- Paintbrush
- Latex Paint
- Star Stencil
Before you start, make sure that your screen is clean and completely dry (if you had to clean it).
Next, I took my painter’s tape and began to place it in strips across one side of my screen. I covered this entire side of the screen in painter’s tape. Then once I determined how big I wanted the portion of the flag with blue & white stars, I began to remove the tape from that section.
I decided that my stripes would be two sections of tape in thickness. To make this easy, I removed two sections of tape at a time and then placed them on the other side of the screen to perfectly line up with the tape I left behind. If you need a visual of this process, watch my video:
After I had my painter’s tape in place and all the sections of the flag clearly marked out, it was time to paint!
Painting the Stripes
I started by painting in the stripes without painter’s tape. I used some red latex paint that I had on hand from other projects. It is important to remember that when you are using painter’s tape, you need to make sure that you hold your brush partly over the tape and the space that you are painting. This helps you get a crisp line. Don’t push your brush up at the tape, paint across. We don’t want paint bleeding under the painter’s tape!
Tip: When you are using painter’s tape, make sure that you paint across the top of the painter’s tape instead of brushing down into it. This will help you get a clean line!
After I finished my red stripes, I painted the top left section of my flag blue. Before the paint dried too much, I peeled off all my painter’s tape. Then I allowed the screen to dry completely.
At first, I was regretting that I didn’t spray paint the screen white before doing the red stripes. However, when I pulled the tape back, I liked the look of the plain screen. It was a happy accident!
Painting the Stars
When the screen is dry, grab your stencil, white paint, and detail brush and work on your stars! I chose to do mine randomly, using a combination of smaller stars and larger stars from my stencil. I didn’t want the headache of trying to get them all perfectly lined up! If you want to line yours up, you sure can! If you don’t have a stencil, you can make your own stencil using a cereal box, or you can freehand them. After you are finished painting your stars, let them dry and you are done!
A painted screen would look great hanging on your wall inside your home, on your porch, or even placed in your yard!
How to Paint an American Flag on a Window Screen
Materials
- Old Window Screen
- Red, White & Blue Latex Paint
- Paint Brush
- Painter's Tape
Instructions
- Make sure your screen is clean and dry.
- Tape off one section of the screen. Make sure that you place your tape in strips from left to right (this will be important later for making the stripes of the flag).
- In the left hand corner, remove tape to create a square for the blue portion of the flag.
- Using two strips of tape for the thickness of a stripe, remove every other section of tape.
- Take the tape you removed and line it up with the tape on the opposite side of the screen, creating stripes all the way across the screen.
- Paint the exposed stripes red and paint the left-hand corner blue.
- Remove all painter's tape before paint dries too much.
- Allow paint to dry completely.
- Using a star stencil, stencil stars onto the blue portion of the flag.
- Allow paint to dry.
Notes
I love to learn by doing! This means that often after I have completed a project, I have some ideas of my own and suggestions from others on how to make it better. Here are a few ideas that could improve this project for you to experiment with:
- Sealing your screen after you have finished painting (especially if you plan on putting it outside)
- Use a medium or primer on your screen before you paint to help the paint stick
- Paint on both sides
- Paint with a sponge brush using a pouncing or dabbing motion
Do you need more projects for your old windows? I’ve got you covered! Have a look at my Quick and Easy DIY Window Projects blog post!
Patriotic Bunting
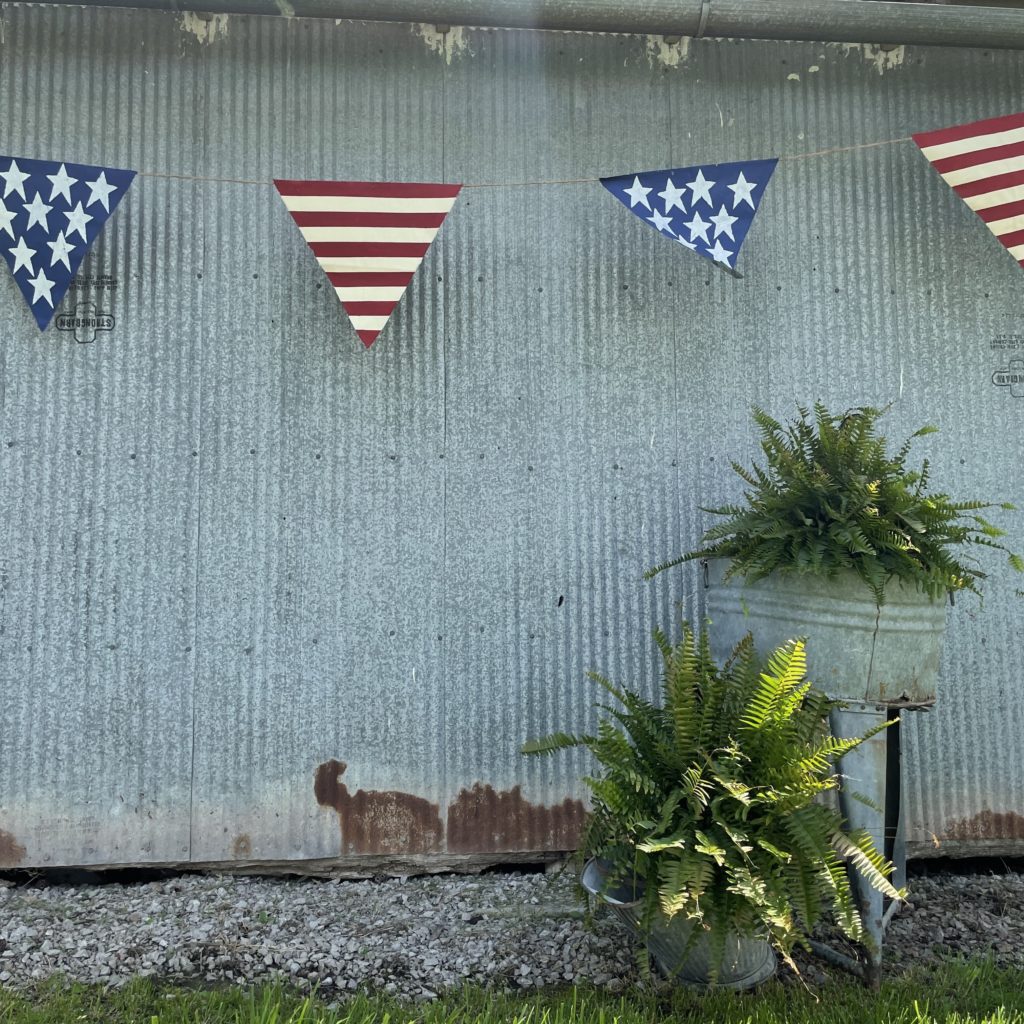
As you may know, I love using up items that I already have, and this DIY is no exception. I took some scrap fabric to create this festive patriotic bunting! Read the post, Creating a Simple Patriotic Bunting to see how I made mine. Or, watch my YouTube video below!
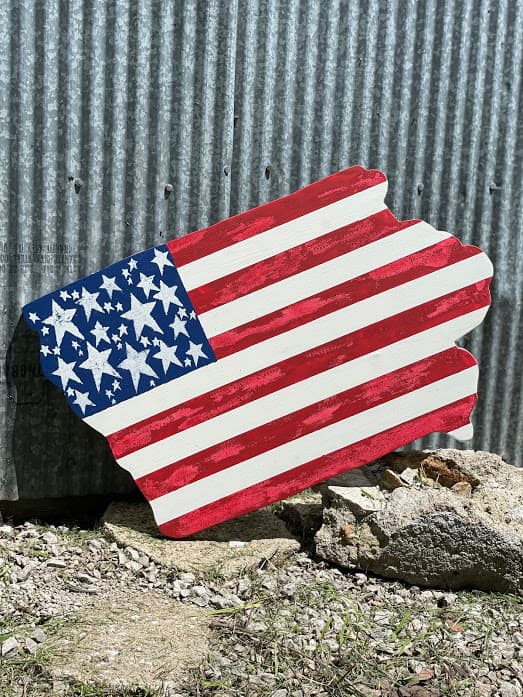
Iowa Flag

While I was out on a pick, I grabbed an Iowa cut-out and figured it’d be perfect to paint an American flag on! Read my post, Let’s Create a Wooden Iowa Flag, to learn how to make your own! Or click the button below to watch my video:
More Patriotic DIY Ideas
If you love Americana decor, the sky is the limit for DIY! Consider painting a flag on a canvas, the glass of an old window, a feed sack with faded advertising, an old door, a barn door, or even a mirror.
Stick Around the Blog for a While
I do tons of DIY projects, but that isn’t all!
Join us for Coffee Talk with Brooke + Hillary. We talk about life, business, junking, thrifting, and everything in-between! Listen along while you have a cup of coffee or do those mundane household chores. Binge all of our previous episodes starting with Episode 1.
For design tips, check out my post that shares three different Vintage Coffee Table Decor Ideas!
Ways to Connect with The Junk Parlor
There are so many ways you can keep up with me! I am always sharing DIY tutorials, my latest antique and vintage finds, going live and doing sales, and even showing you bits and pieces of my life. Keep up with me here on the blog or on my social media!
Check Out my Latest YouTube Video:
This post may contain affiliate links for the products I use and recommend. I am not paid to promote these products. If you purchase using my affiliate links, I could make a small commission at no charge to you.
