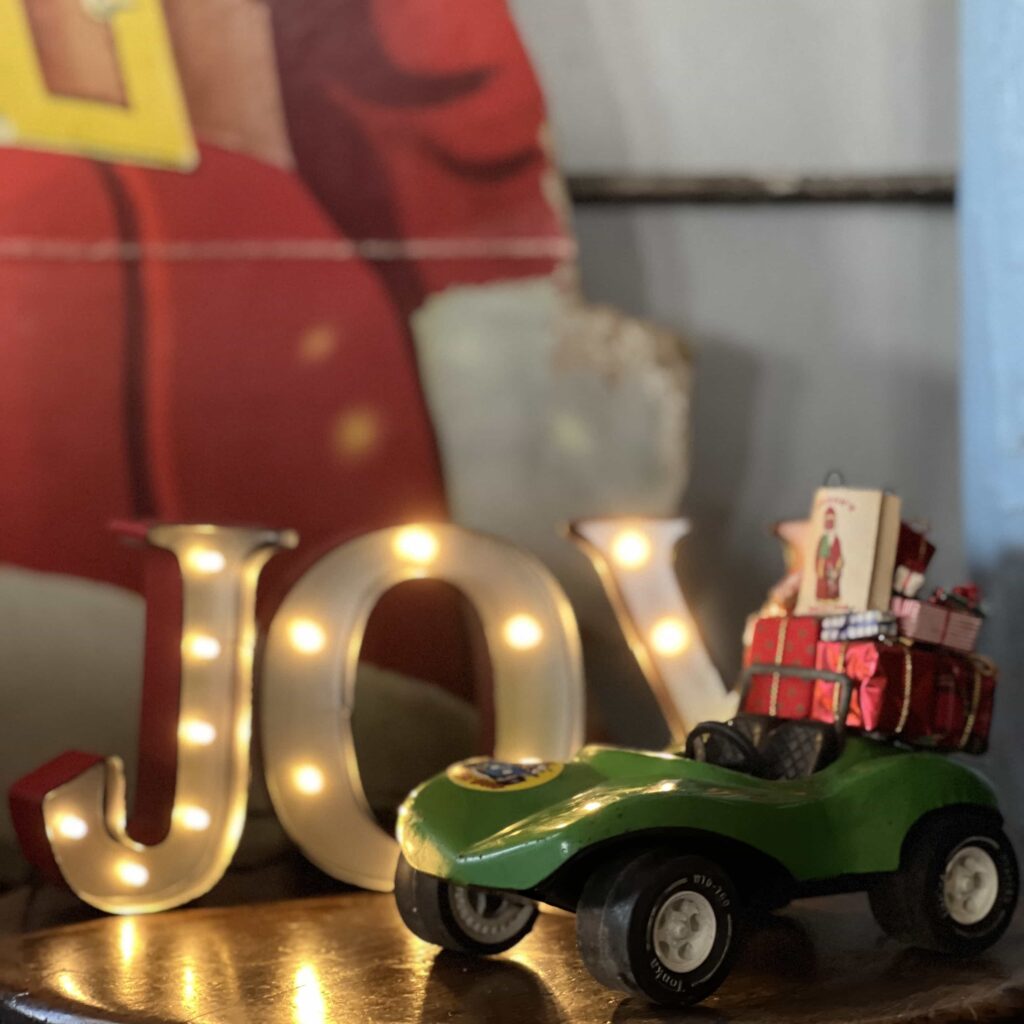
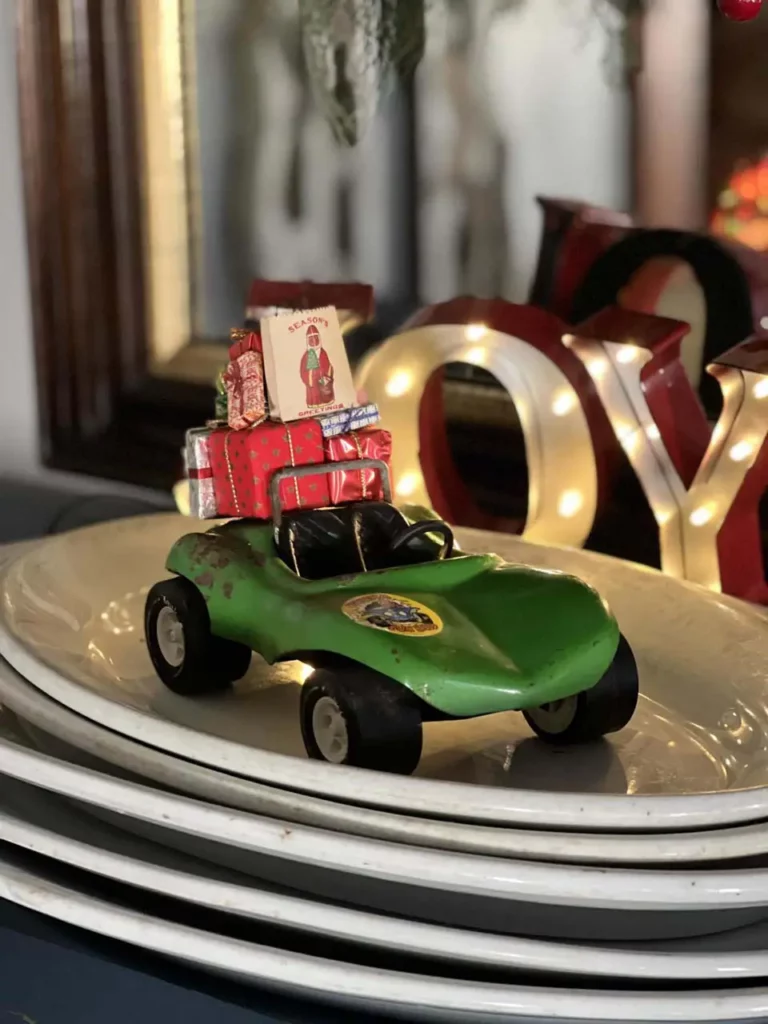
Today I am doing another embellishment project, remember those Breyer Horses I did earlier this month? Today’s project is similar! Keep reading to find out how I added presents to the top of this little green vintage toy car for Christmas!
Supplies
- Hot Glue Gun & Glue
- Small Vehicle (Vintage is cute, but any will do!)
- Mini Presents
Little Green Car
If you have been around a while, then you will know that I love green! I shared the Antiques I Keep for Myself and one of my collections just so happens to involve the color green! It will come as no surprise that this little green vintage car caught my eye!
It is the perfect color for Christmas, so naturally, it was a good candidate for a little embellishment! I love that it is vintage, but if you don’t have a vintage car look through your kid’s toys! Imagine a tiny hot wheels truck loaded with gifts! Or maybe even a tractor & wagon combo!
Presents
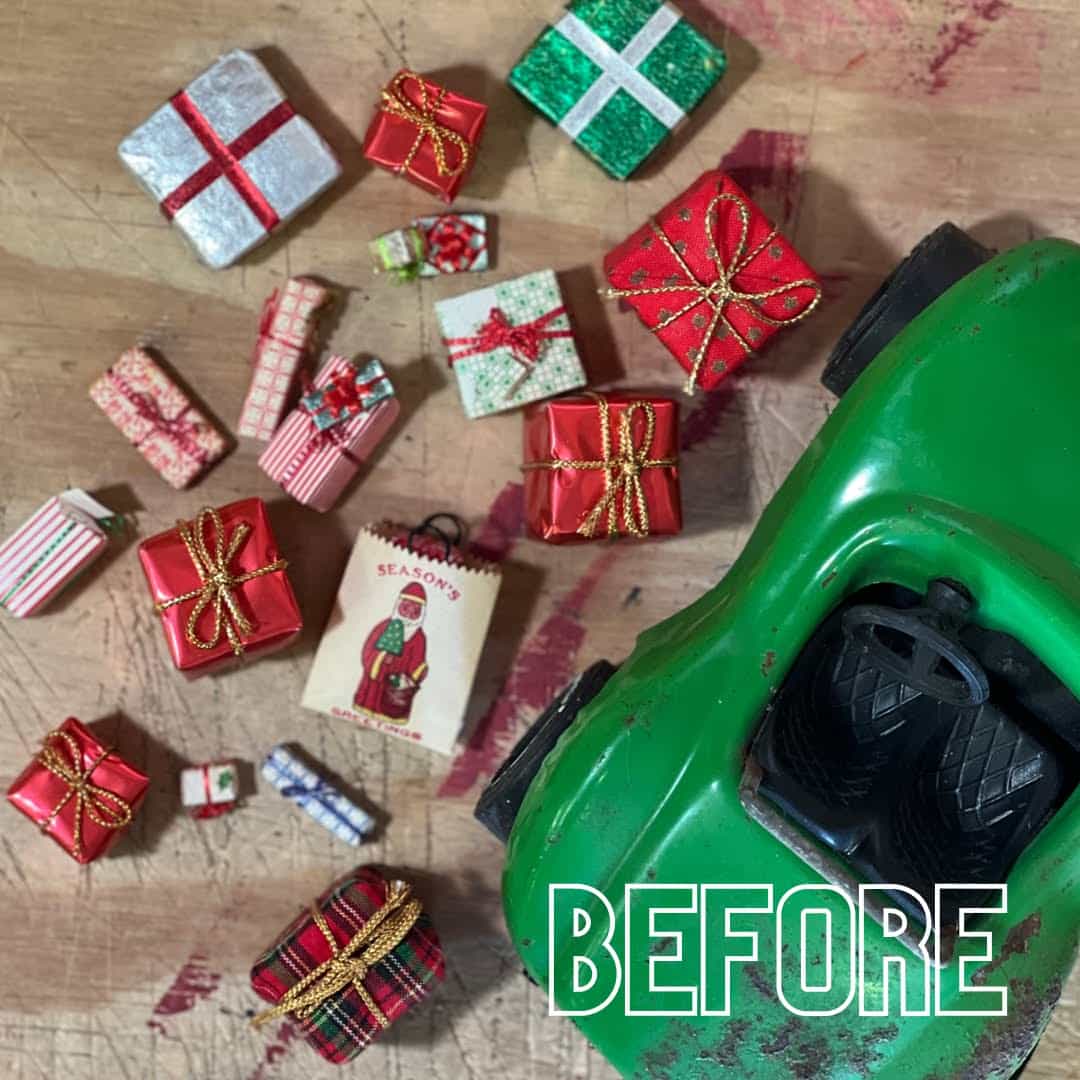
Honestly, at first, I really wanted to put a tree on the back of the car. But anyway I positioned the tree, it looked dumb! I was in need of a new idea. This is where the mini presents come in!
The mini presents are so cute! Who doesn’t love a miniature?! How did I come to have so many tiny presents? Let me tell you the story!
I was at an antique store, and there was a cloche with a paper mache Santa. At his feet there were tiny toys and packages, he also had a sack slung over his shoulder with even more tiny toys and packages. Santa had definitely seen better days, but I was really after the cloche.
This was one of those times where I had to decide if all the extra stuff I was getting with the cloche would be worth it to me, kind of like box lots at an auction. Sometimes you have to buy a whole box of junk (usually it isn’t the good kind of junk) just to get the thing you really wanted. Sometimes it just isn’t worth it to deal with it and sometimes it is! Obviously, my situation with Santa and the cloche was on a much smaller scale as far as dealing with the extra junk, but you understand what I mean.
Was It Worth It?
To me, it was worth it! I knew I could split the items up and sell them or find uses for them. I definitely like to buy stuff and separate it and sell it individually. Separating things out can help people see their potential when maybe they couldn’t before!
In this case, I sold the Santa separately during a Facebook live. All of the tiny toys were sorted out and sold separately. I grouped the rest of the items in like groupings with the idea that I’d use them at some point for tiny vignettes I put together. That is how I came across some of my tiny packages.
The rest of my tiny packages were little tiny boxes made out of old cards. Who remembers making little boxes back in grade school?! I had a bunch that I had picked up and just had them tossed in a bowl. These made up the rest of my packages for my car.
Speaking of presents and packages . . . If you need some inspiration to get wrapping this holiday season, check out my Creative Ideas for Wrapping Presents!
Watch the DIY Here:
Process
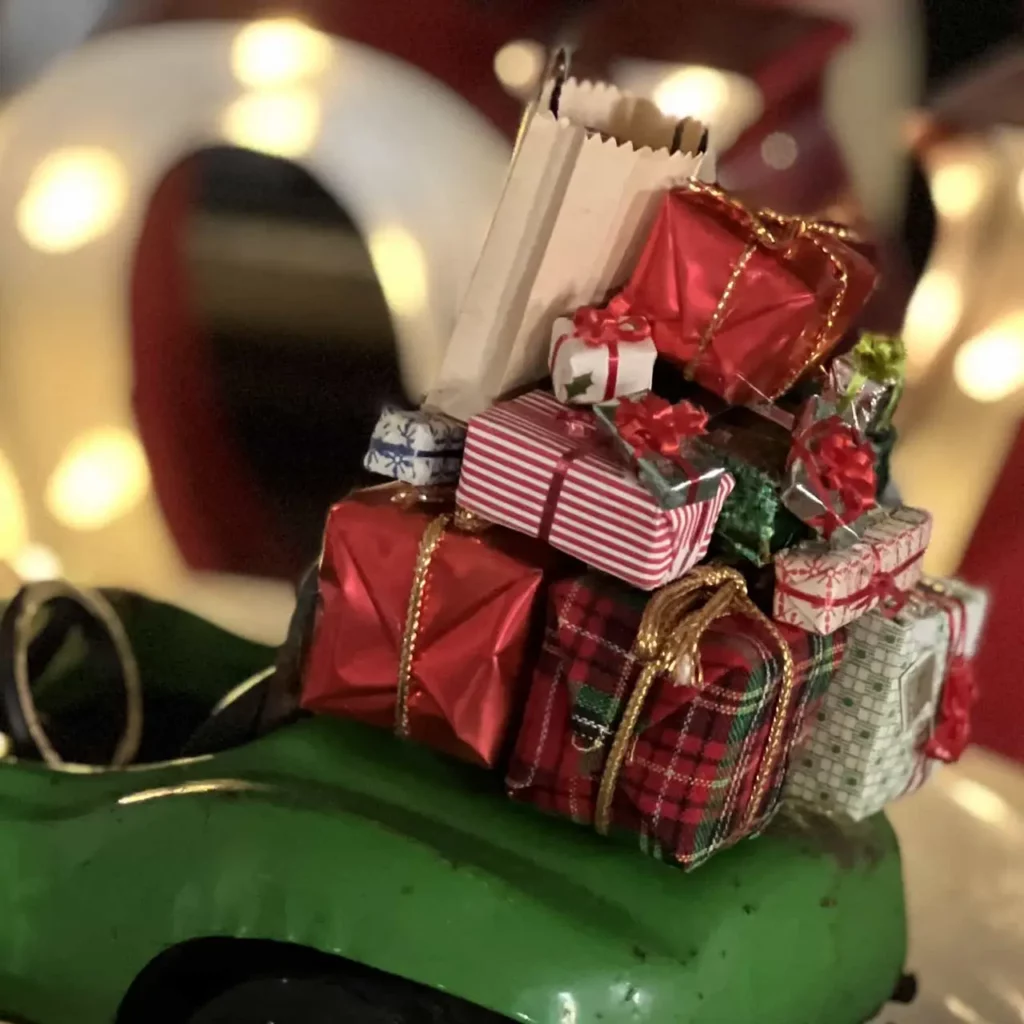
I started out by figuring out how much space I had to work with on the back of the car. I set some tiny presents on there and got an idea of what my base layer should be. Those presents were glued together off of the car to create a “base” to build the rest of the gift pile around.
I kept building off of that base layer of presents to get my stack to the height I wanted it. It is like doing a puzzle, you just have to keep mixing and matching until you get the look you want.
Make it Look Natural
Make sure that you are giving your pile of presents a natural look. Glue some presents at an angle, that will make your gift pile appear more realistic and it will please your design eye! I tried to make my present stack in a pyramid shape.
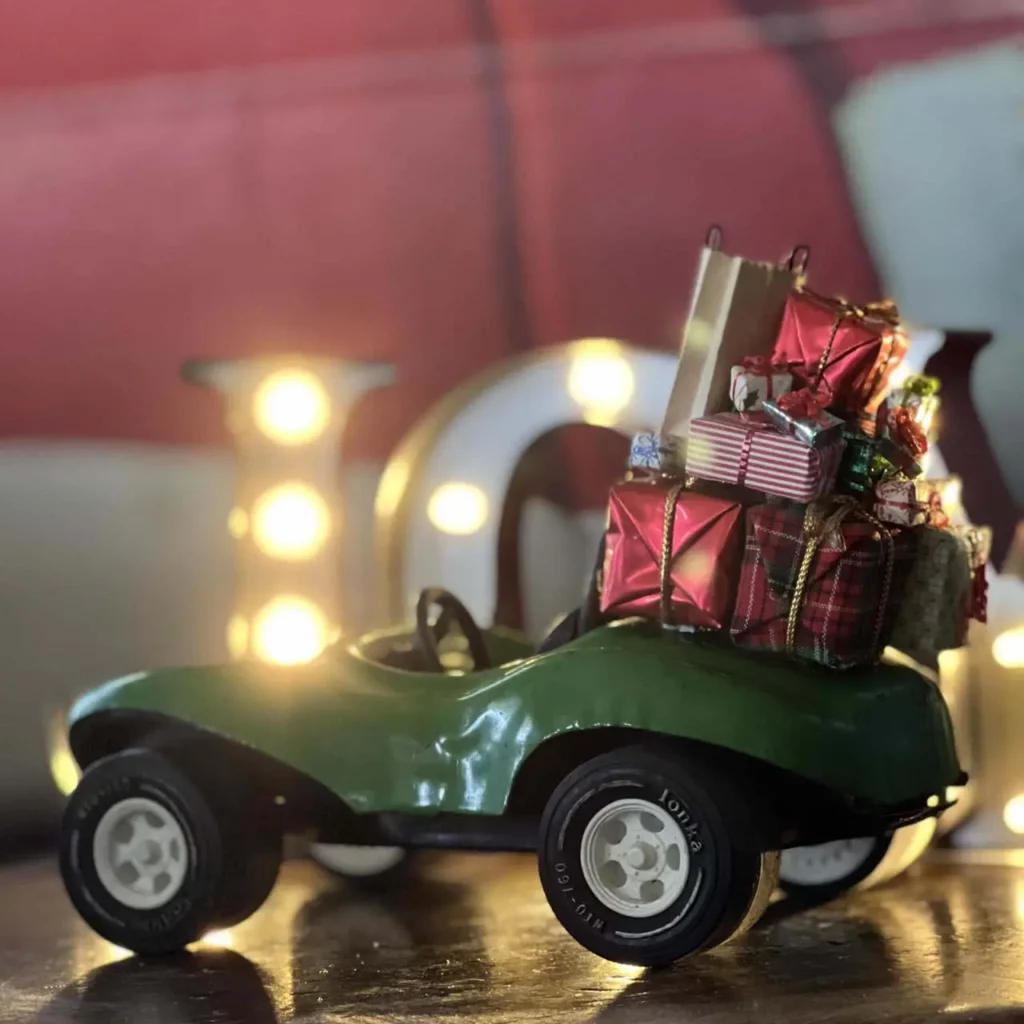
Once you have your gift pile built, glue it down on the back of the car. After I glued mine, I decided it needed a few more presents to make it look complete.
That’s all there is to it!
The thing I am loving about these embellishment projects is that they are so easy and so fun. You could literally pick a couple of items from your house to “Christmas up” and sit down with a hot cup of coffee, a Christmas movie, and your glue gun and let your creativity run wild! Another project you probably have the supplies for and can do while you are sipping that coffee is this Hand Lettered Santa Scroll.
Speaking of sipping coffee, my friend Hilary and I host Coffee Talks every week. If you want some gal pals to keep you company as you are decorating your home, working on DIYs, and going about those mundane everyday chores look no further! Binge our old episodes & watch out for our new ones every Thursday morning at 6:30 AM CST on Instagram!
Watch Me On YouTube
Embellish a Tiny Car
Materials
- Hot glue gun & glue
- Small vehicle (Vintage is cute, but any will do!)
- Mini presents
Instructions
- Find a small vehicle to embellish.
- Figure out how big your base layer of gifts needs to be.
- Build a gift pile.
- Attach it to the vehicle.
- Add more gifts as needed.
Video
This embellishment project is a part of my 25 Days of DIY series leading up to Christmas. Make sure you join me every day for a new project. Scroll through my blog for past projects and catch my new ones on Facebook!
This post may contain affiliate links for the products I use and recommend. I am not paid to promote these products. If you purchase using my affiliate links, I could make a small commission at no charge to you.

