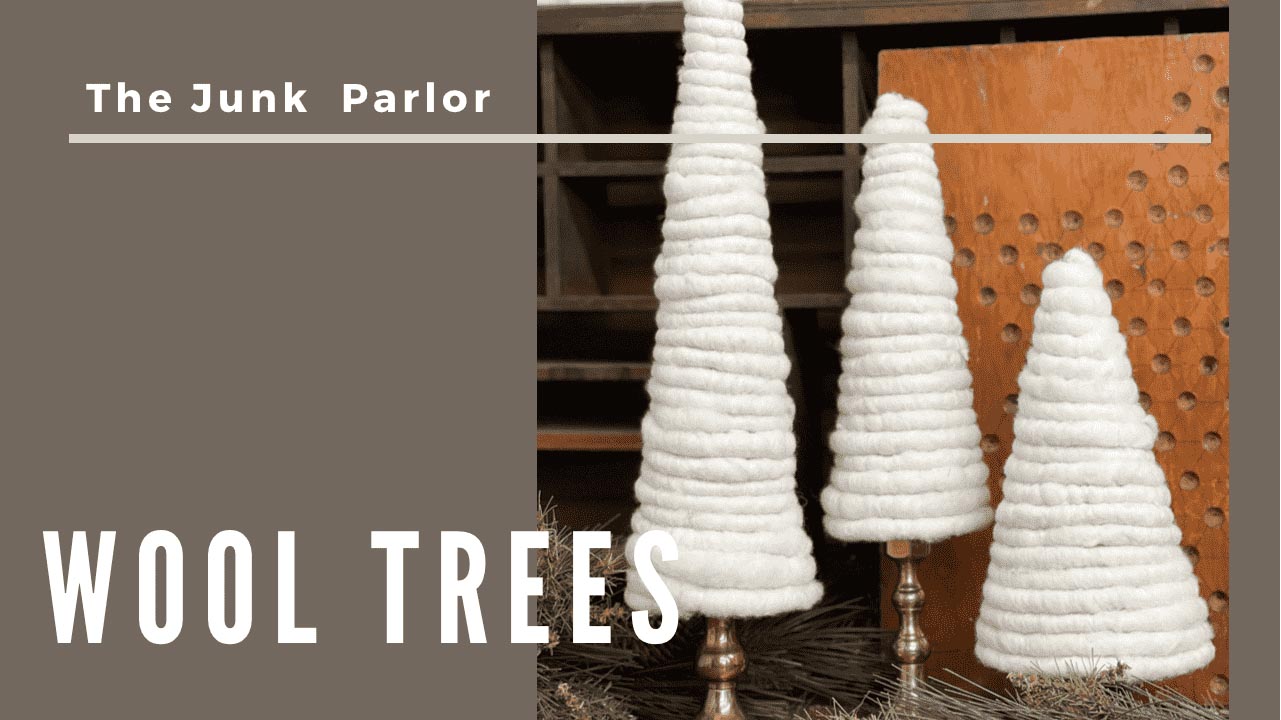
Welcome to day five of my 25 days of Christmas DIY projects! Today’s project is an easy wool tree that can sit out all winter long. After Christmas is over and all the decorations are put away, our homes can feel kind of boring! Craft some of these wool trees with me to add to your winter vignettes.
Tools & Materials
- Styrofoam Cone or Poster Board/Cardboard to make your own
- Hot Glue Gun & Glue
- Wool Garland – I have 2 grey bundles left OR this seems like the best match
- Base (optional) – brass candlesticks


The Process
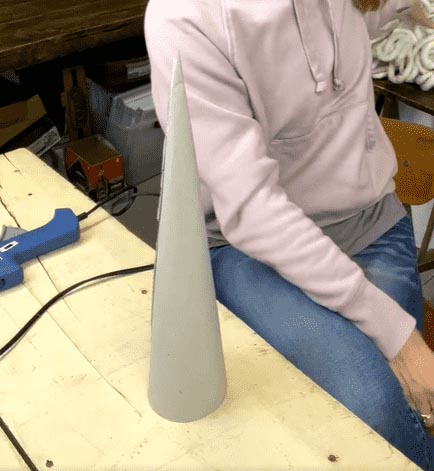
Start by making your own cone if you are not using a store bought styrofoam cone or hollow cardboard cone. Simply cut out the shape of the cone you want and hot glue the seam. If you are making your own, you can determine the shape of cone you want. You could have fat short trees, or tall skinny trees. Making your own gives you that flexibility.

Before you start wrapping your cone, put a generous dot of hot glue on the tip of the cone and cover it. This will ensure that no cardboard is visible.
Then begin wrapping the wool around the cone adding plenty of glue as you go. Go slowly since the wool garland has a lot of irregularities. This way you can make sure each layer lays tightly against the previous layer and no cardboard is visible.
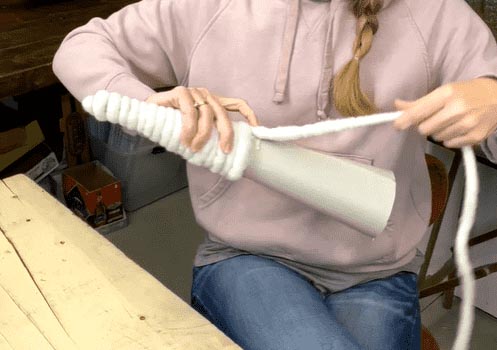
Continue wrapping and gluing until you reach the bottom, making sure you cover all the cardboard. If you end up needing to start a new garland like I did, add extra glue to secure the ends of both pieces of garland. Then make sure you pull at the wool a little bit to disguise where the ends join.
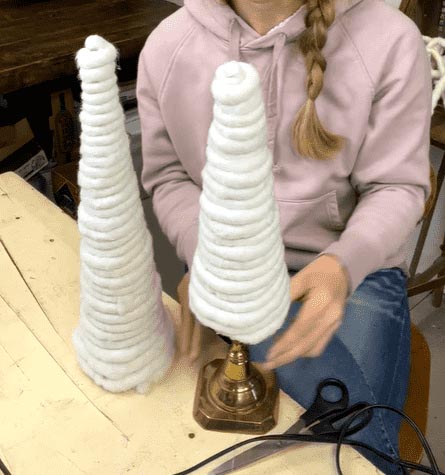
When you are finished wrapping your cone, cut off the excess garland and add extra glue to the end to secure. You can leave your trees how they are, or add bases to them. I used brass candlesticks as bases. I didn’t do anything fancy to attach them, I simply set the cone on top of the candlestick!
Decorating with your Wool Trees
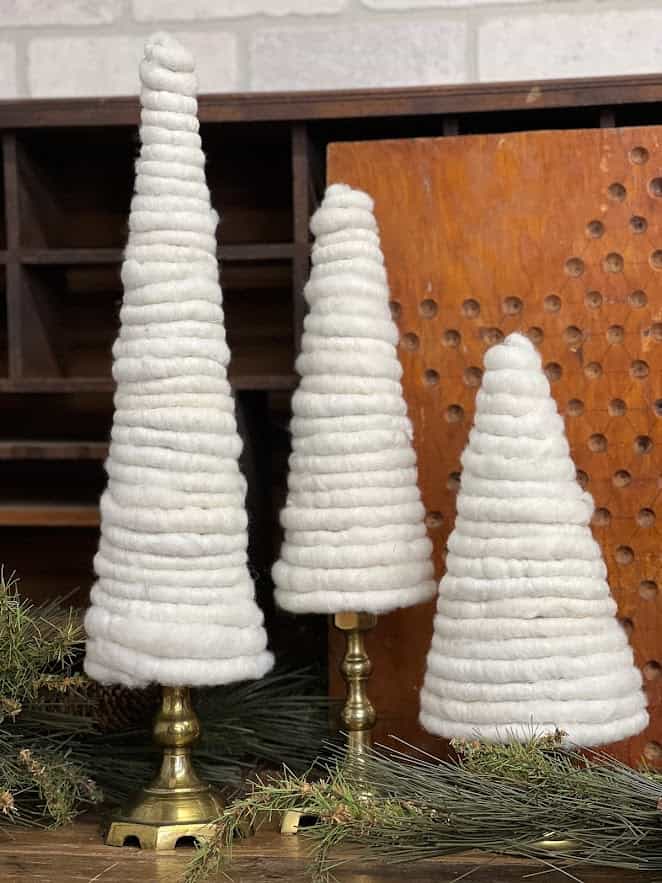
You will probably want to make a few of these wool trees to create a vignette. Remember, vignettes look best in odd numbers. I made three to display at varied heights. I love how these add a soft neutral touch to my winter decor.
For another simple neutral Christmas DIY, click here.
This post may contain affiliate links for the products I use and recommend. I am not paid to promote these products. If you purchase using my affiliate links, I could make a small commission at no charge to you.