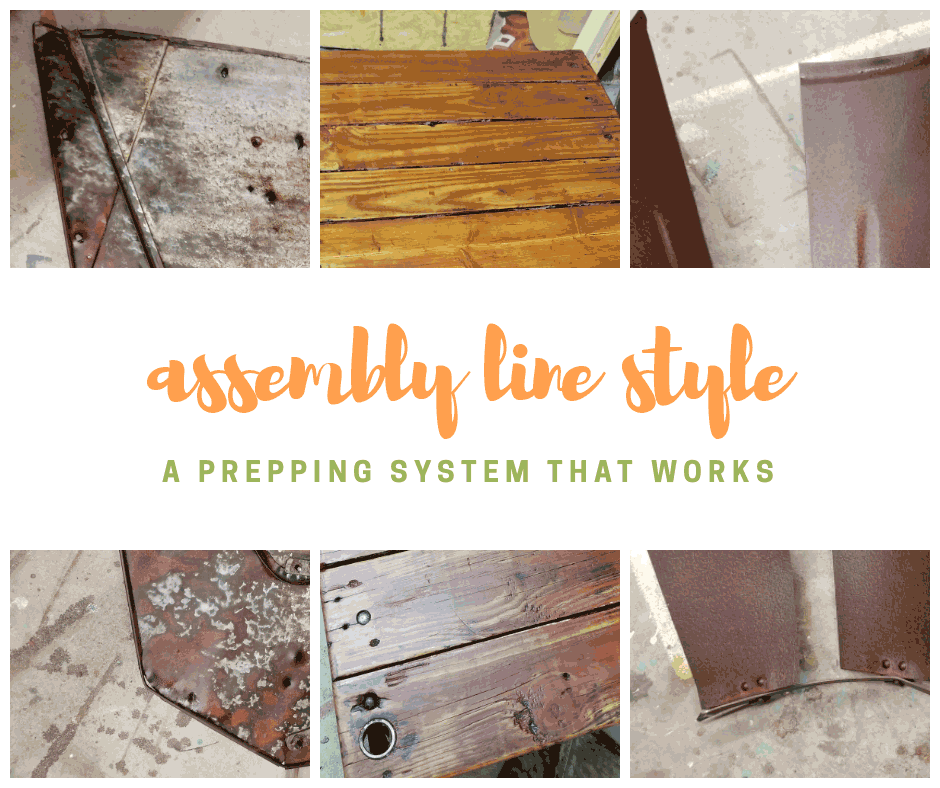
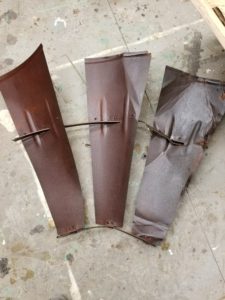
Today I’m going to talk about my assembly line technique. It’s nothing new, but it works in so many instances! Being winter, my assembly line pile is much smaller because I have limited heated space in my workshop, but I still use the assembly line process. In the workshop today I have a windmill tail, a windmill blade section, a factory cart, a tricycle, a medicine cabinet, pie warmer, handles, and boxes. All of these things needed cleaned and sealed before making it into the shop.
 The first task is simply picking the items to work on. I try to pick things that all need the same treatment. They all need cleaned, sealed, painted, etc. If they need sealed, do they all need the same kind of sealer? If they need painted, will they all get the same color of paint? The main reason this is important goes back to the assembly line/repetition concept of saving time. If I am using polyurethane on something I want to have a lot of pieces to do because I know that when I’m done, the brush is trash. I do not take the time to clean my brush and eventually it will dry up and I will have to throw it away. I make the brush last a little longer, by wrapping it in a bag. Typically this will keep it flexible so that I can use it the next day; when all of these items need a second coat.
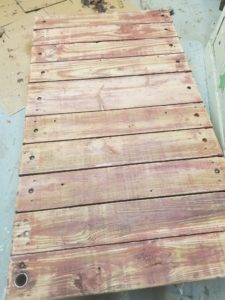
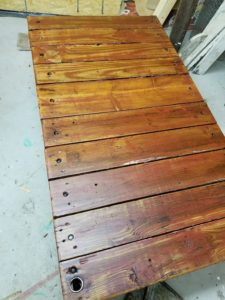
The assembly line looks a bit different every time, but I will explain the system for today’s batch. Today’s batch is a little more diverse than normal. That is because I have a sale coming up and I know I “need” certain things to fill the shop. But, I still tried to pick duplicate items (a group of items that need cleaned and sealed). I first cleaned my large items that needed sealed. For the factory cart this was the finishing round of this piece. I had already spent many days stripping, sanding etc.
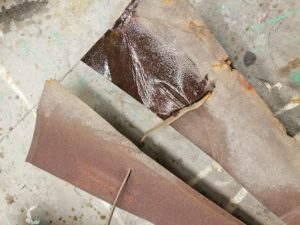
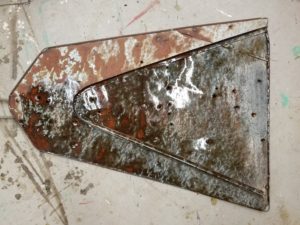
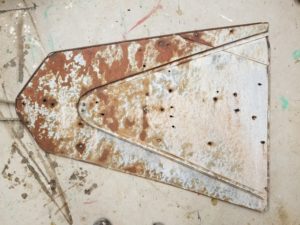
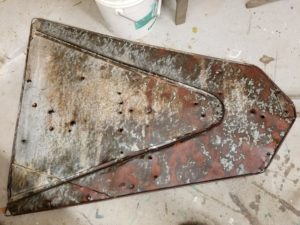
Now that I have those items cleaned, I started sealing. I applied polyurethane to the factory cart and then moved to the windmill tail. I worked on these pieces when they were laying flat. Polyurethane tends to run and I wanted to prevent that as much as possible. I sealed one side of the tail and then lifted it up to wipe any runs that had seeped through the holes in the piece. Then, I moved to the blade section, again working with it laying flat and wiping drips on the backside before going back to the factory cart. The polyurethane runs a lot, so you constantly have to “babysit” it. So, I go back over each piece and look for runs to wipe. I do this on both the front and back.
Once I’ve checked those pieces I used water based polyurethane on the medicine cabinet. I use water based on this piece because it is painted white. If you apply polyurethane over something white or light in color, it tends to yellow over time.
After sealing that piece I went back over my polyurethane pieces to check for drips. While those pieces continue to dry I used WD-40 to clean some pie ovens. I was happy with how they looked, so I didn’t seal them. I then sealed the handles, some tins, and the tricycle with Rustoleum clear spray sealer. Sometimes on things with lots of nooks and crannies, it’s easier to spray some poly versus brushing it on. Quicker, easier, and looks better, BUT more expensive. If you would like to read more about how I pick which sealer to use, CLICK HERE. Then, I go back again to check on my polyurethane pieces and look for runs. I also check my medicine cabinet and brush out any air bubbles.
The spray dries quickly so I turned those pieces over and sealed the bottoms/sprayed them from different angles to seal those pieces. I waited until the next day to flip the pieces I brushed over. I love assembly line style of working.
This post may contain affiliate links for the products I use and recommend. I am not paid to promote these products. If you purchase using my affiliate links, I could make a small commission at no charge to you.
