Being an antique dealer means that I have a lot of awesome vintage pieces! I mainly decorate with inventory that is for sale! That means my decor is constantly changing. The more you style your home with vintage finds, the better you get at creating a curated look! I’ve had years of practice, so I’m sharing with you shelf styling tips for built-ins!
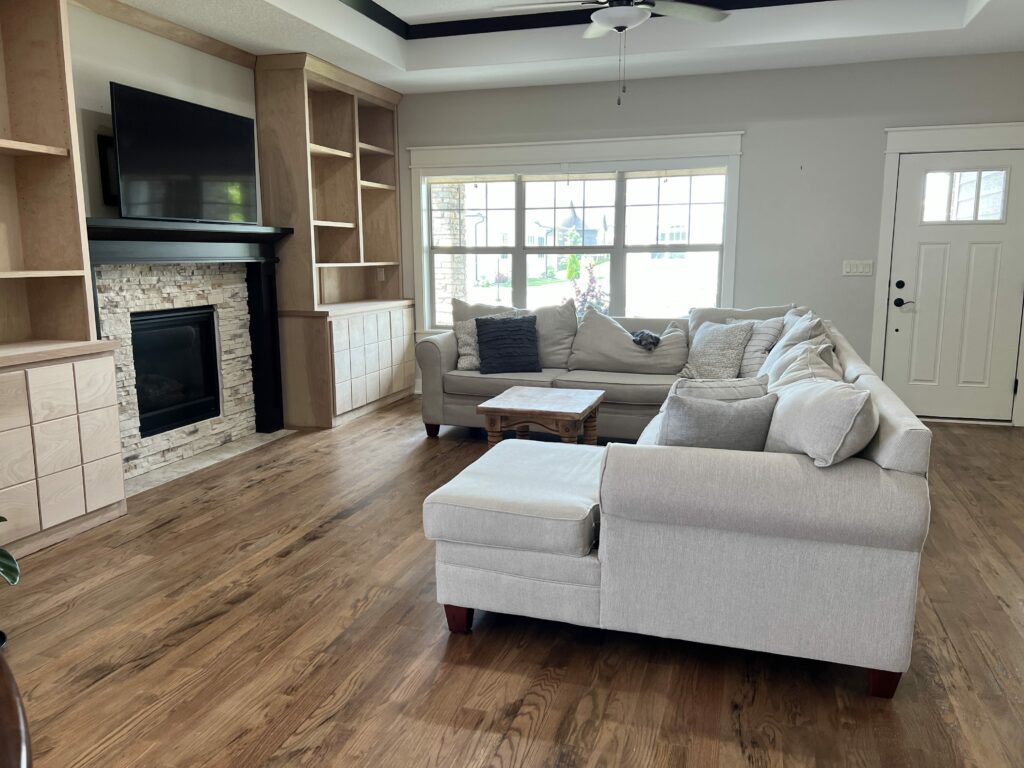
When we first moved into this house I knew I wanted built-ins. Our living room just needed something that the builder didn’t give it!! You can checkout that whole ordeal HERE. Yes, I said ordeal. It was not a stress free experience! BUT! Now that it’s done I am so glad we did it! Not only do the built-ins really complete the look of the space, but they also give me a ton of space for my vintage decor!
Not only did we add built-ins to our home, but we also installed new hardwood floors!! Checkout that process HERE. We moved everything from the main floor to the lower level while the floors were installed. Now! We are putting the house back together! As I style my built-ins I want to walk you through some design principals and elements that I follow.
The BEST way for me to learn is seeing something done. So, if you enjoy watching videos I suggested watching my YouTube video on the process. Click HERE or play the video below. If video is not for you or you want both…keep reading.
Watch for Styling Tips
Styling Your Built-ins
Gather Your Decor
In my case I had to start by carrying everything up from my lower level. I not only brought back up the pieces that I had used in this space before we got the hardwood floors installed, but also new items I had picked up. I also knew that there were a few pieces that I had styled around the house that I wanted to change up. So, I grabbed those pieces too! I’m not sure how you operate, but I need to live in a house/space for awhile to help me learn how I use the space and what I do and don’t like.
For you, you might want to gather pieces from storage, new purchases, or items from around the house that you want to use. I suggest having everything you MIGHT want to use at your fingertips. Laying your decor out in the area where you will be styling makes it easy to see what you have. It also makes it easier to follow the tips or “rules.” But don’t set your decor out where you need to walk to style your shelves!!
Get Started
Sometimes we are victims of analysis paralysis! So, at first, don’t think too much! Read the tips below, but then just start putting pieces on the shelf! You will remember little tidbits from my tips and that will help you get started with placement. You will not get everything right the first time. So be patient with yourself!
As you are styling your shelves be sure to take moments to step back away from the shelf. We want to see the whole picture! You might make one little shelf or section look good, but then when you look at the entire built-in or cabinet, you aren’t getting that curated look you were after.
Remember, it’s just stuff. You can move it around until you are happy! Sometimes (like in my video), you might just need a break from styling! Take a walk, get a snack, sleep! Come back to it with fresh eyes! You are not on a schedule!
Shelf Styling Tips
Use Odd Numbers
It really is that simple. For whatever reason our eye like odd numbers. I think styling 3 things is the easiest way to decorate a space. In my case my built-ins are basically little cubbies. So if I put 3 pieces in a section that are proportional to the size of the cubby, I’m done! If you have a long bookshelf that isn’t divided in anyway, then I suggest dividing it yourself. Don’t literally divide it, just divide it with the placement of your items.
You can literally put a grouping of 3 items together on your dining room table. Then, do it again. And do it again. Now you have 3 little vignettes or groupings. Transfer each over to your bookshelf. Put one vignette in the middle and leave a little space on each side. Put one vignette on the right side and another on the left. Be sure that your vignettes are huddled together and have some blank space between each.
There you go! You have just decorated using odd numbers! You can also use that method without leaving space between each grouping of 3. You can let each vignette you created “run” together to make one larger vignette of 9 items…still an odd number!
Vary Object Height
Now you have 9 items on a shelf, but it doesn’t look quite right. Next you want to make sure you have varied the height of your items.
I want you to look at the groupings of 3 you started with. You don’t need to move them off the shelf, just be sure to look at a grouping of 3, not all 9 items on the shelf.
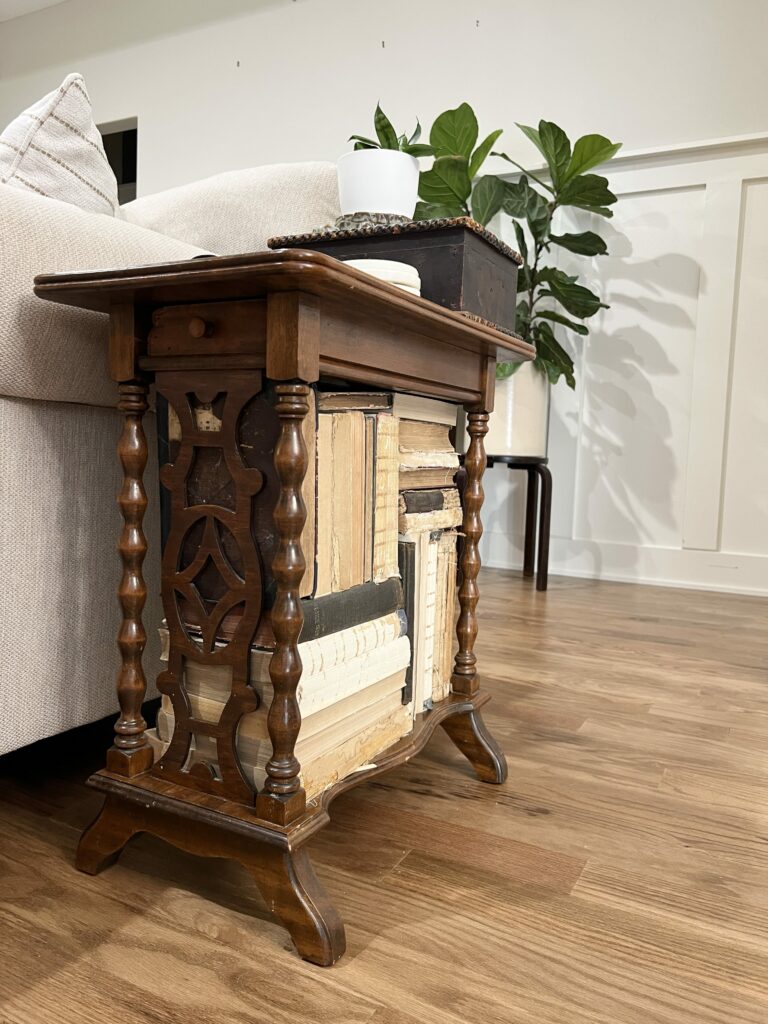
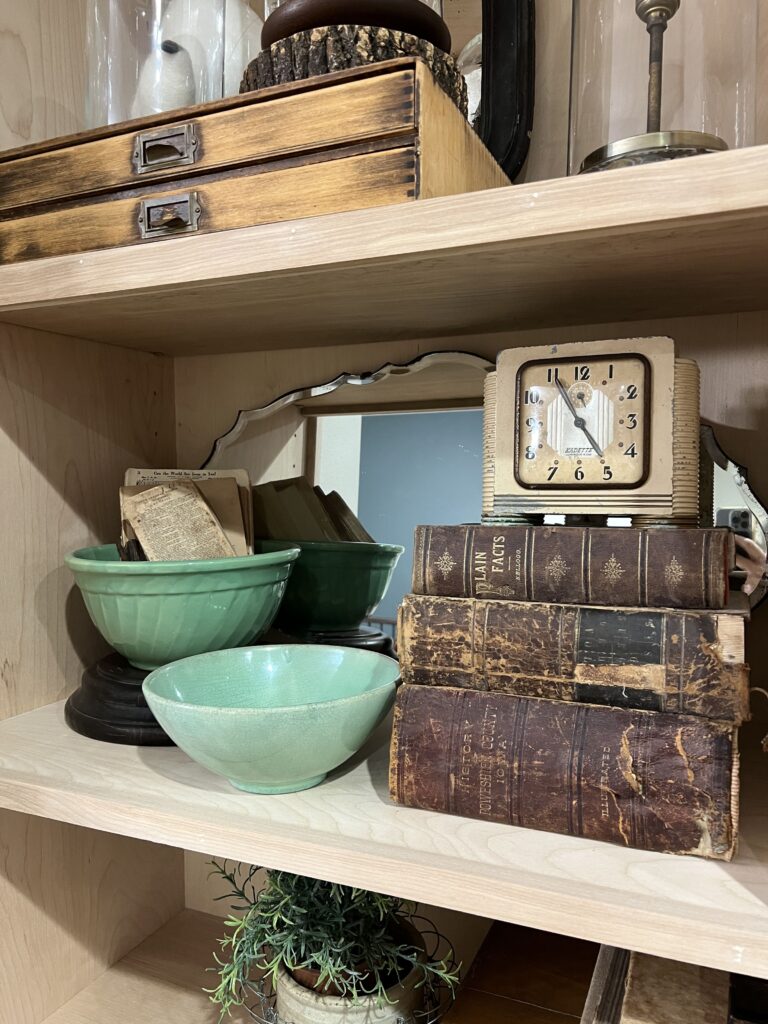
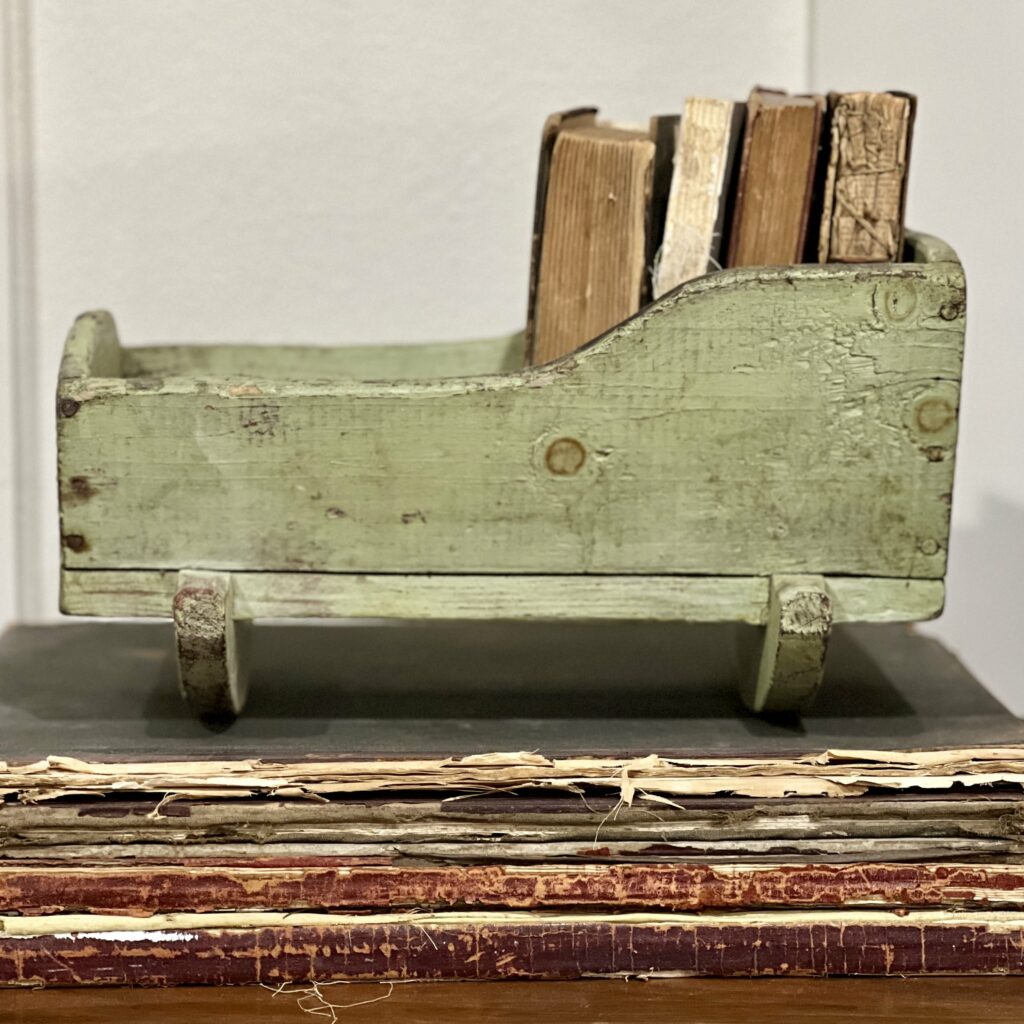
When you look at the three items are they different heights? There should be a high, medium and low. If there isn’t a variance of height, what could you do to make those same pieces different heights? What you use depends on the size and shape of the items. These are called risers. You could use wooden boxes, book stacks, pedestals, drawers, a scale, etc. Find items for risers and make those three original pieces different heights. Move to the next grouping of 3 and do the same thing. Continue with the last grouping.
Next, step back. How does it look? Not right?
Vary Depth
If it’s still not right I want you to think about looking at your grouping of 3 from the top. A birds eye view of your items. When we do this we want to see a triangle. You have 3 items. Make each item a dot. Do you see a triangle or is everything in a line? Move your 3 pieces around so that one item is towards the front, one in the middle to a side of the first dot and the other item to the other side but farthest back. This should give you that triangle.
Do that with each grouping of 3. Step back and look.
Now we should be able to easily move things around. Maybe the tallest pieces are next to each other. Take one of your groupings of 3 and move the tallest piece over and rotate the high, medium and low placement of those items, so that as a whole shelf we can see high, medium and low.
Repeat Color | Texture
At this point you should have one shelf done. You can repeat the process for the rest of your shelves, but now I want you to consider repetition.
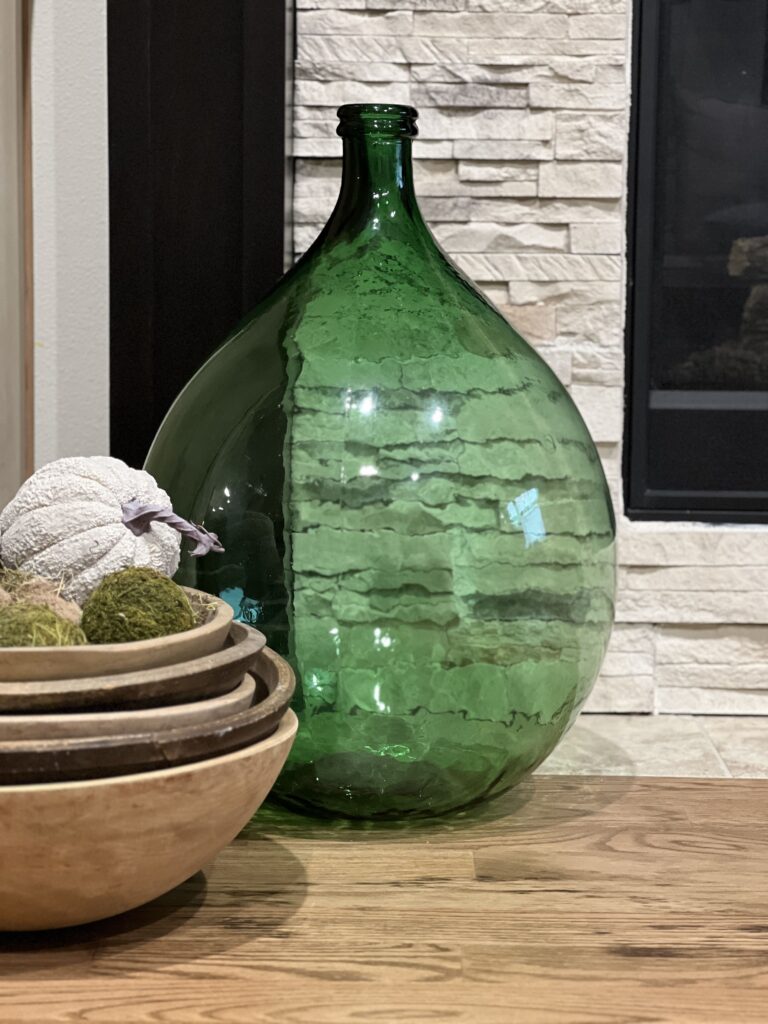
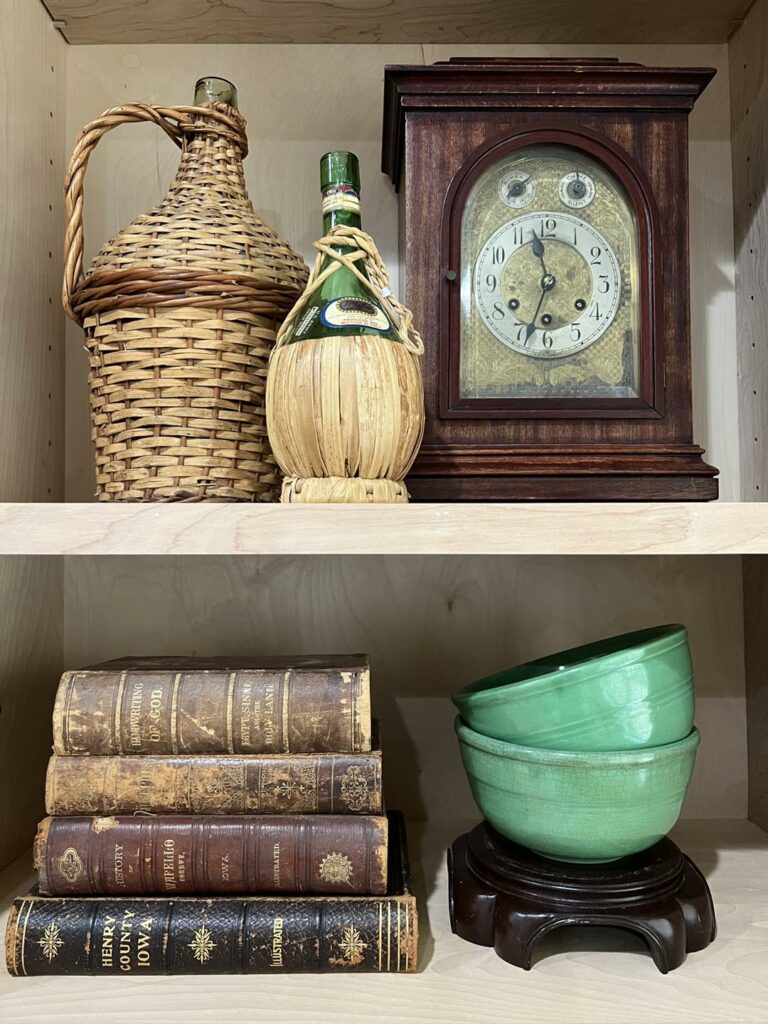
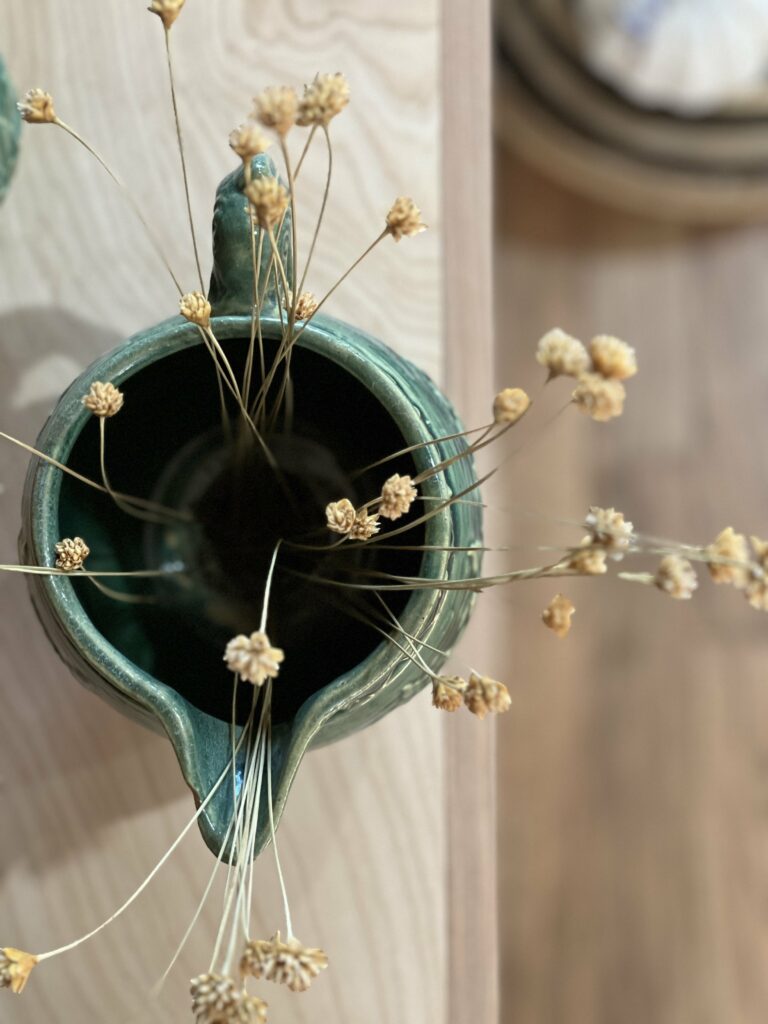
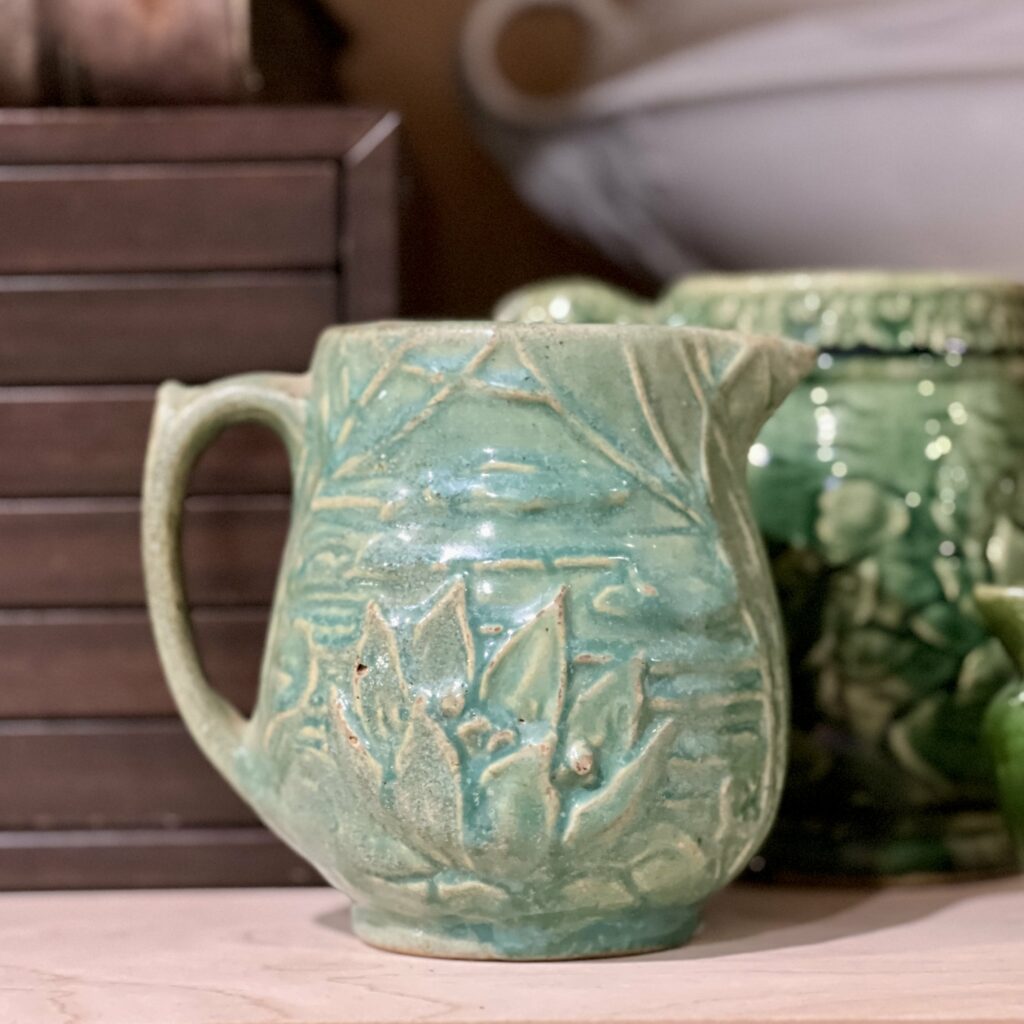
I think repetition is key to creating a curated space. If you have green in the lower right of a cabinet, and that is your only green in the space, then it might look out of place! If you add a green piece to the top section, that simple repeat of color can now feel like it belongs. So, as you are decorating be sure to repeat colors in your space.
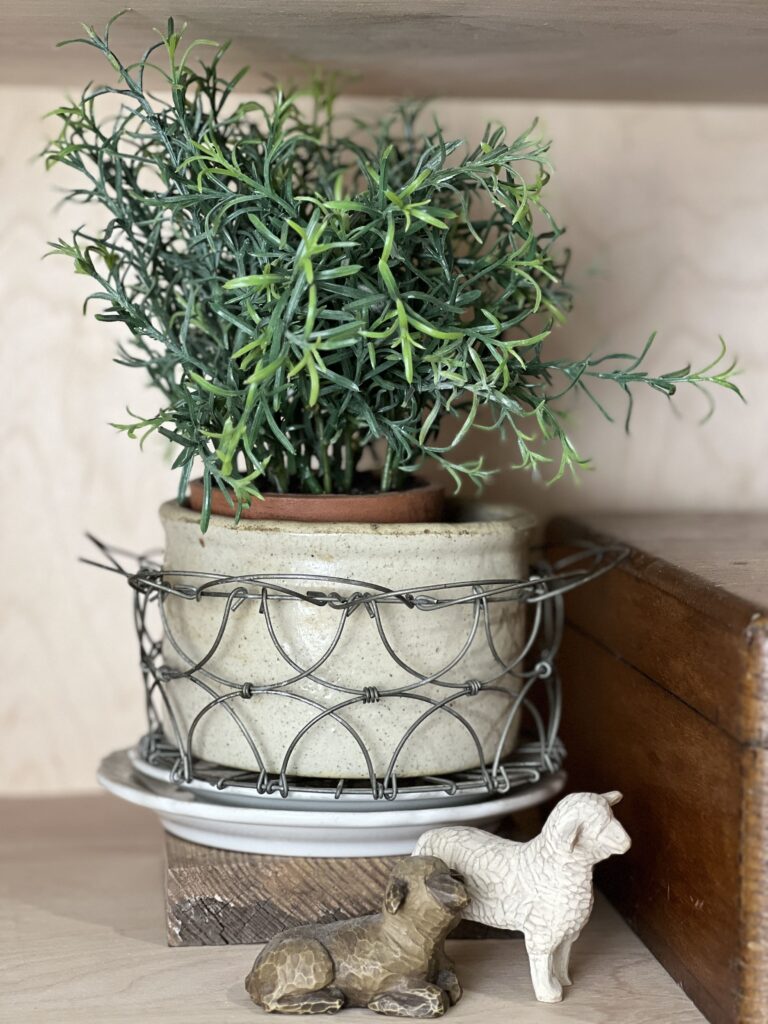
Color is something that is very eye catching and easy to see. But, along with repeating the colors you style with, you will want to repeat textures too! An easy texture example to think of is a basket versus an ironstone pitcher. A basket has a lot of visual texture or dimension. It may look like a bunch of smaller things together. While an ironstone pitcher has smooth texture and is like a solid block of texture to the eye.
Books, linens, glass, wood, wicker, everything has texture. Just like with color, be sure to repeat those textures in your vignettes.
If the shelf you have styled uses books as risers, things to give you height, on the right and left vignettes, then on the next shelf use books as risers on your middle vignette. If you have feathers on the left of your finished shelf, then add feathers to the middle or right on the next shelf!
Alternate Placement
Did you notice when I talked about repeating the color green I said lower right and another piece in the top section? That is because you want to alternate the placement of those colors and textures you are repeating. For example, you don’t want one shelf to be styled with all green and then not have green on any other shelf. Yes, you repeated the color green, but that is not enough. You must also vary the placement. You can only vary, or alternate the placement of a color if you have more than one item that color! Hence the tip to repeat color.
You see all of the elements & principles of design work together to make something that is pleasing to the eye. Some people can naturally use these principles without even knowing them! BUT, the nice thing is that great styling and creating beautiful vignettes is something that can be taught! With my styling tips you can learn how to make your space “magazine worthy.”
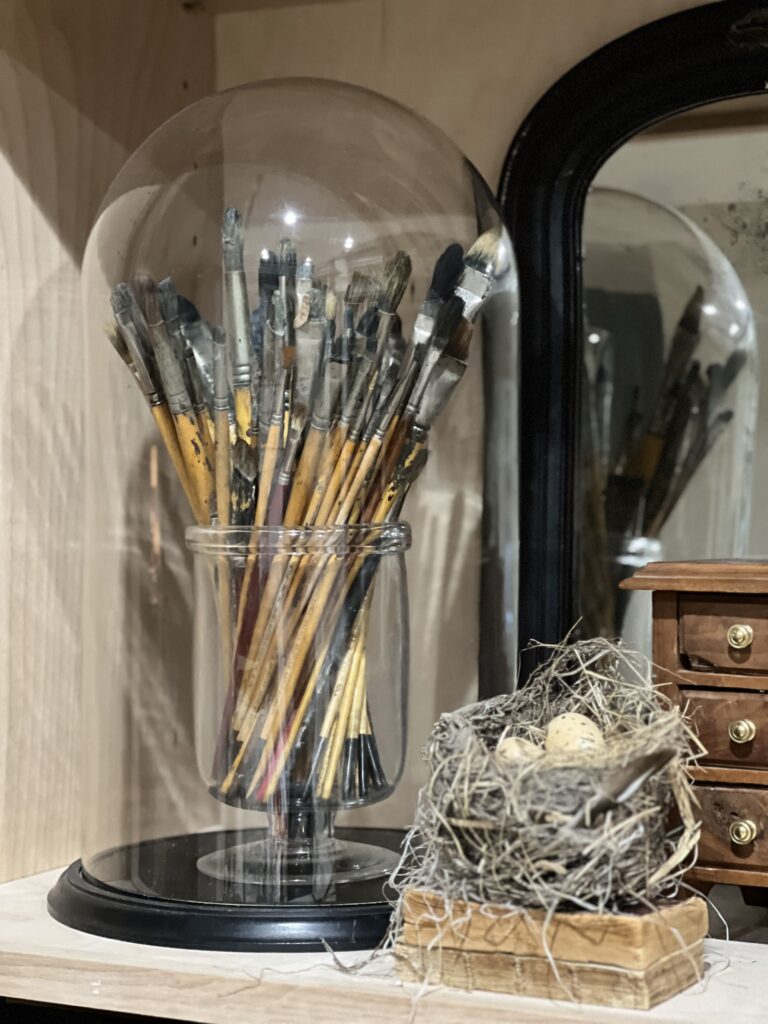
I often think about item placement like a zig zag. If I have a glass cloche on the top right shelf, then on the shelf below it I might put something glass all the way on the left. The next shelf below that I might put a glass item in the middle. On the shelf below that? I might go back to the right side with a glass item. It’s a natural zig zag for our eye.
That’s why you can shop someone’s antique booth or Instagram square and it’s really easy to skim their items. Your eye has a natural rhythm or movement to follow. Other times you might look and there’s a lot of stuff, but you really can’t see what any of it is. That’s because the space is just too busy and the person styling the space probably didn’t use this zig zag method to arrange their pieces.
You can check your own vignette by picking an item, by color, texture, shape, etc. and look for that item elsewhere on the shelf. If you picked a clock and then skimmed your built-ins to see that you don’t have a clock or anything like it in the rest of the cabinet, then you will want to add one.
If you scanned for clocks and you have 3 all on the right side, then you will want to move one of those to the left side.
You Got This
Remember good styling can be taught! If you follow these styling tips you can create a space you love! And the more you do it, the easier and more natural it becomes! Don’t forget you can watch my video for more tips!
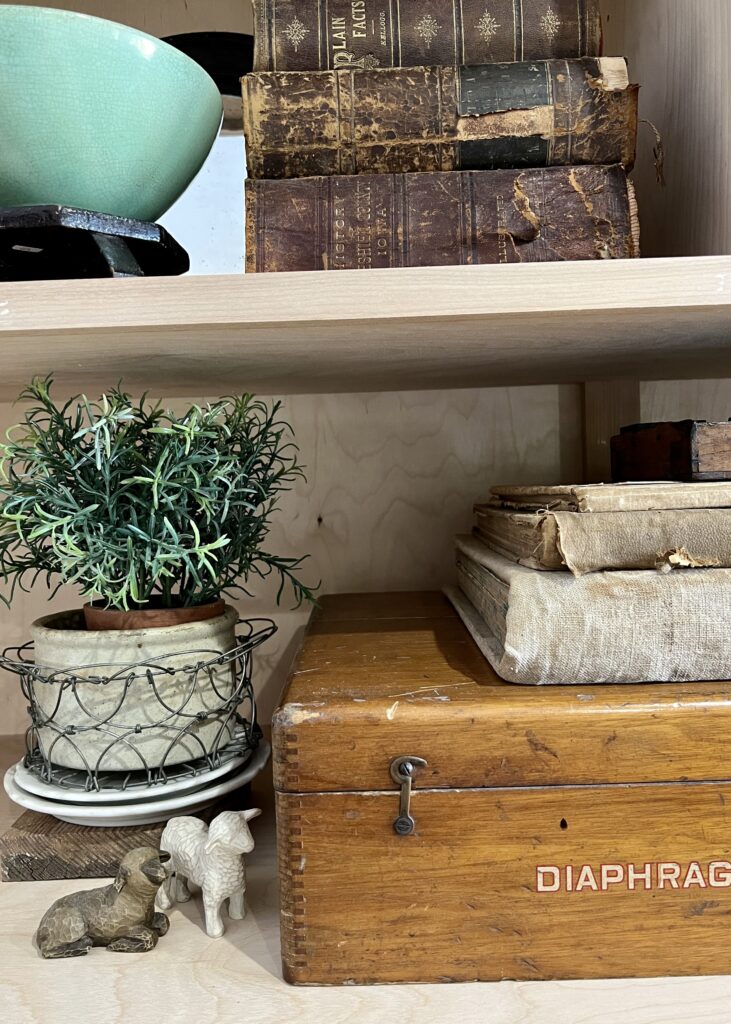
Some Views Around the Room