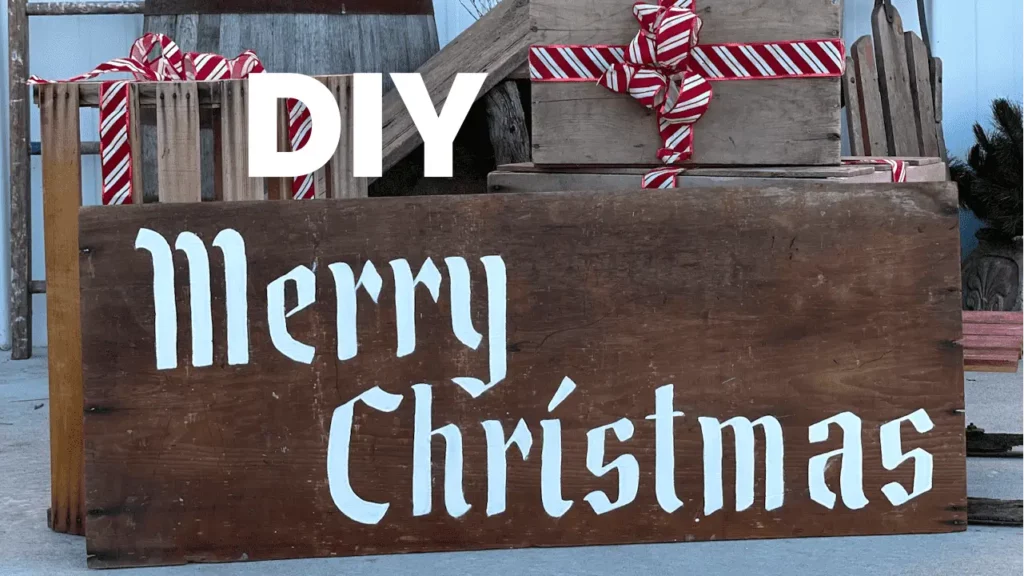
Years ago, I picked up this awesome vintage Merry Christmas stencil at an auction. I have used it a few times, but definitely not as much as I should! It is so big, you really have to have the right space for it! I did end up cutting it into two pieces to be able to fit it on more projects. Definitely a well-loved item both by me and the previous owner.
Tools & Materials
- Merry Christmas Stencil- since I got mine at auction, it’s not available but here are a couple options one and TWO.
- Board
- Chalk
- Paint
- Paint Brush


Time to Trace & Paint!
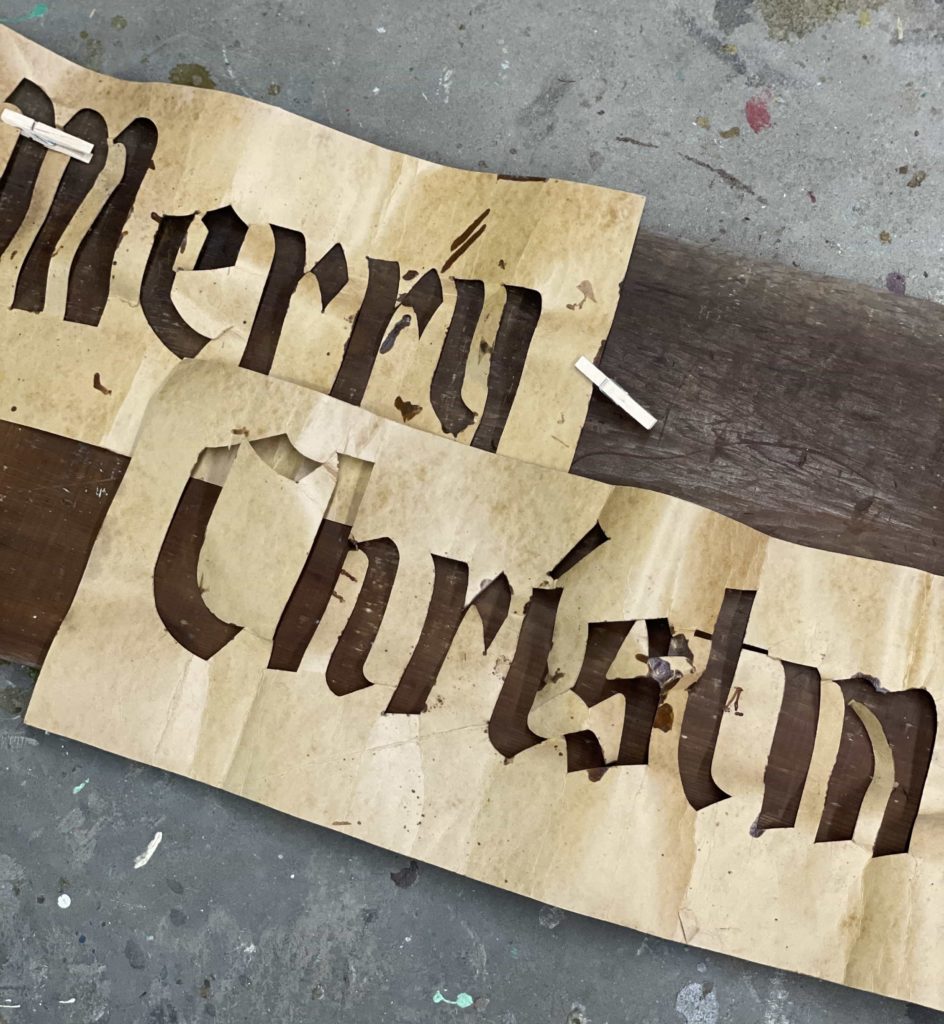
First and foremost, I needed to find a board that was the right size for my huge stencil. The board that I chose to use was from a large shipping crate that I took apart. It was a very cool old crate – I have had it styled in the shop as a coffee table and as a bench. I have always thought it would be perfect for an entryway bench because you could store gloves and hats underneath in baskets. If you have followed me for long, you will know that I am always thinking about different ways to reuse things!
Anyway, I dismantled the shipping crate because I am trying to cut down on my larger items. Since my business has evolved into mostly online sales, being able to have items I can ship is a priority. After taking apart the crate, I knew one of those large boards would be perfect for my Merry Christmas stencil.
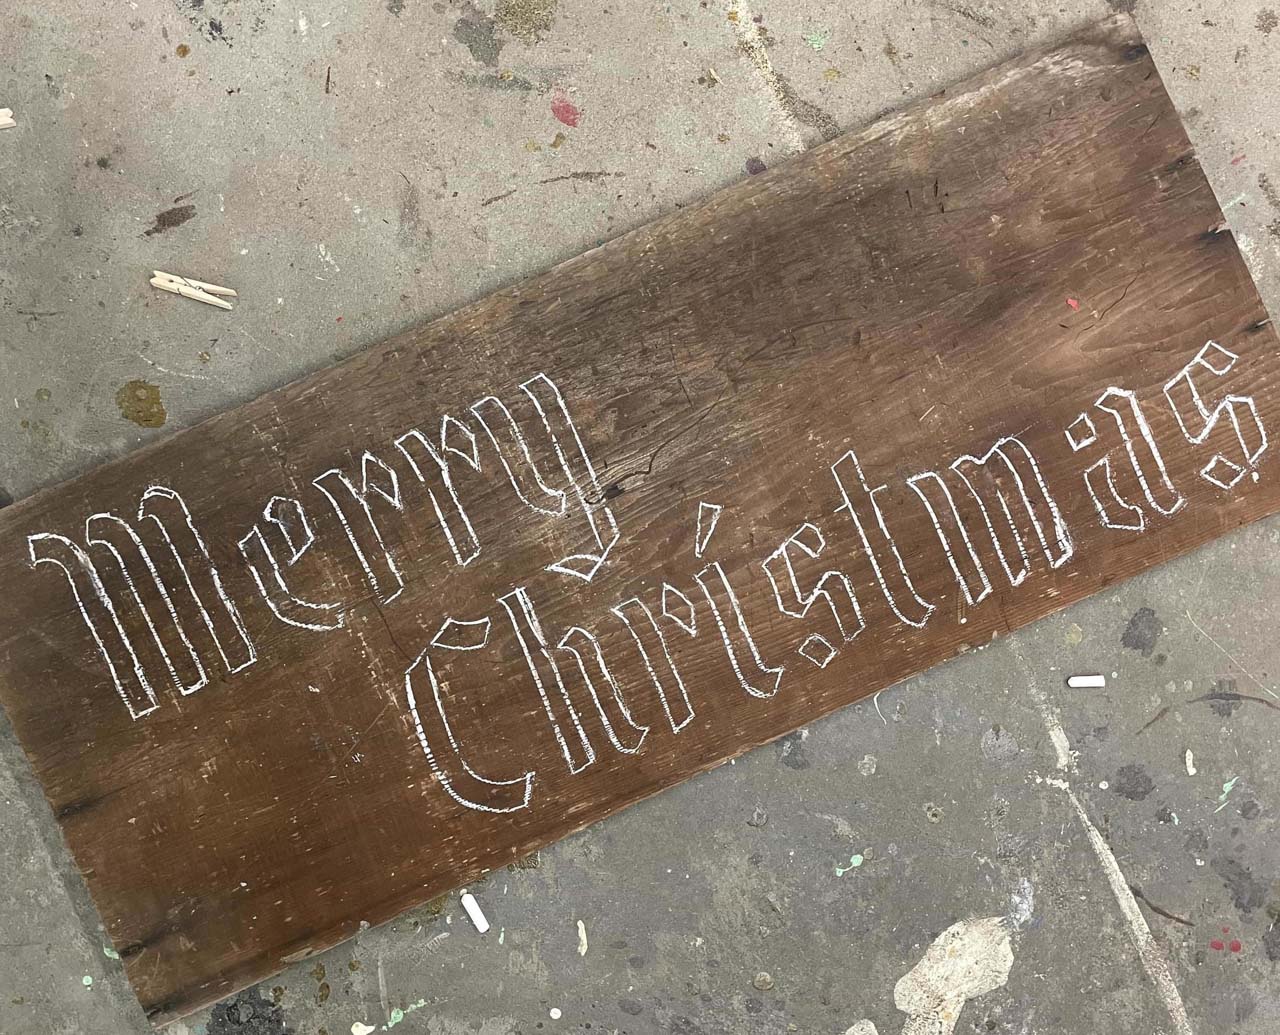
After getting my board, I laid out the stencil how I wanted it. I used chalk to trace the stencil onto my board. I have talked about this a few other times throughout my 25 Days of DIY, but chalk is great for tracing. It wipes away so easily with a rag. You could use a pencil for tracing too. Most wood is soft enough that you will get a pencil mark and indentation. It is easier if you don’t have a steady hand for painting. Paint will go into the pencil groove and keep a straight line. I typically have a pretty steady hand so I usually opt for chalk, but pencil is a great option for those who need it.
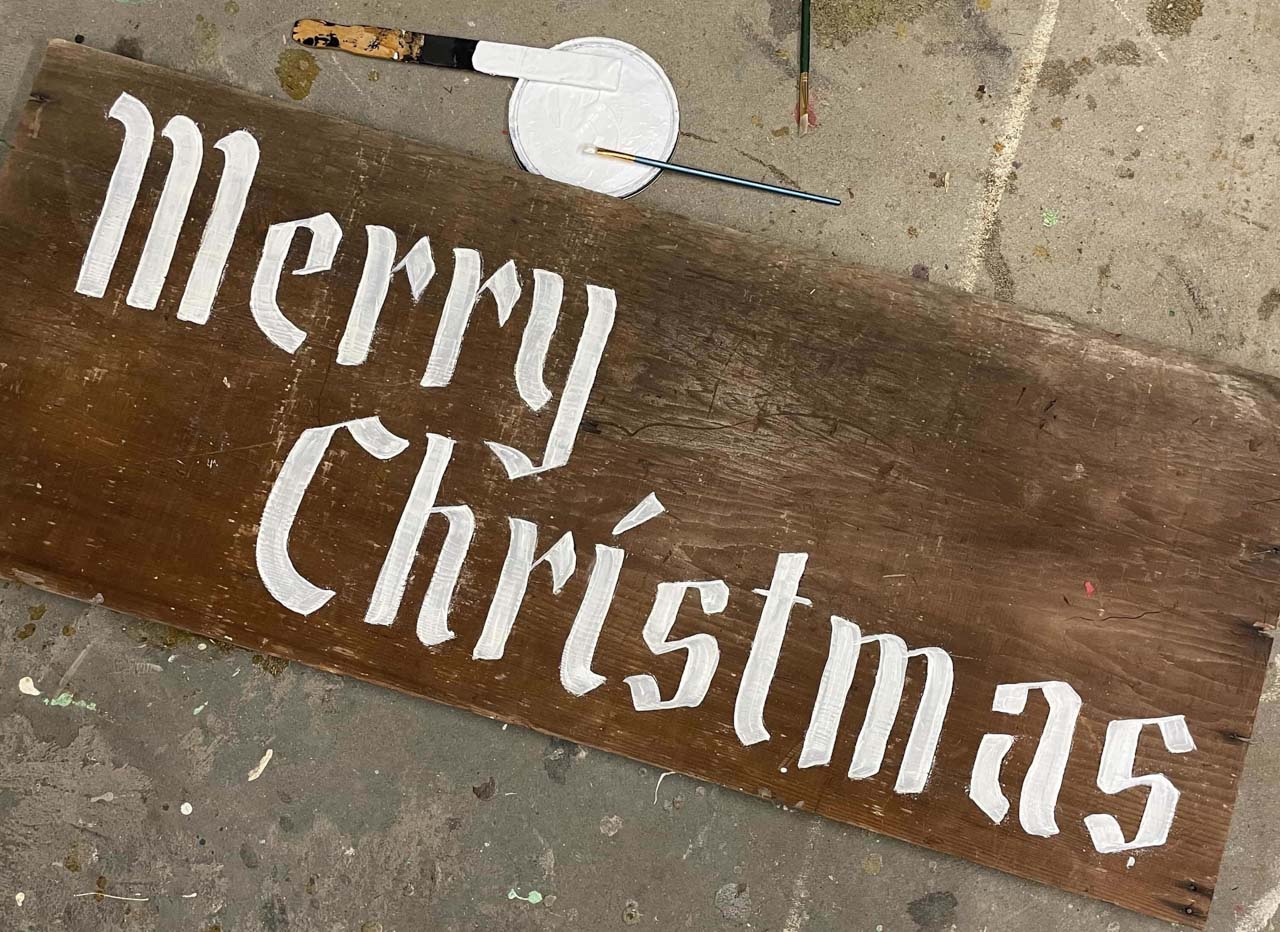
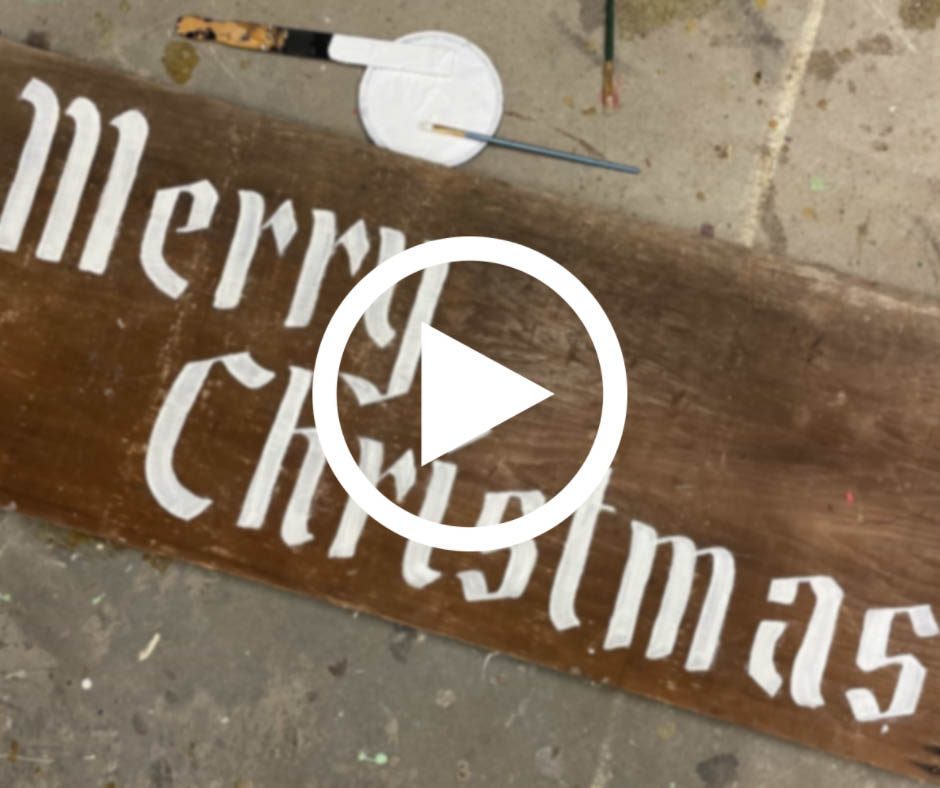
After tracing, it was time to paint. I used paint primer that I had on hand to fill in the letters. To me, there is no reason to go and buy paint, especially for a project if you have something that can work at home. This was the most time-consuming part of this DIY. Depending on the type of paint you use, you might need to do several coats. If you are conscious about brush strokes, you will typically need fewer coats of paint. If you want to distress a project, you can always get away with fewer coats of paint as well.
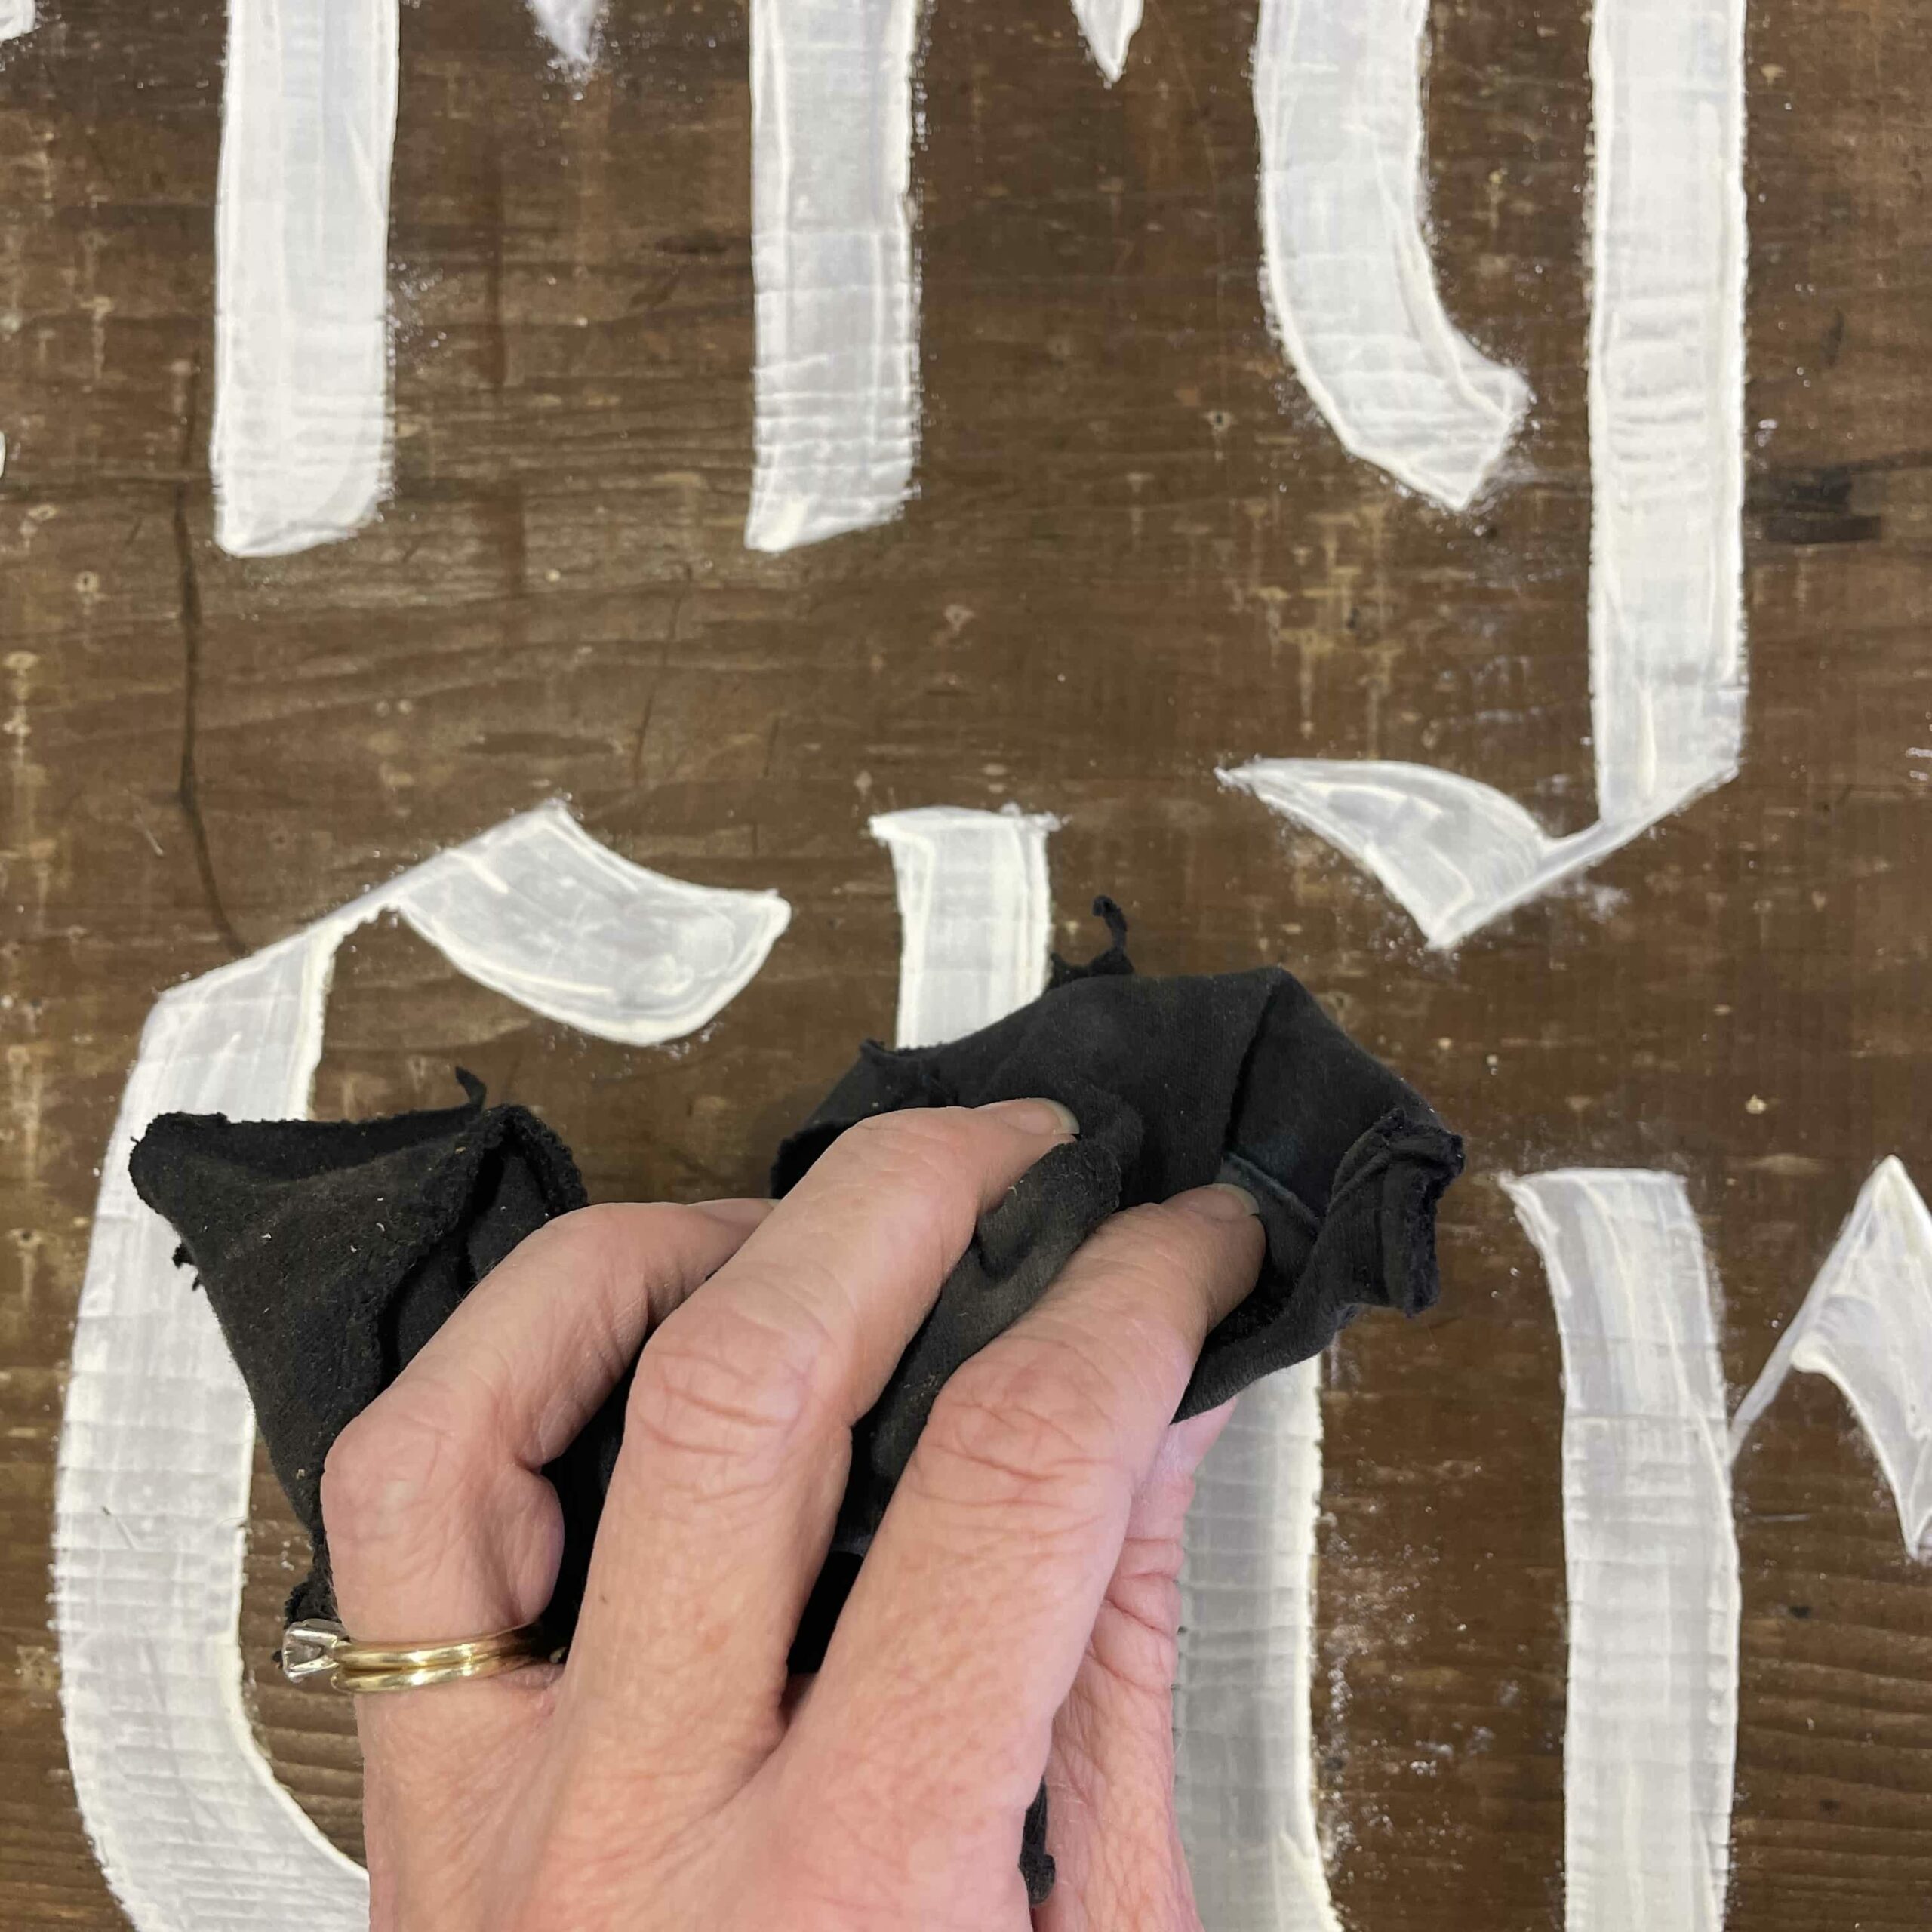
After painting, I let the sign dry completely and then used a rag to dust off any remaining chalk from tracing.
Let this be your sign to keep an eye out for vintage stencils when you are out at auctions or junking! They are perfect additions to your DIY stash and they are different from many stencils that you could buy nowadays.
Styling the Christmas Sign
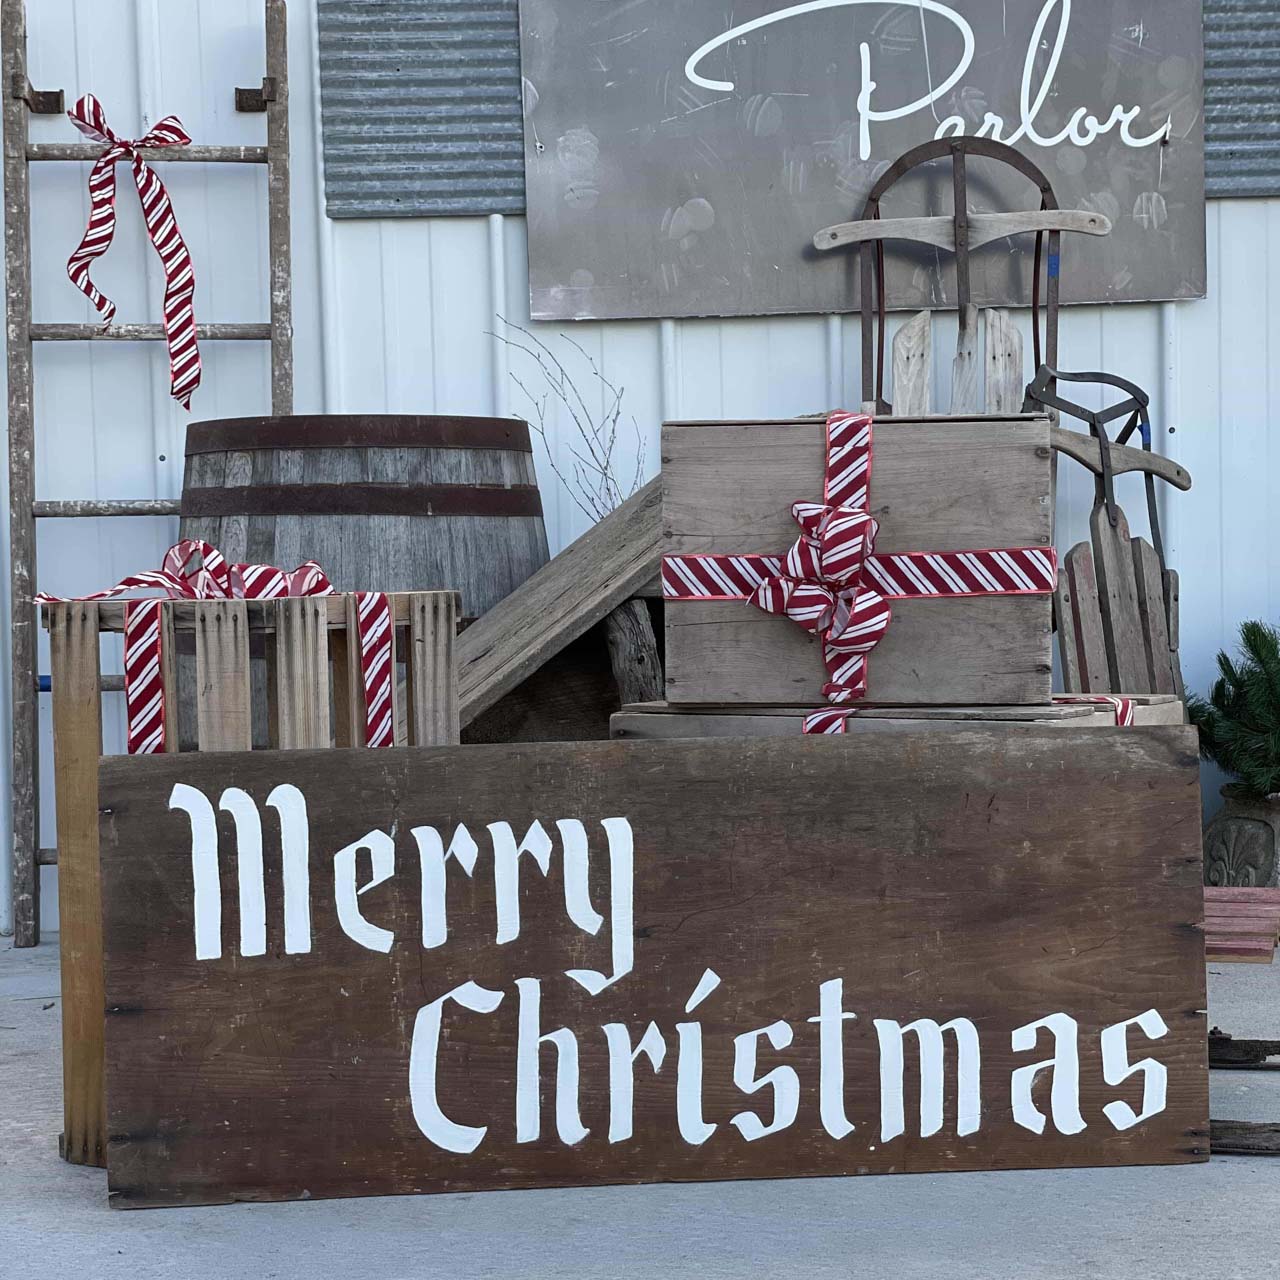
To style my sign, I set it out with some old shipping crates. Last year, I used ribbon to make these old shipping crates into gift boxes! It was a simple way to add a little Christmas touch with things that I already had.
For another speedy Christmas DIY, check out my Trees on Hide Stretchers!

This post may contain affiliate links for the products I use and recommend. I am not paid to promote these products. If you purchase using my affiliate links, I could make a small commission at no charge to you.
