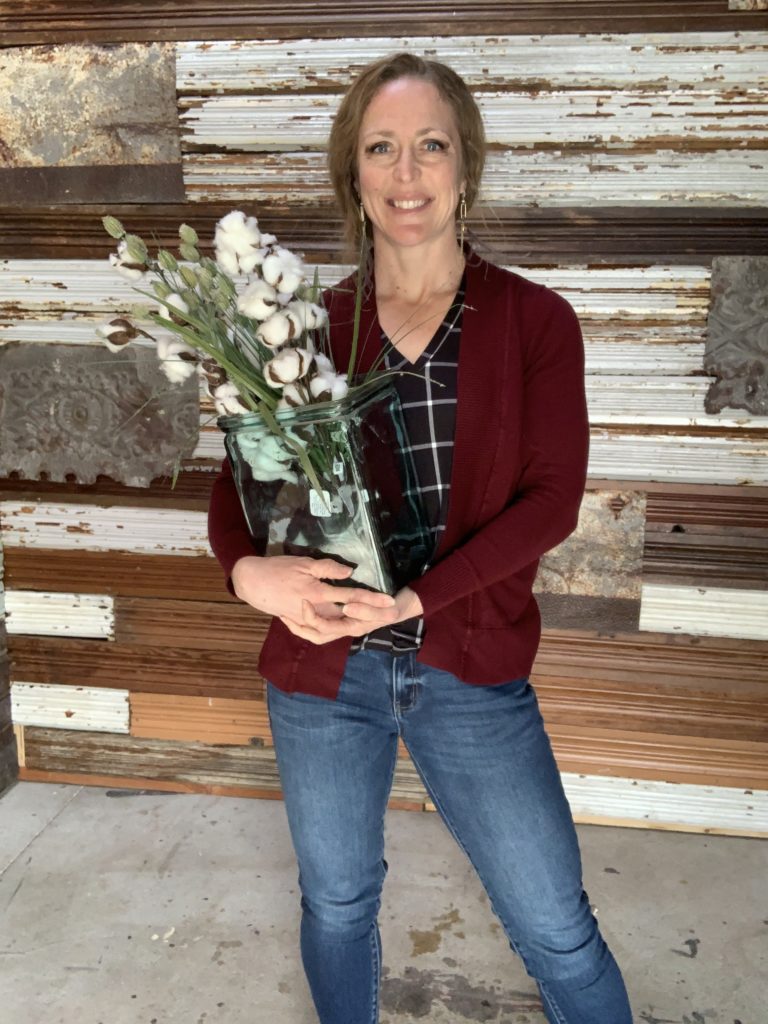
The idea for this vintage wallpaper backdrop in my shop came from Pinterest! I had seen someone create one as a backdrop for a photo shoot. In the Pinterest picture, they had made their backdrop free standing using plywood and it was styled up with a chair in front of it. I thought it would be so cute for a wedding, senior photos, baby shower, or bridal shower.
The Pinterest picture got me thinking about a wall in my shop. I knew I wanted to do the same thing, but I needed to collect wallpaper. This is where it got difficult. It seems like sometimes when you are looking for something, you can’t find it, and when you aren’t you find tons. I was keeping an eye out for wallpaper when I would go to the thrift store, but when I would find something it just wasn’t right. It would be too new or too cutesy. The wallpaper I was coming across just was not what I had in mind.
Speaking of my shop, read about how we converted our Morton building into a shop HERE and HERE.
Of course I can’t find any pictures of this project, so PLEASE be sure to watch the video below! I SHOW you the WHOLE process!!
Finding Wallpaper
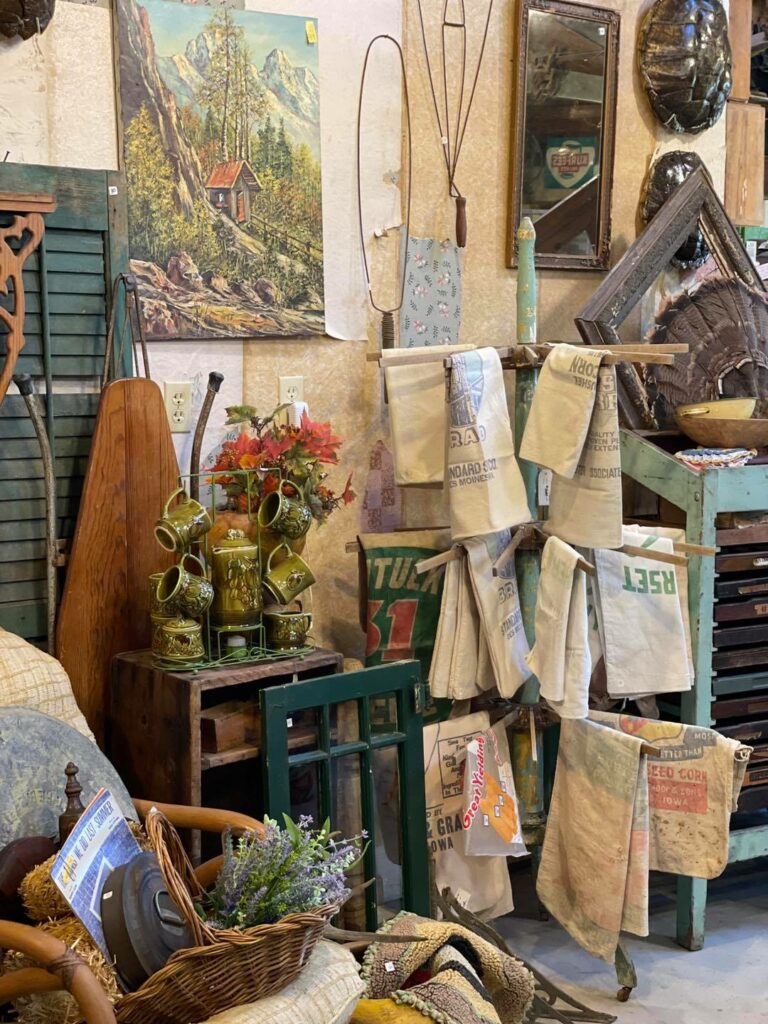
Finally, when I was picking one day I found some! I think it took me about two different picks to finally get enough. Once I finally started finding some wallpaper that I liked, the problem shifted to making sure I was finding the right combination of colors and patterns. I needed some bits of wallpaper that were neutral since I knew I’d be displaying items against it in my shop. In the end, I didn’t use everything that I collected. I laid out the wallpaper and tried to pick what would work well together.
Some of the wallpaper was super old and thin and fragile. This made it difficult, but I just went with it! I let it rip when it wanted to rip, and figured I’d put something underneath it or try to disguise it or even just leave it.
In all my years of DIY, I had never wallpapered particle board before, but it worked out just fine for this wallpaper backdrop project!
I absolutely love how this project turned out. Since this project, I have done more wallpaper and I would even like to do it again! I think that is how you know it was a great DIY- if it leaves you wanting to do it again!
See if you can spot the completed wallpaper backdrop in THIS shop tour!
Supplies
- Vintage Wallpaper
- Wall or Plywood to create your backdrop on
- Shieldz Wallcovering Primer
- Sure Grip Heavy Duty Clear Strippable Wallcovering Adhesive
- Paint Rollers
- Rubber Roller
- Level
Process
Prepare the surface you want to wallpaper by painting it with Shields wallcovering primer. I rolled this onto my plywood wall in the shop and let it dry completely. Since my wall was particle board I knew it wouldn’t be absolutely perfect but I got into all the grooves as best as I could.
After the wall was dry, I took my wallpaper glue and rolled it onto a section of the wall, and then began sticking wallpaper to it. I used a rubber roller to smooth the wallpaper into place after initially applying it to the wall. In my video, you will notice what looks like wet spots or extra adhesive. I think this happened because my wallpaper was older and thin. However, when it dried it was hard to notice, so it wasn’t a big deal to me.
I had been eyeballing it as I went along, hanging the wallpaper until I started noticing it was crooked! Then I brought out the level.
I found as I went along that applying glue to both the wall and the back of the sheet of wallpaper worked the best. After each piece of wallpaper was placed, I used a rubber roller to go over the top and make sure it was secure.
As I went along, I did use some smaller scraps to cover areas that I didn’t like and to add interest to my wall. I love the mix of different patterns and the ripped edges here and there. It gives the wall lots of character! This wallpaper backdrop was perfect in my shop! To see the full process, watch my video below!
Vintage Wallpaper Backdrop
Materials
- Vintage wallpaper
- Wall or plywood to create your backdrop on
- Shieldz Wallcovering Primer
- Sure Grip Heavy Duty Clear Strippable Wallcovering Adhesive
- Paint rollers
- Rubber Roller
- Level
Instructions
- Prep the wall or plywood you are using by painting it with primer.
- Layout your wall paper and determine how you want it to look – think about the combination of colors and patterns!
- Add adhesive to the wall and the back of the wallpaper sheet and attach to the wall. Use the level as needed to make sure everything stays straight.
- After sticking each piece of wallpaper up, go over it using a rubber roller.
- Repeat the process until you have covered your wall or plywood backdrop!
Want more inspiration?
Looking for more DIY ideas? Inspiration? Stick around on the blog a little bit longer!
Need a nightstand? Check out how I repurposed a card catalog with hairpin legs to make a nightstand HERE.
Learn how to paint an old basket with me HERE.
Have you been keeping up on Coffee Talk with Brooke + Hilary? Listen to the latest episode HERE.
See what is inspiring me on my PINTEREST!
Ways to Connect with The Junk Parlor
There are so many ways you can keep up with me! I am always sharing DIY tutorials, my latest antique and vintage finds, going live and doing sales, and even showing you bits and pieces of my life. Keep up with me here on the blog or on my social media!
Check Out my Latest YouTube Video:
This post may contain affiliate links for the products I use and recommend. I am not paid to promote these products. If you purchase using my affiliate links, I could make a small commission at no charge to you.
