I’m always looking for fun ways to use and display my vintage flowers! Making DIY vintage button flowers was something I hadn’t done before, but found very therapeutic!
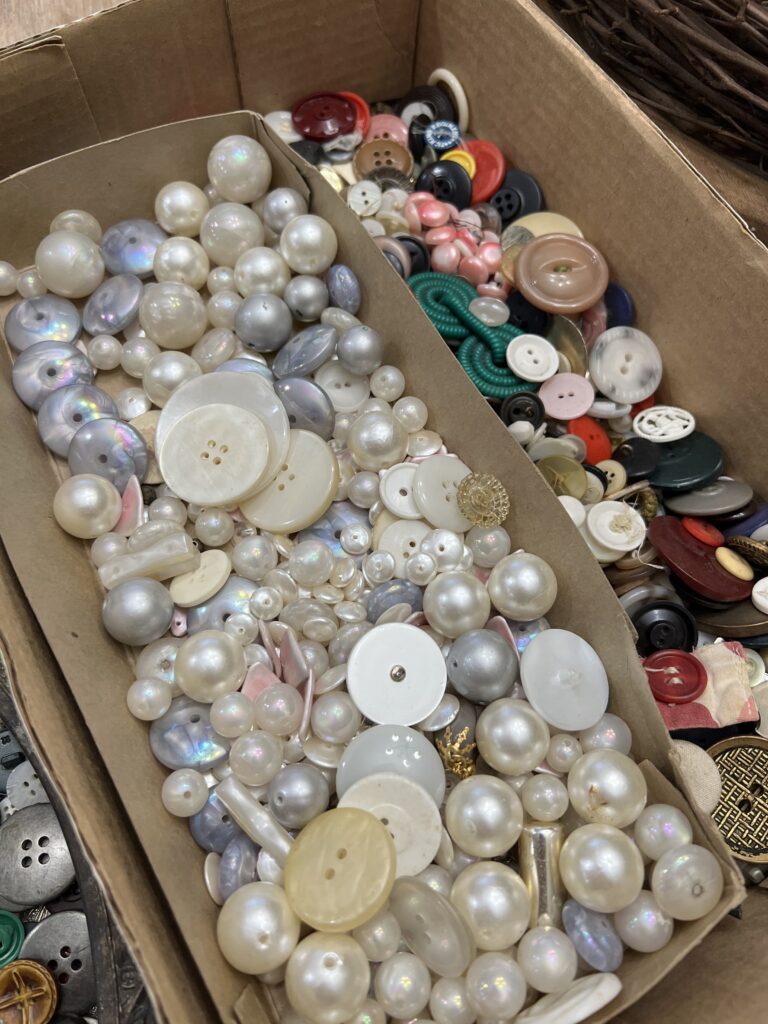
I have never actively bought vintage buttons, but yet I seem to always have a pile of them! People often put them in old jars and candy dishes, and I am probably buying more buttons for the containers than I am for the actual buttons. They also often tend to be in boxed lots at auctions. Buttons in jewelry boxes, cigar boxes, and just the bottom of random totes and boxes.
When I find buttons I put them all together and then tend to hoard them. I’ve made button wreaths, find that HERE. I’ve even made Christmas bells with buttons, find that HERE.
The Process
Selecting Buttons for Flowers
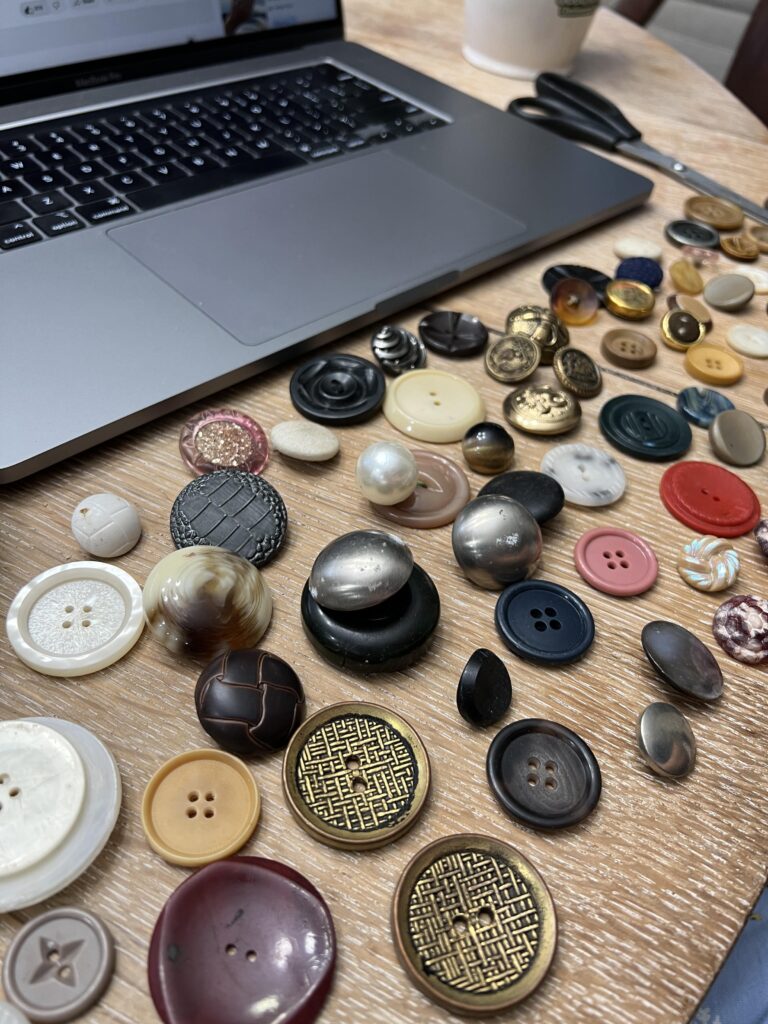
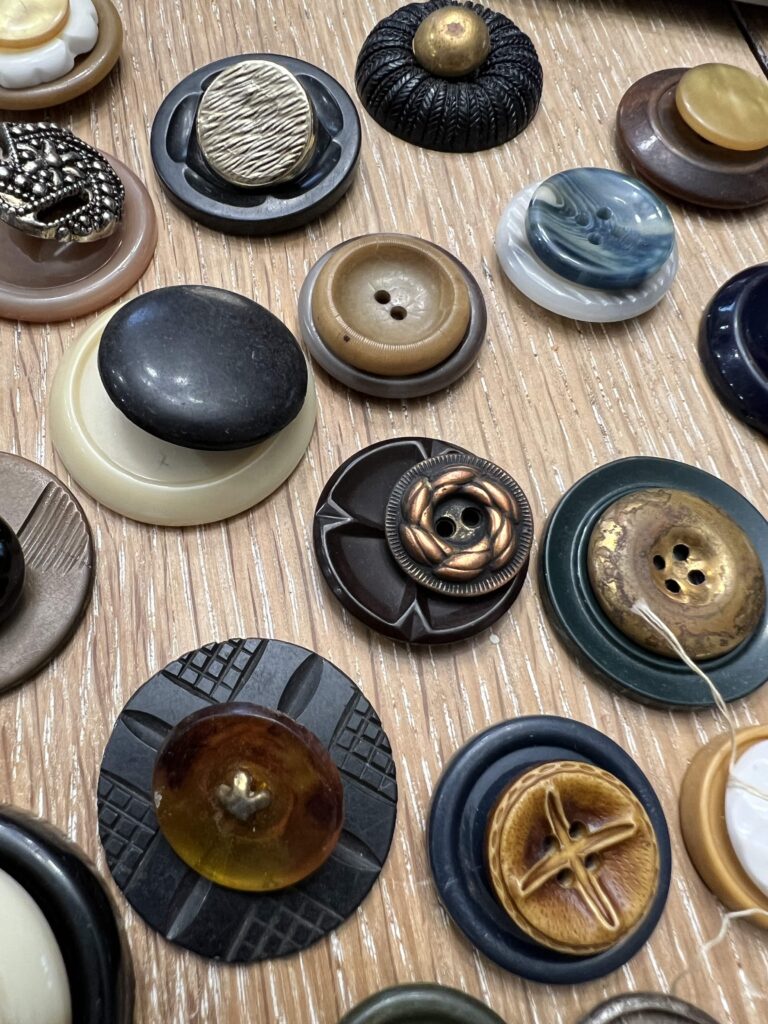
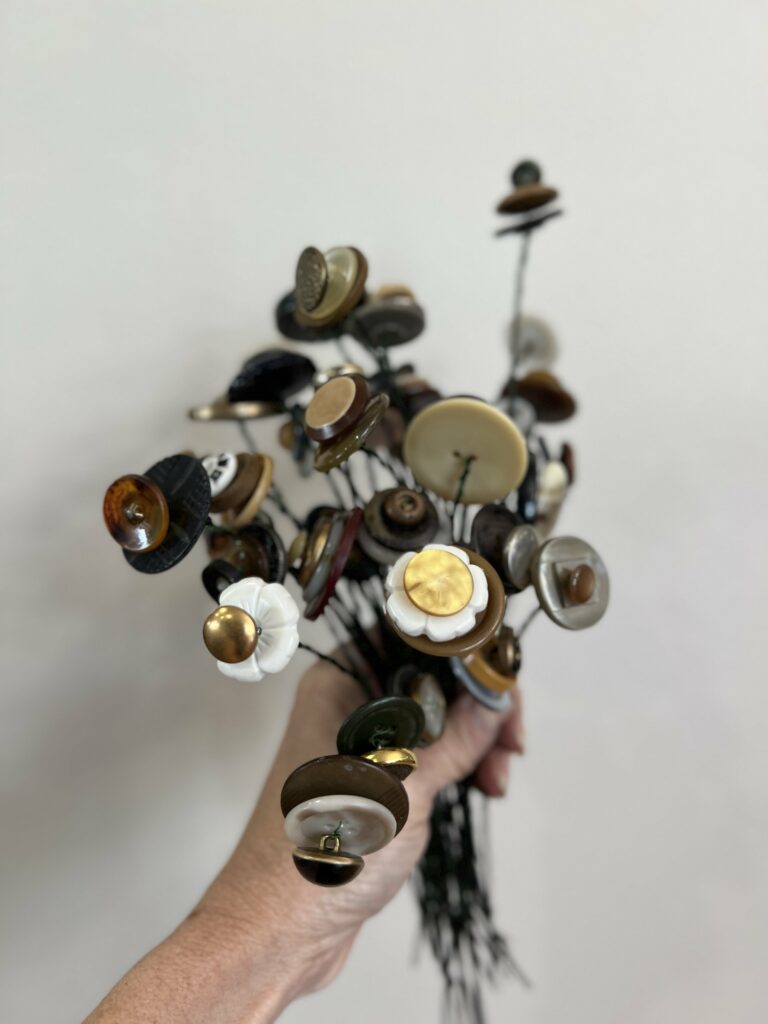
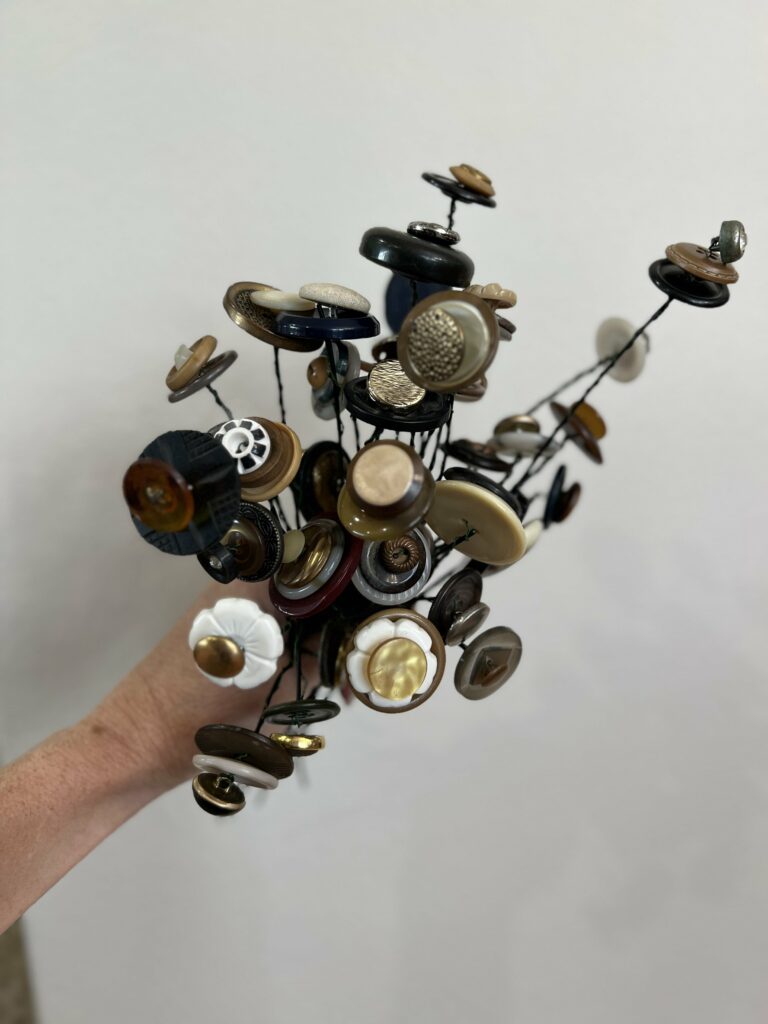
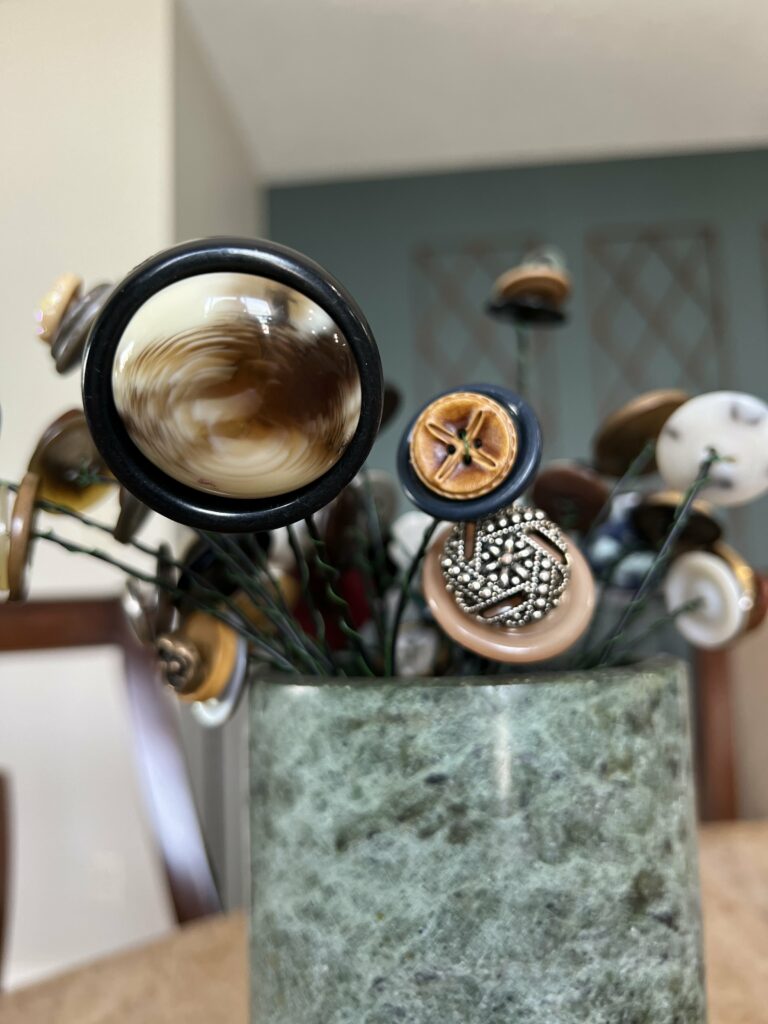
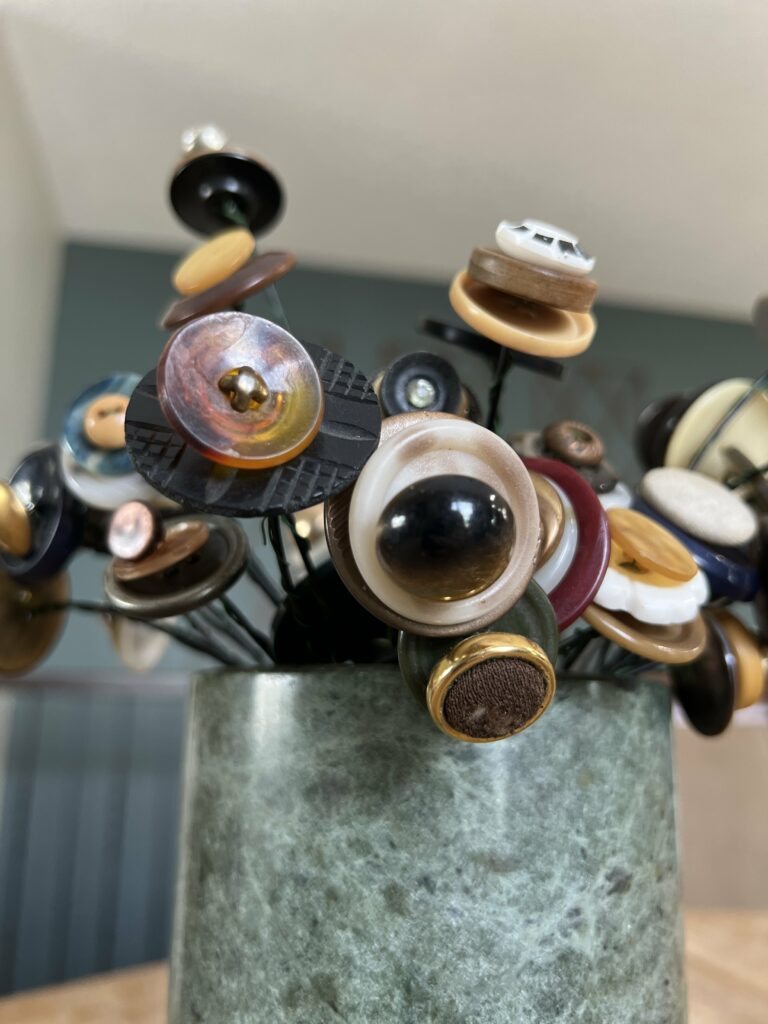
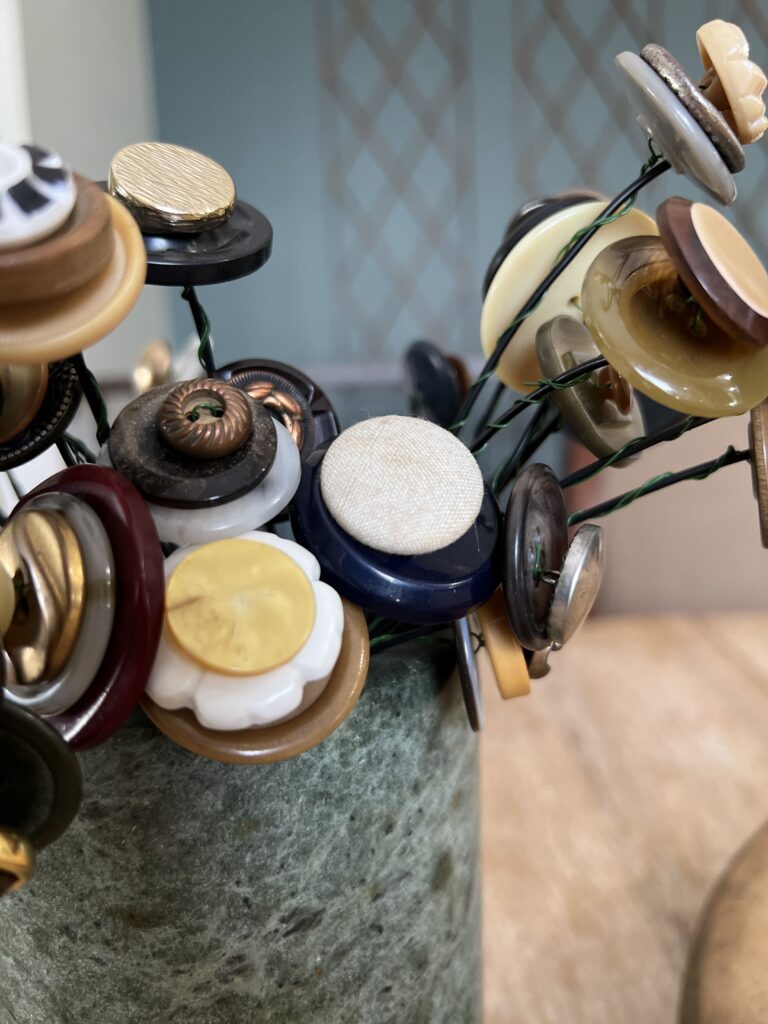
I found this part very therapeutic. I just laid out buttons on the kitchen table to see what I had to work with. Then I decided that I wanted to make neutral colored flowers instead of a colorful bouquet. I started by selecting a couple buttons that nested. As I laid out the buttons I decided that I had enough different sizes that I could use 3 buttons to make my flowers.
Using Wire for Stems
If you are a regular reader than you know that I am all about using what I have. To me the reason to do a DIY project is to use up things I have laying around instead of buying things for the project only to have leftovers from the project laying around!! So, when I went to my tote that has wire in it, I decided to use my green flower wire.
I’m not really sure why because green doesn’t really match, but that’s what I picked. I also learned after making an entire bouquet that floral wire was a terrible choice! It is not strong enough to actually hold up the button flowers! Oh well, lesson learned. Luckily I had other wire in my stash to correct the issue.

Creating the Button Flower
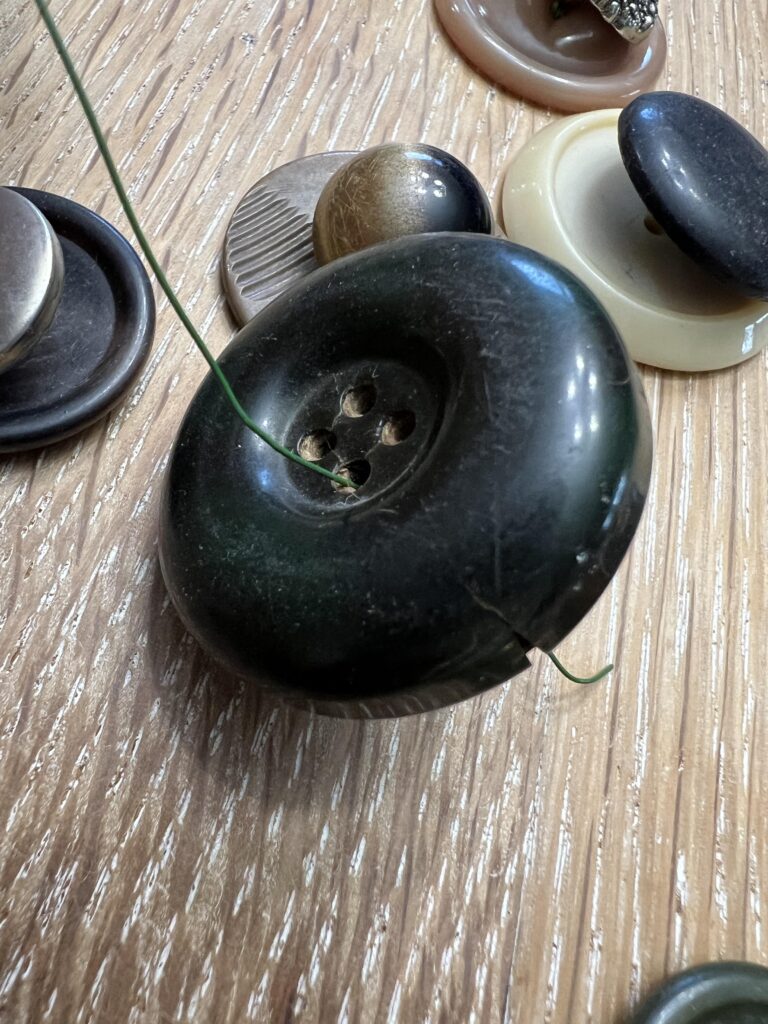
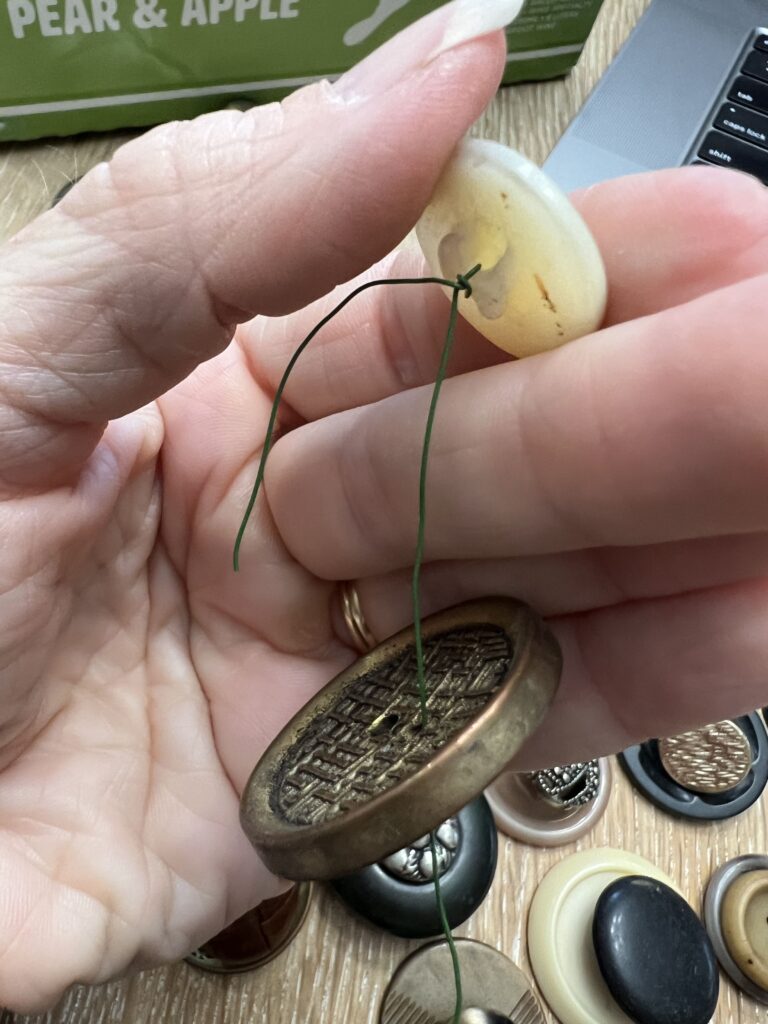
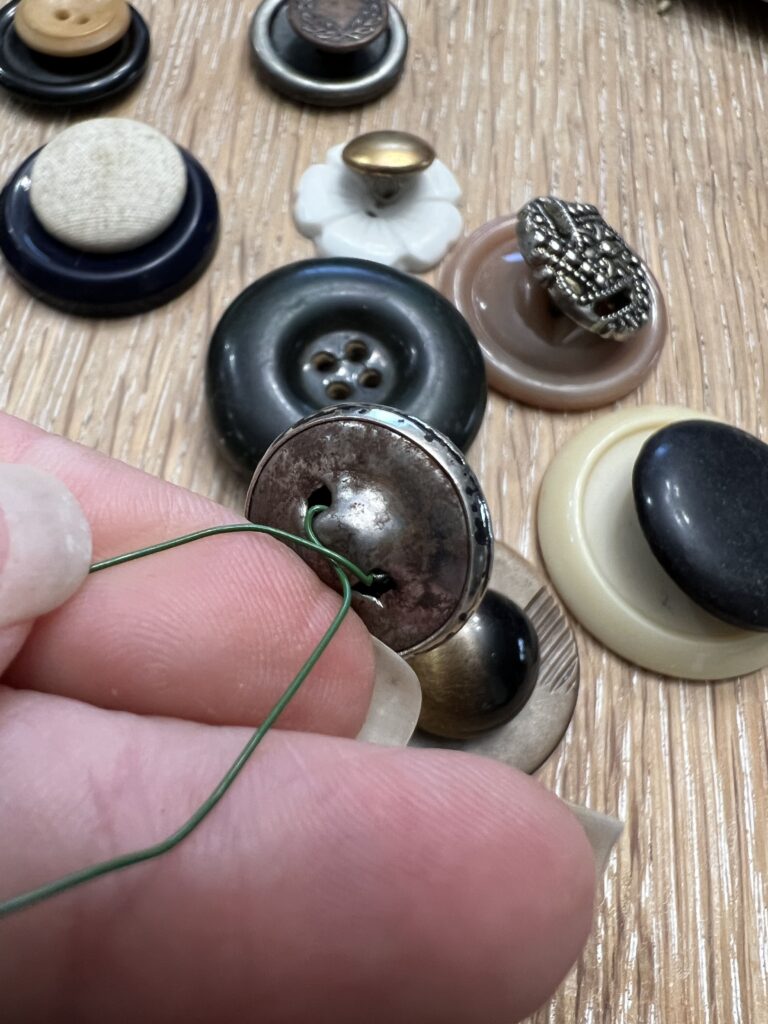
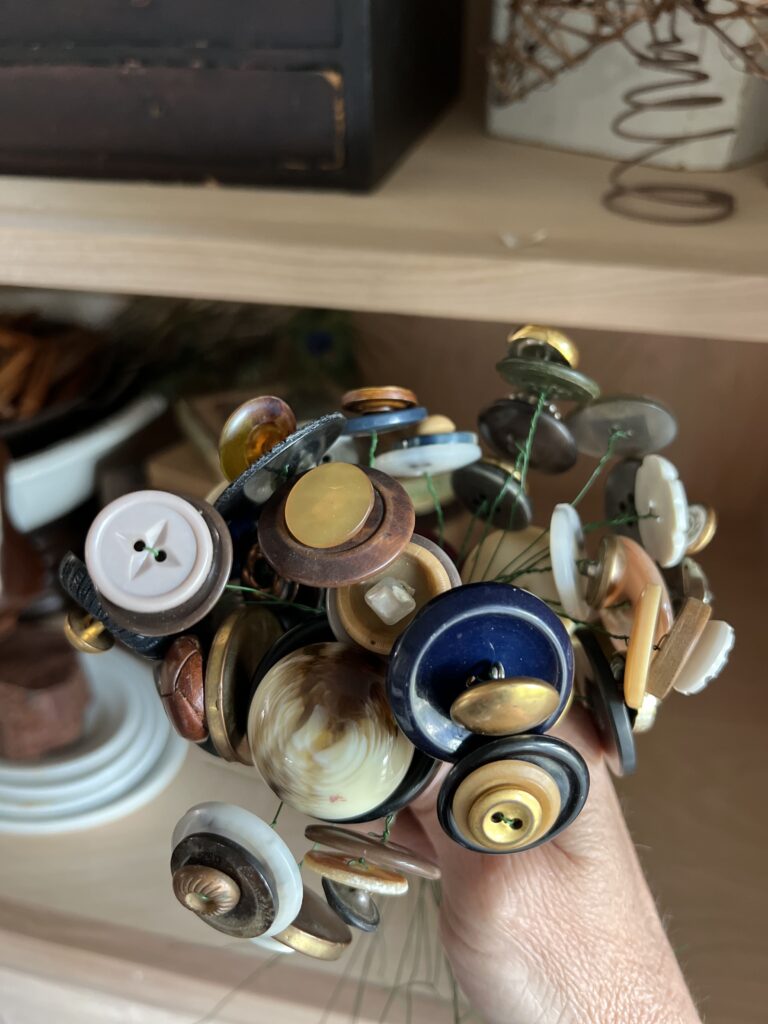
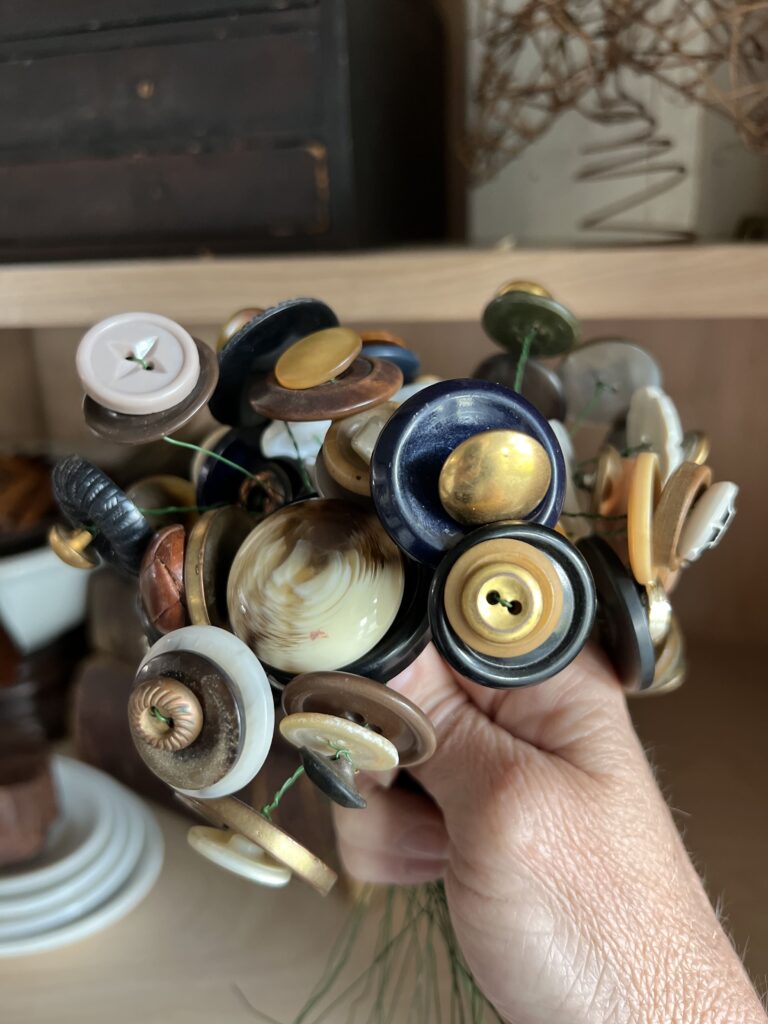
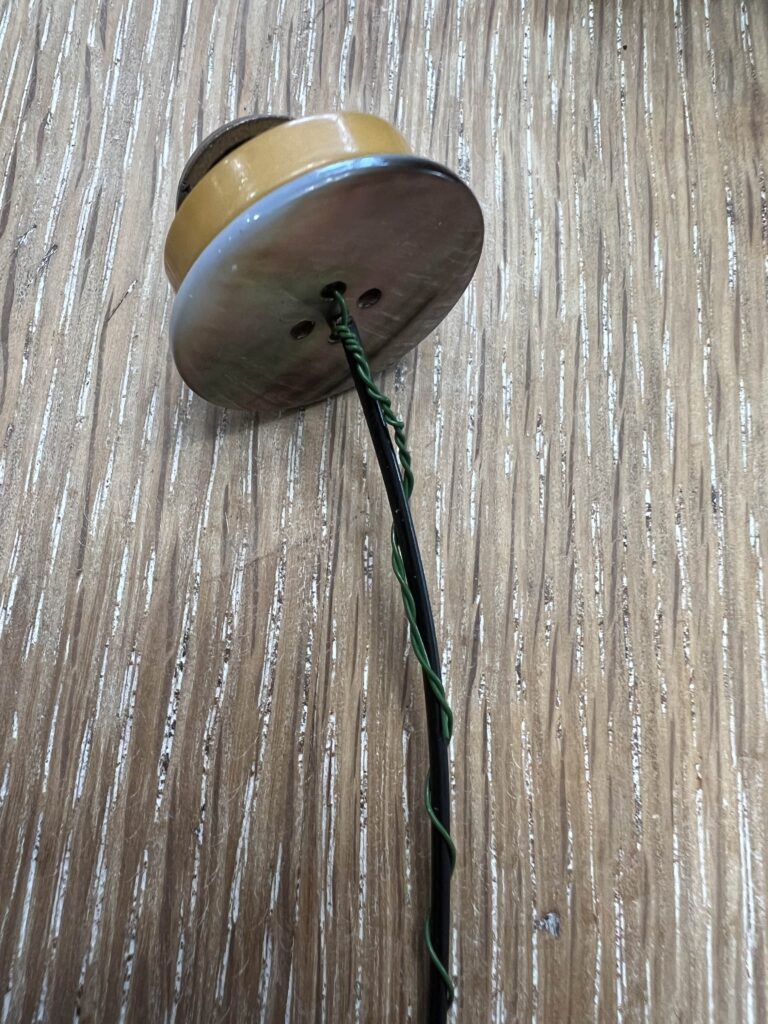
After I had arranged the buttons and sat them out on the table I cut some smaller sections of wire. I took one end of the wire and put it up through one hole of the button. Then I bent the wire to put the end of the wire down into a different hole. I started with the top or smallest button.
Then I would take the two ends that were hanging down, exposed on the bottom of the button and make a twist. This twist allowed there to be some space between the two buttons. When I twisted under the button, I still kept the wire ends separated. Then I would put those hanging wires into two holes of the bottom, or biggest button.
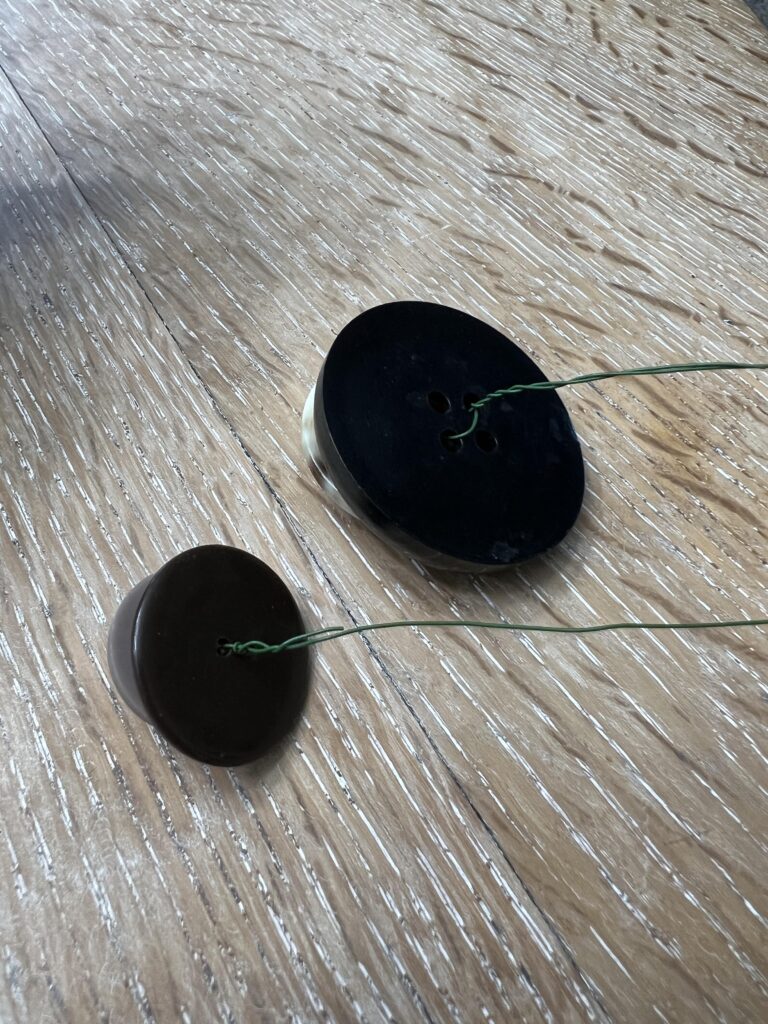

After all buttons are looped through the wire then I would twist the wire ends. One end was a short tail and the other became my flower stem.

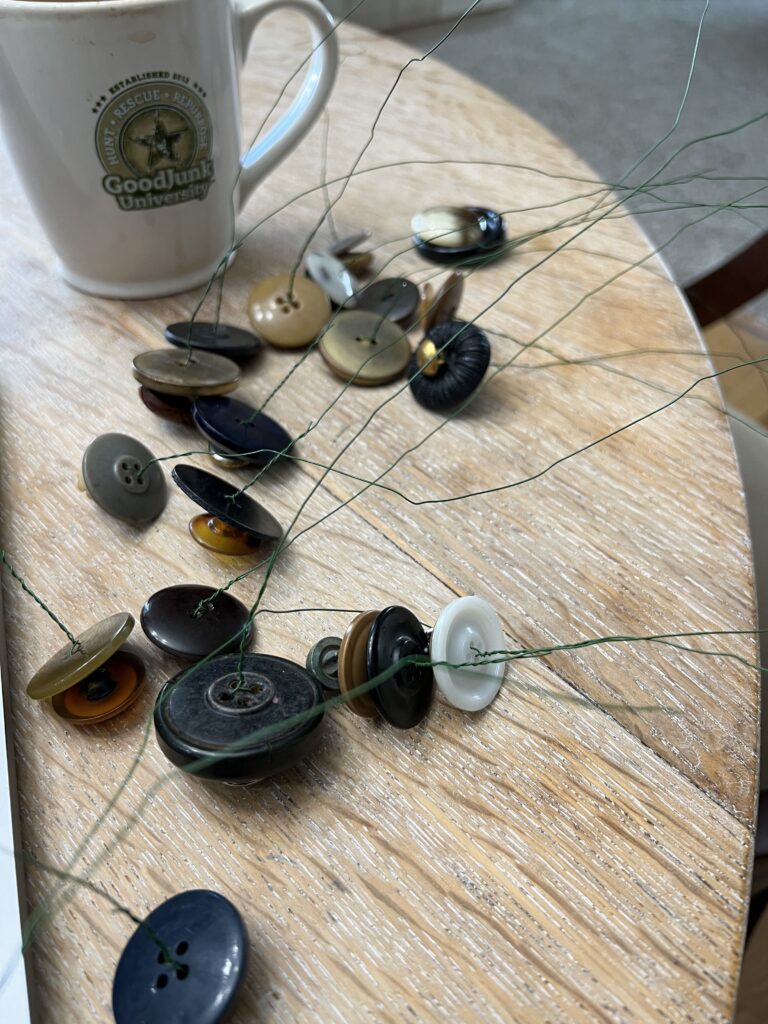
At this point I was well aware that the wire was not going to be strong enough to hold up my button flowers, but I continue to assemble them anyway! I knew I could come back later to deal with the sturdiness.
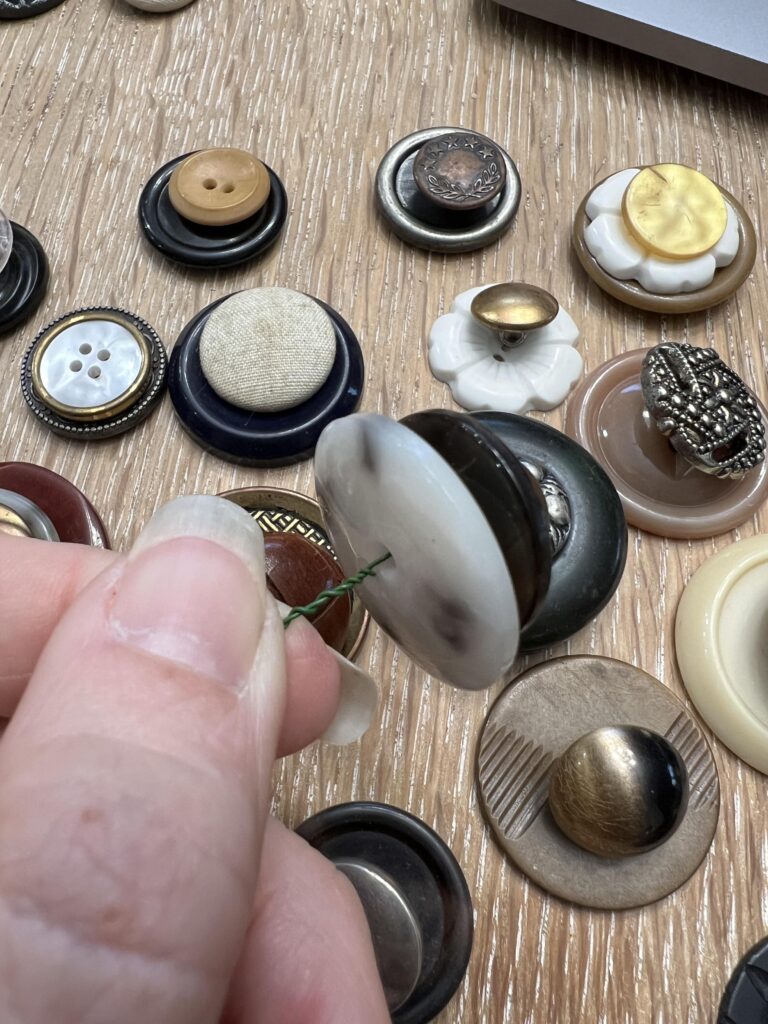
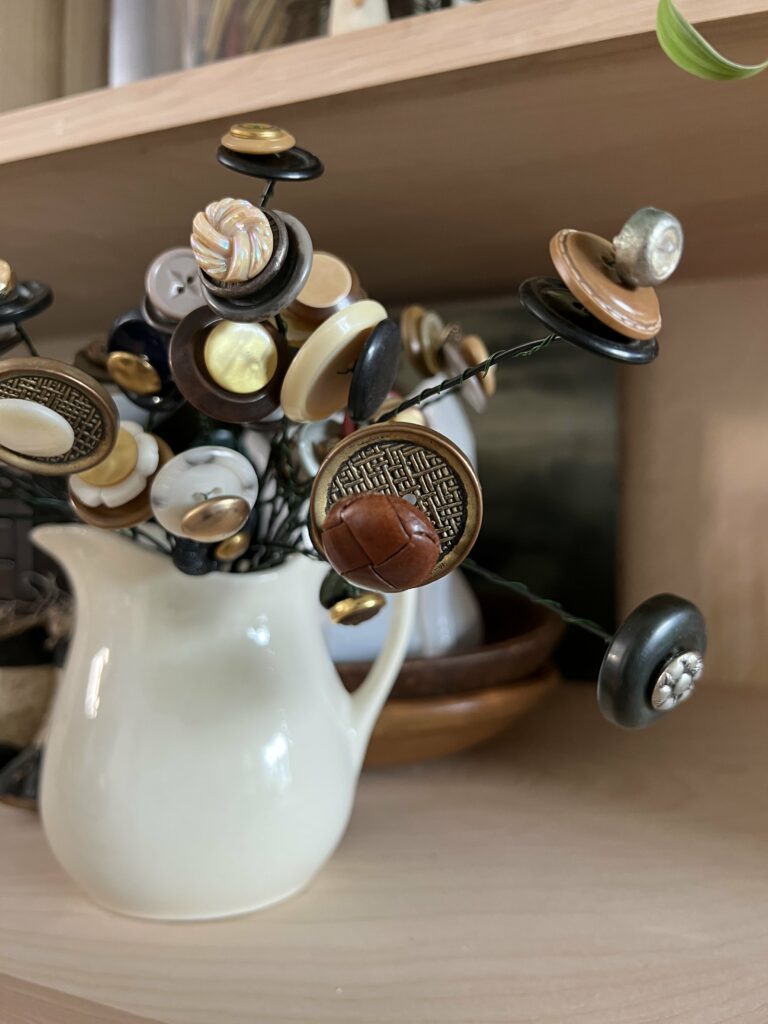
Some buttons have 4 holes, some have 2 AND, some have a single hole like an eye under the button. All of them work to create flowers however the buttons that have the eyes must be the “top” or smallest button in the flower.
Fixing the Stem
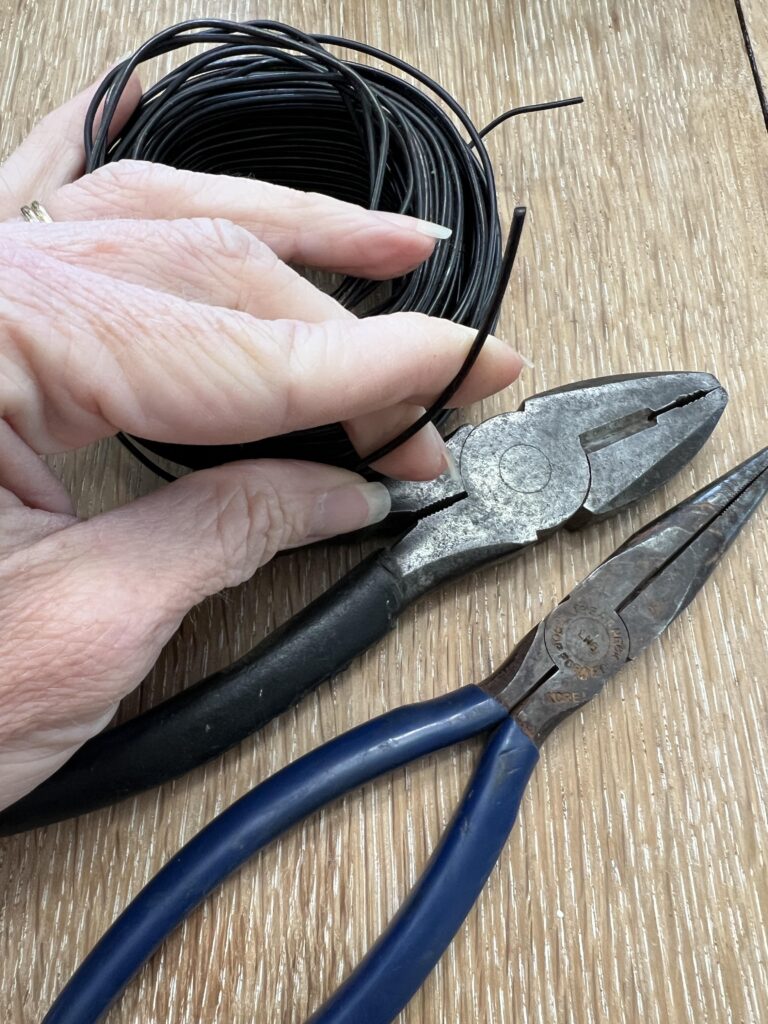
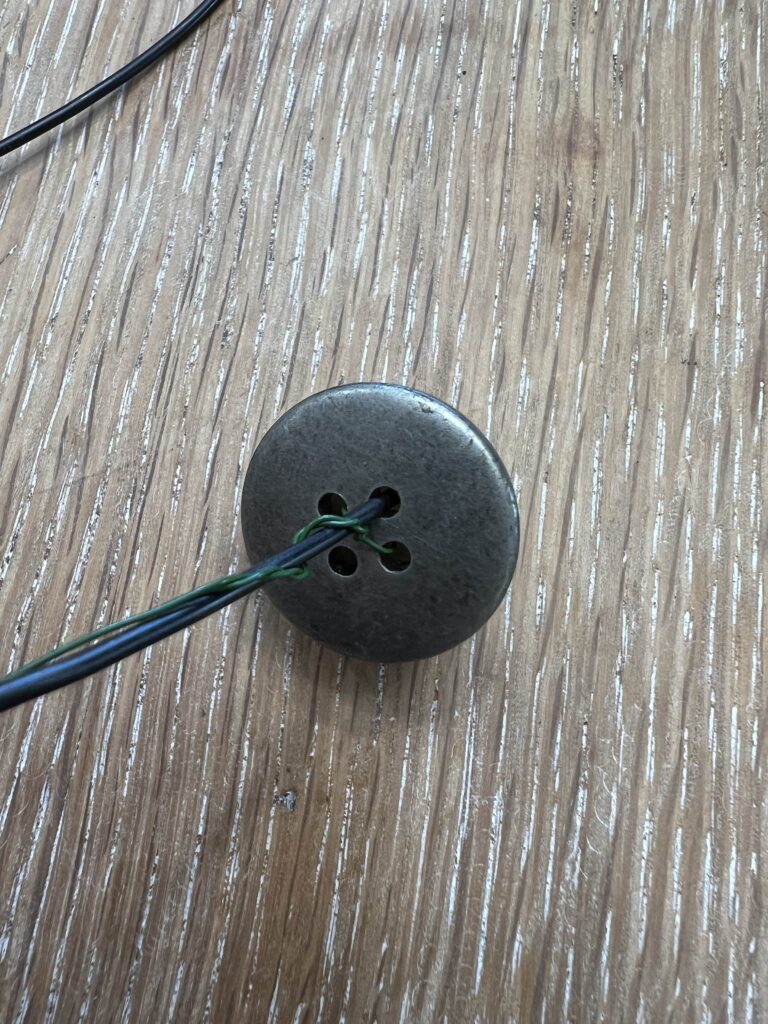
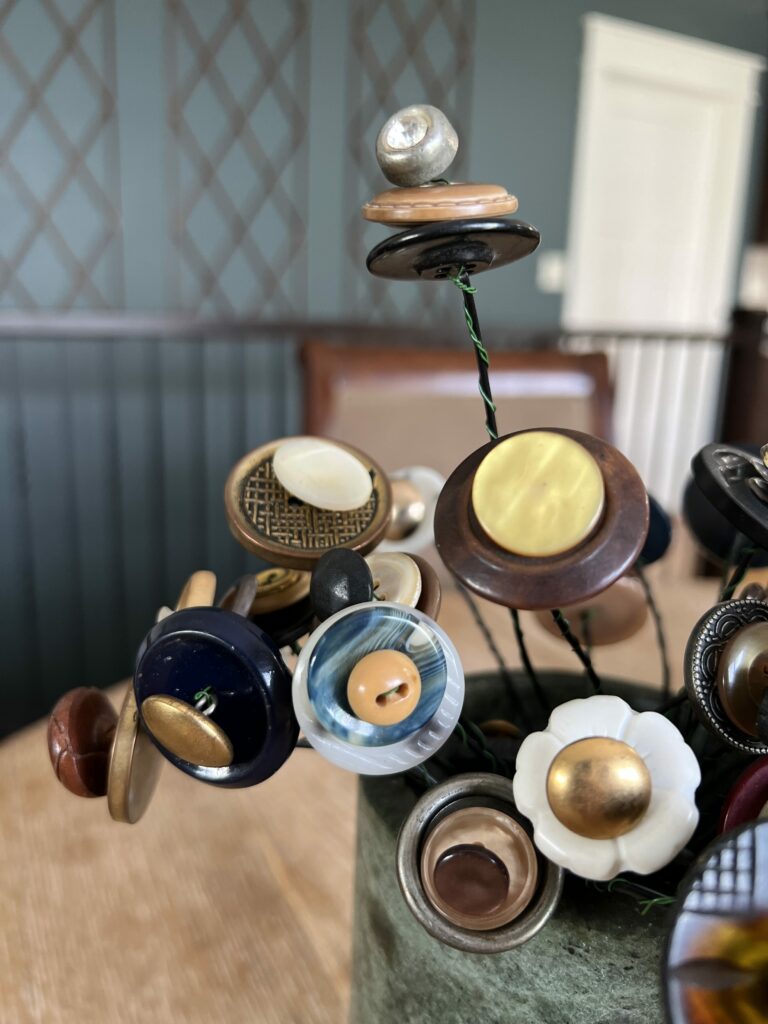
Because the floral wire I was using was not strong enough to hold up the button flowers, I had to come back later with stiffer wire. Luckily I had stiff wire in my stash. I got that and instead of redoing everything that I had done I just attached the two together. So I cut the black, thicker wire to length and then twisted the floral wire around it. This worked great. On some buttons I even stuck the thicker wire in a button hole on the largest, bottom button.
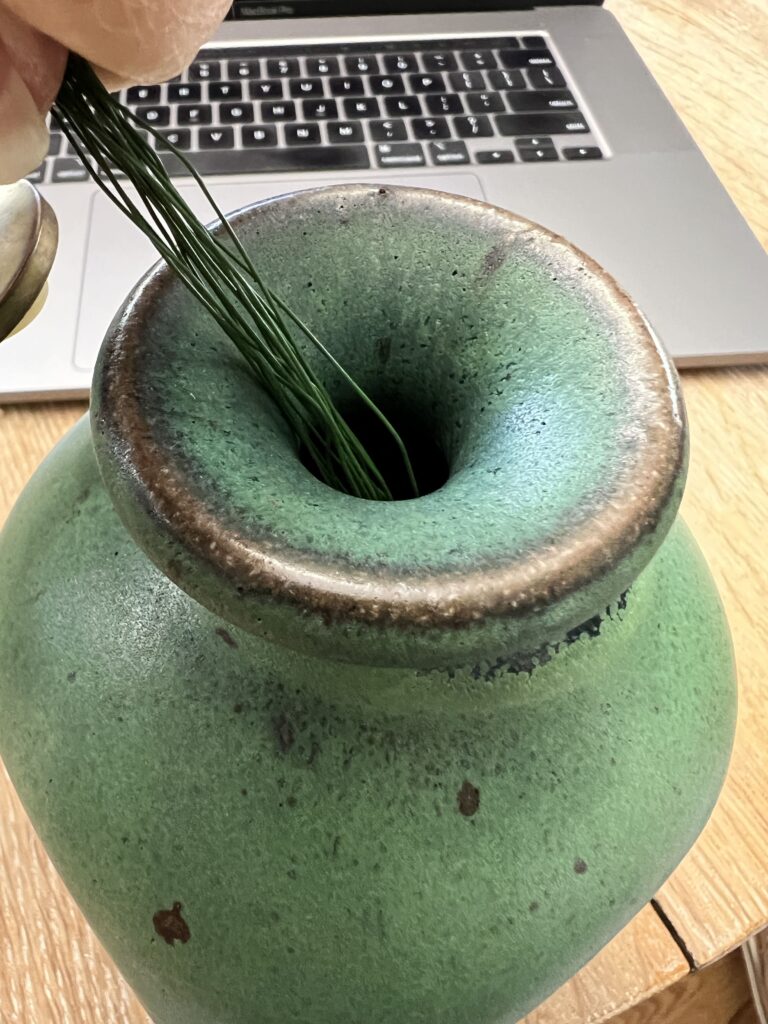
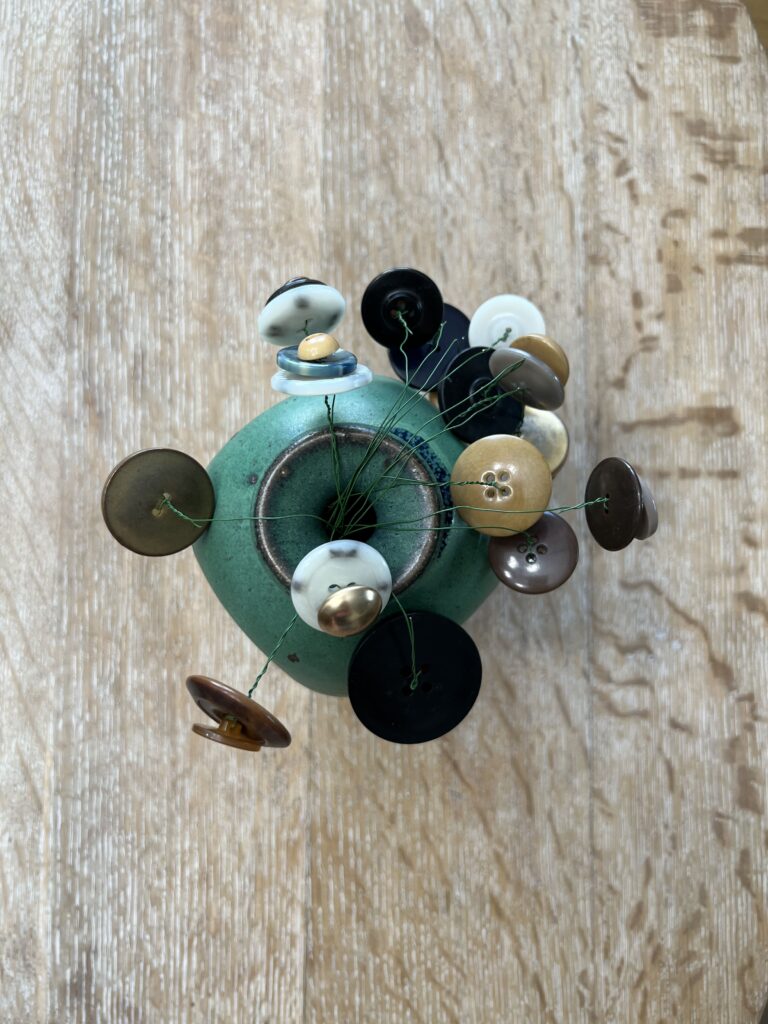
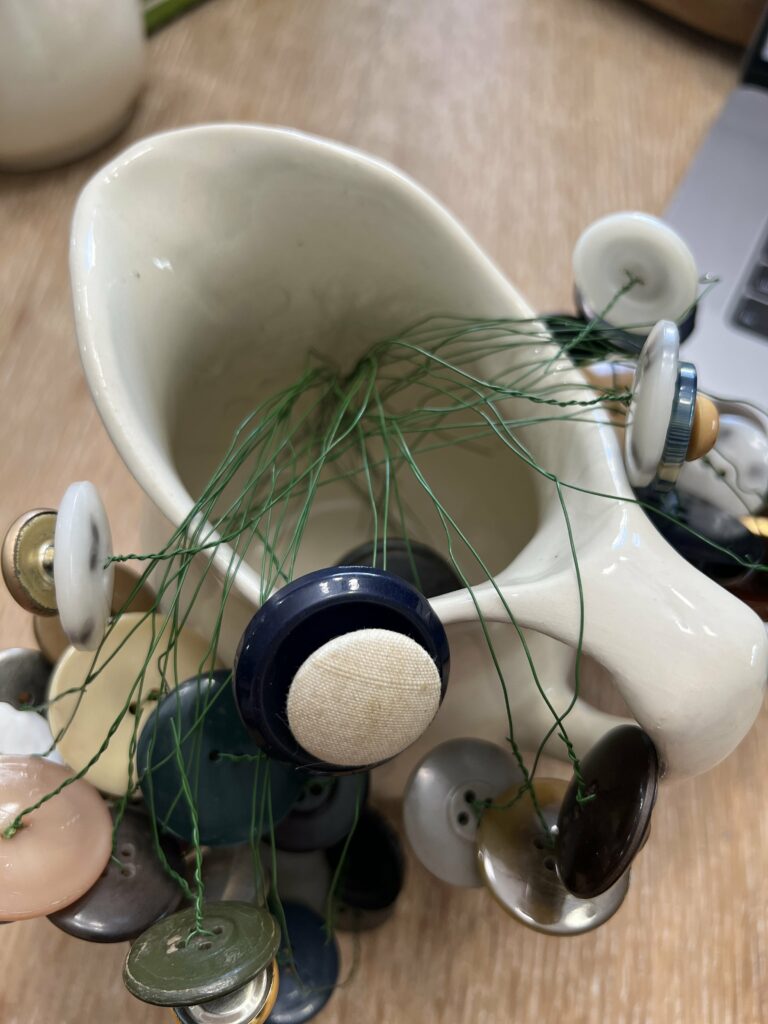
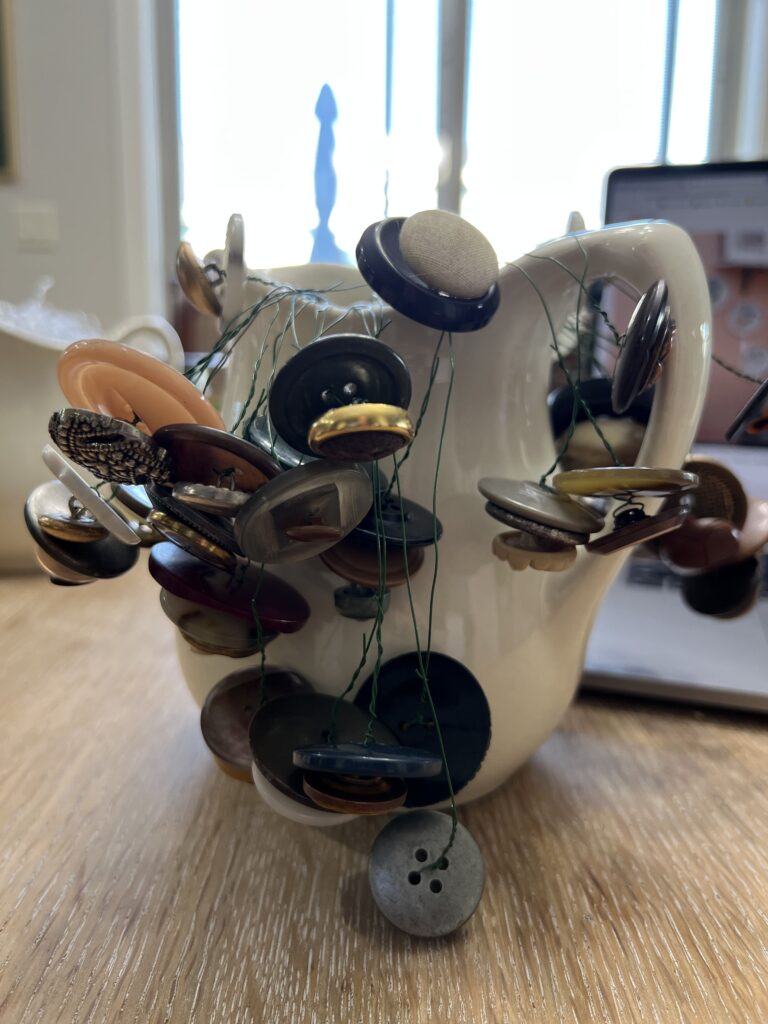

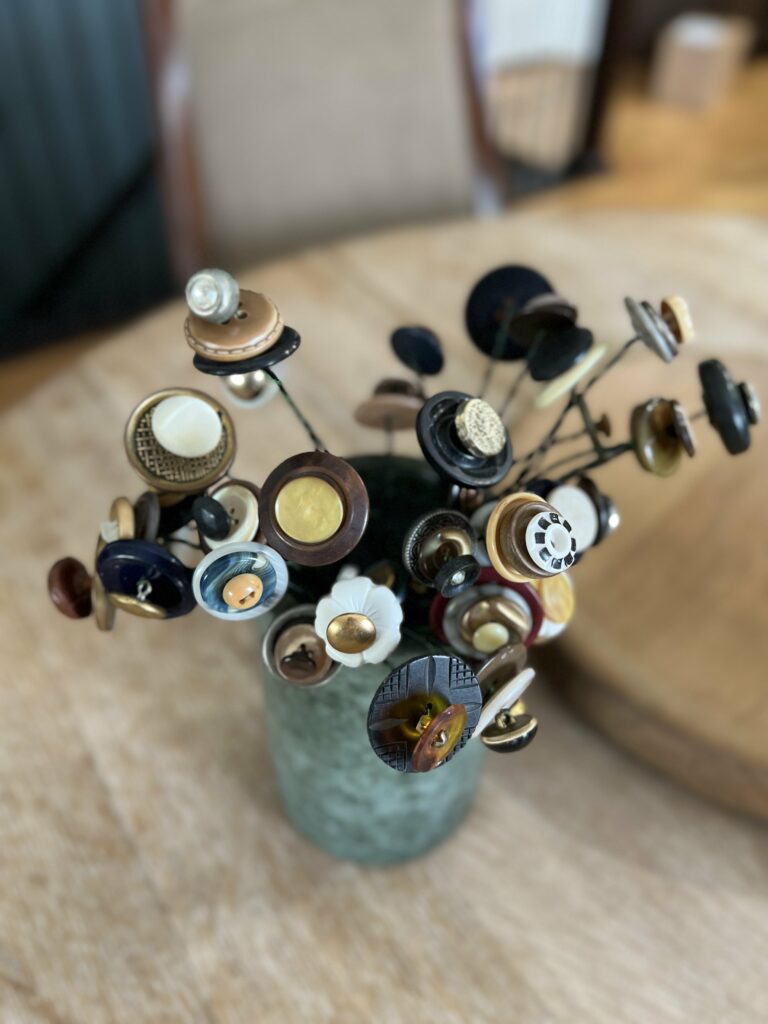
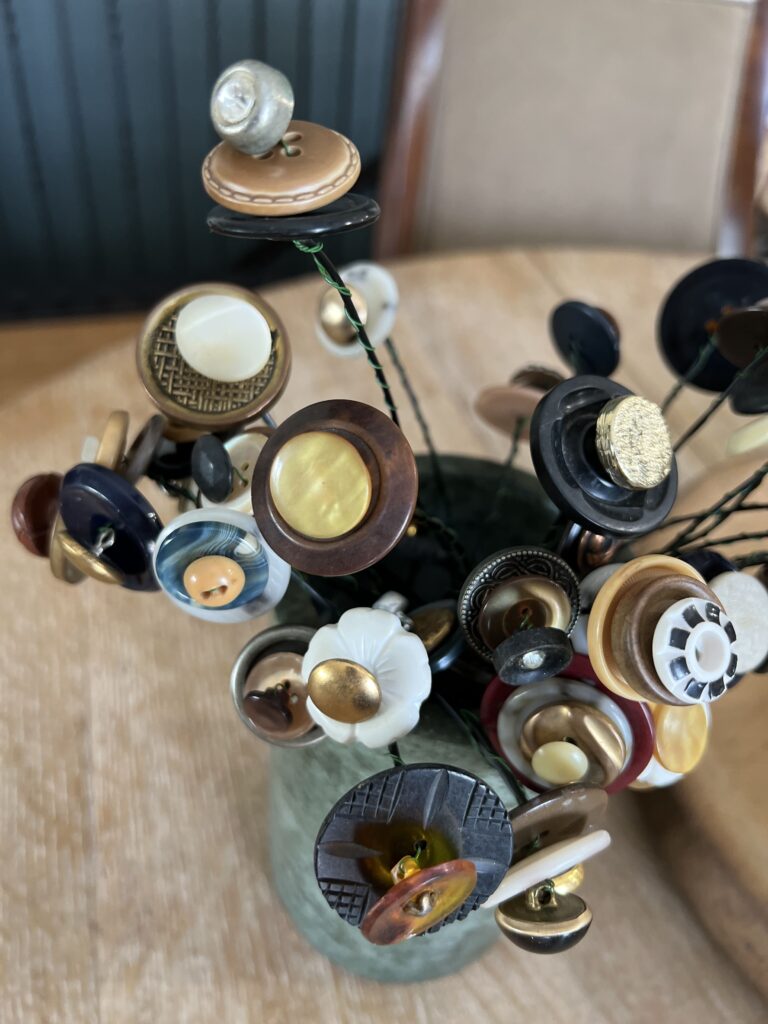
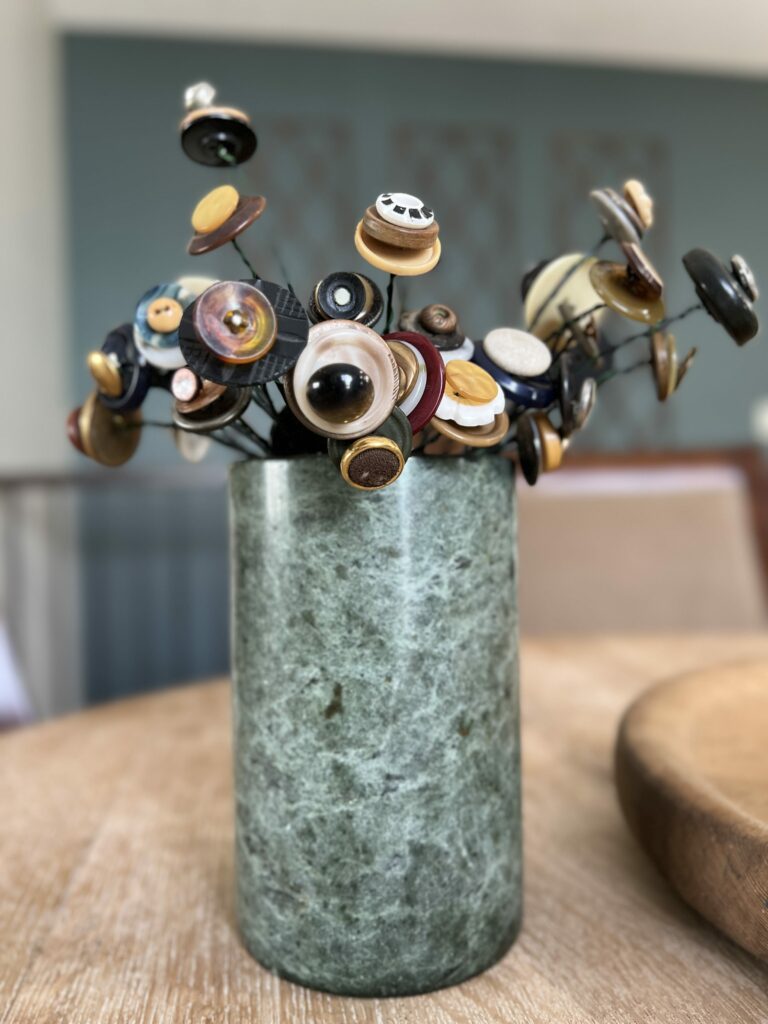
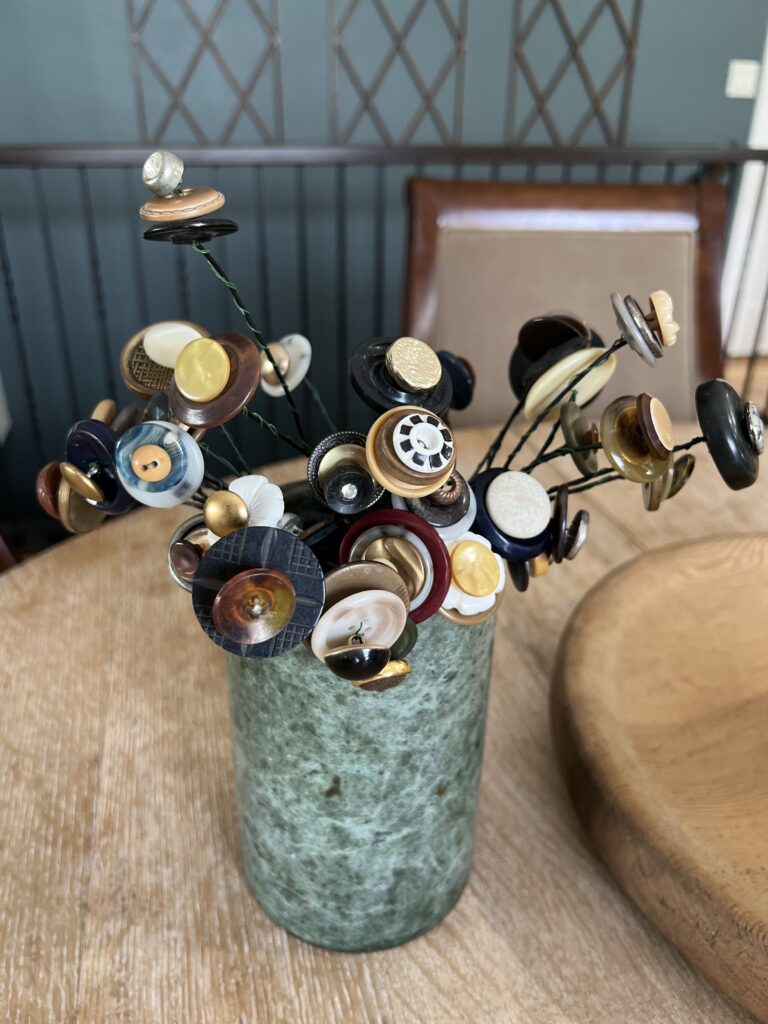
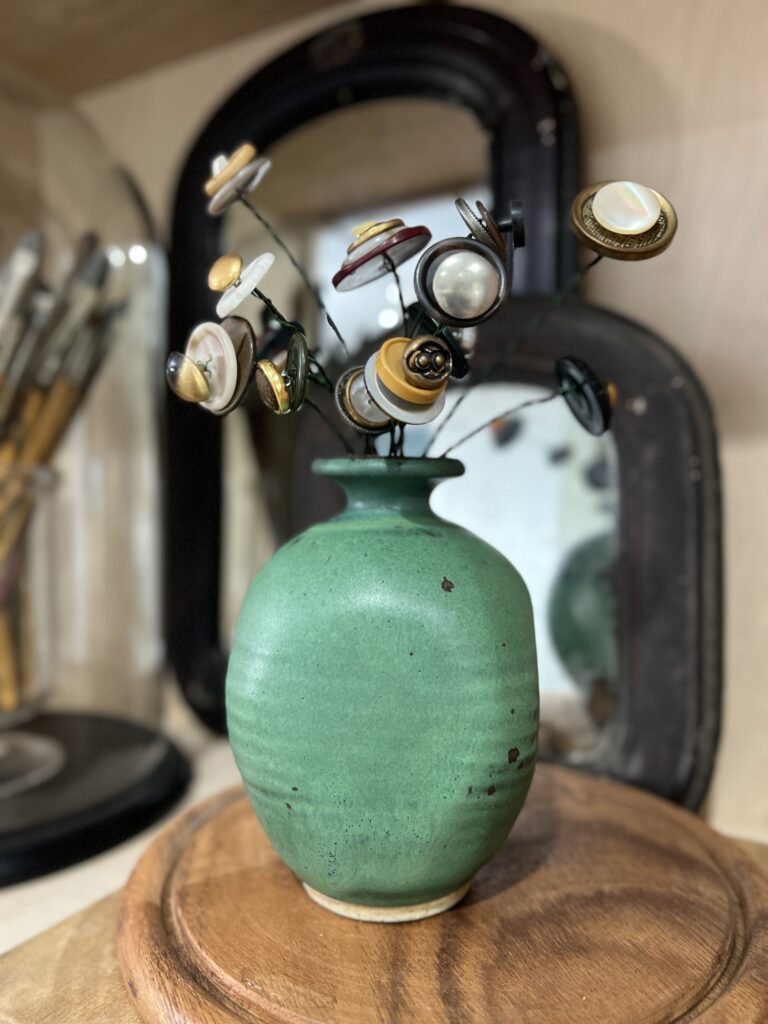
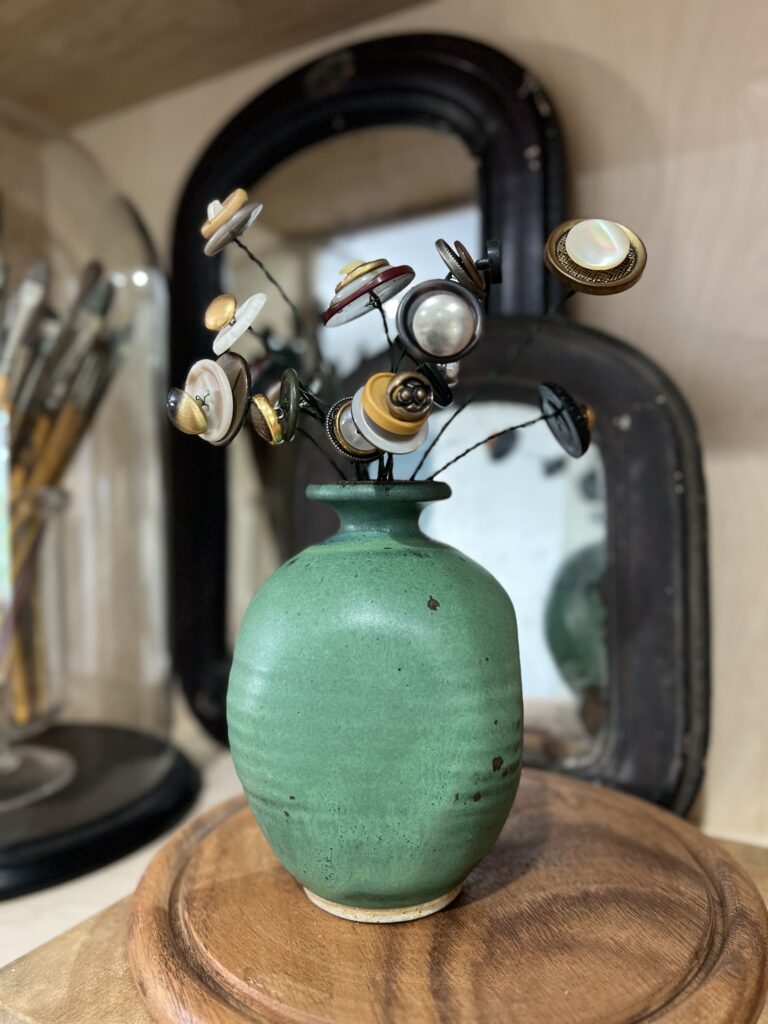
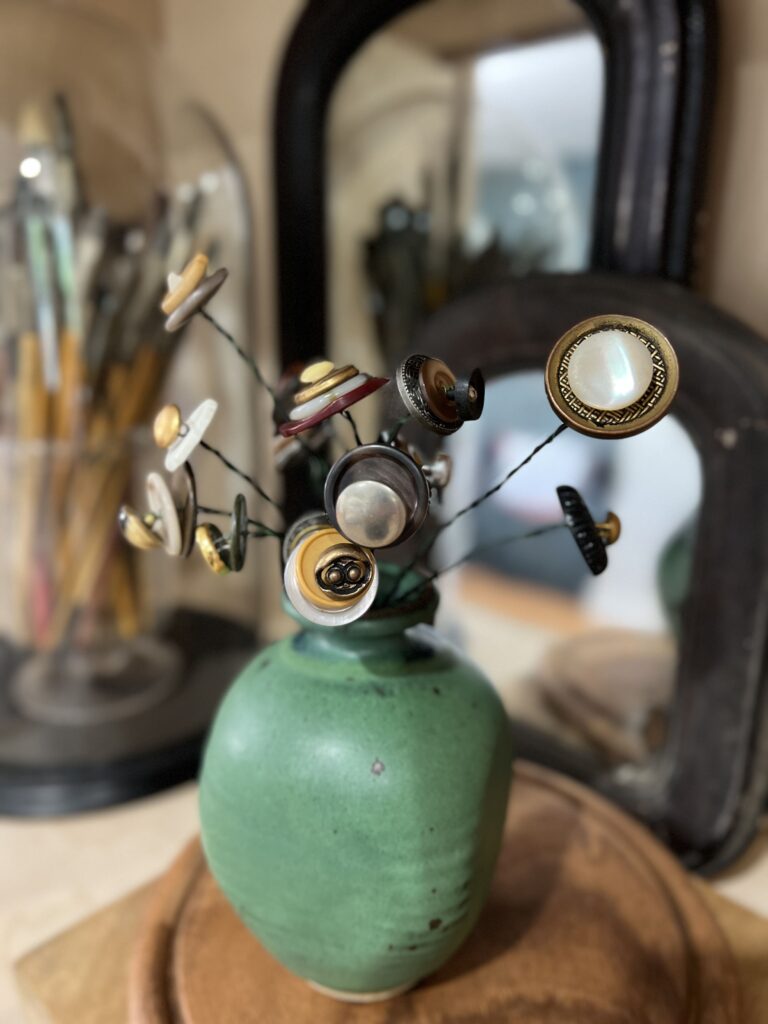
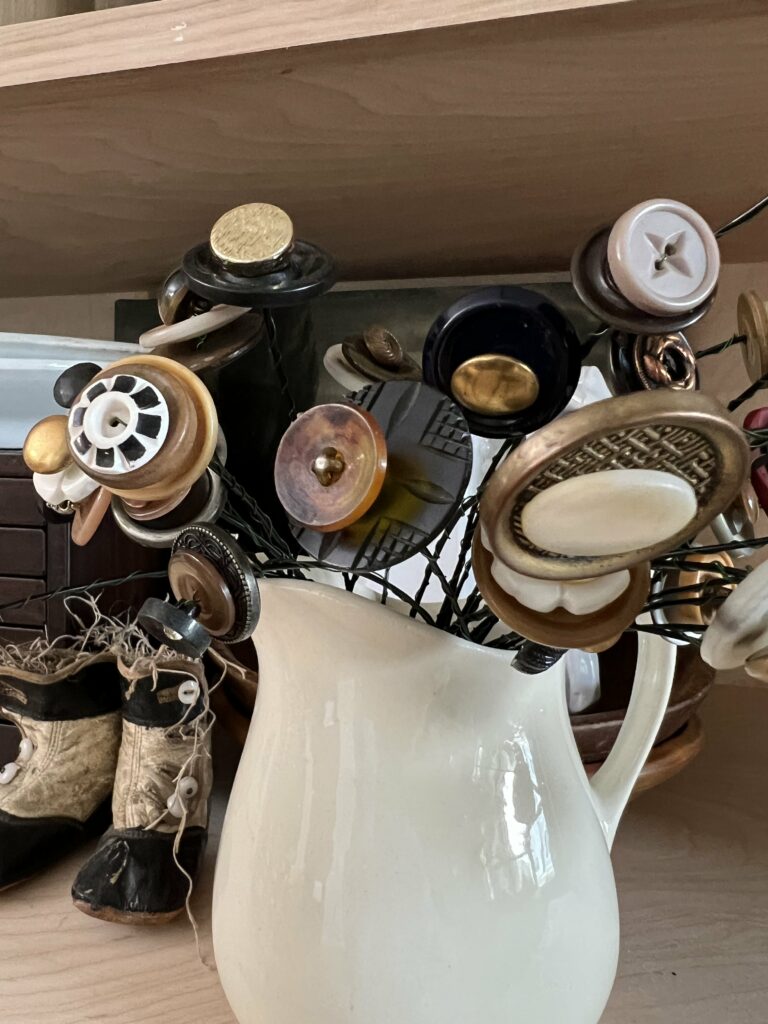
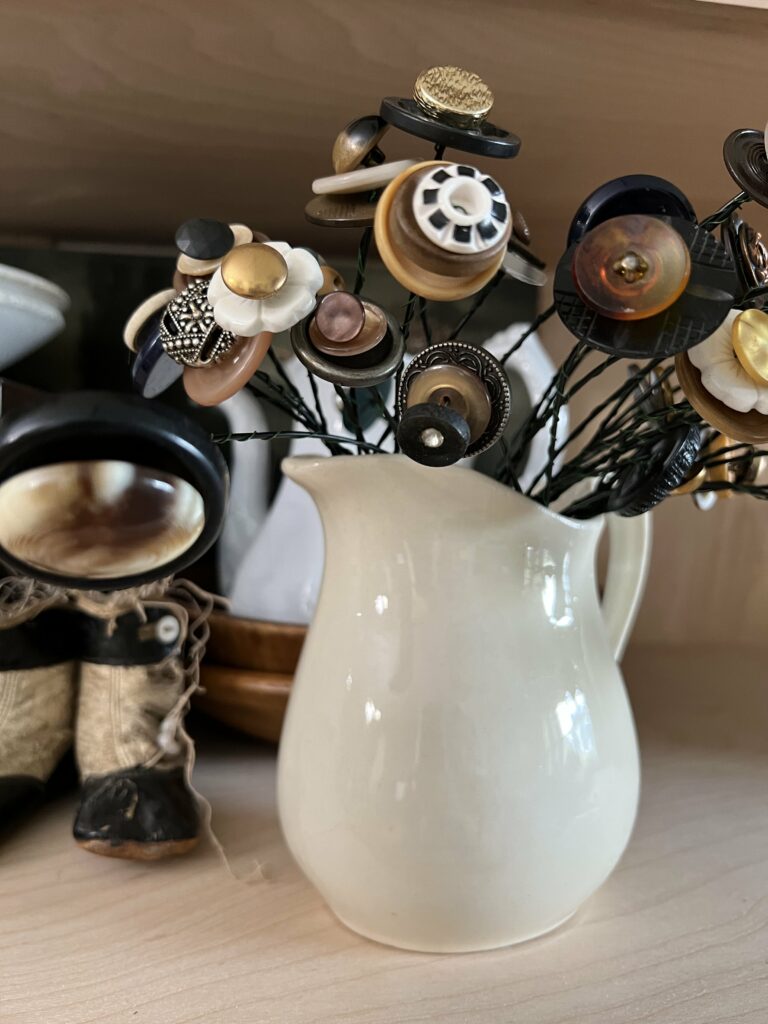
Selecting A Vessel
I put my button flowers in a pitcher, a small necked vase, and a larger mouthed vase. Each was also a different height. I do think it influences how your button flowers look. So definitely play around with what you put your button flowers in.
I found making these button flowers very relaxing and I plan to make more! Since sharing this DIY project on Instagram I have seen some made with copper wire AND some made with red, white, and blue buttons for a patriotic look! This time I’ll be making them with some copper colored wire.


2 thoughts on “DIY Vintage Button Flower”
So Cool !!!
Thank you! I loved making them!