In my video today, I showed three different boards that I decoupaged using slightly different materials. Once again, this is another project that is very customizable to your personal decor style. Keep reading to find out how to create a decoupage board and get some ideas to make it your own.
Tools & Materials
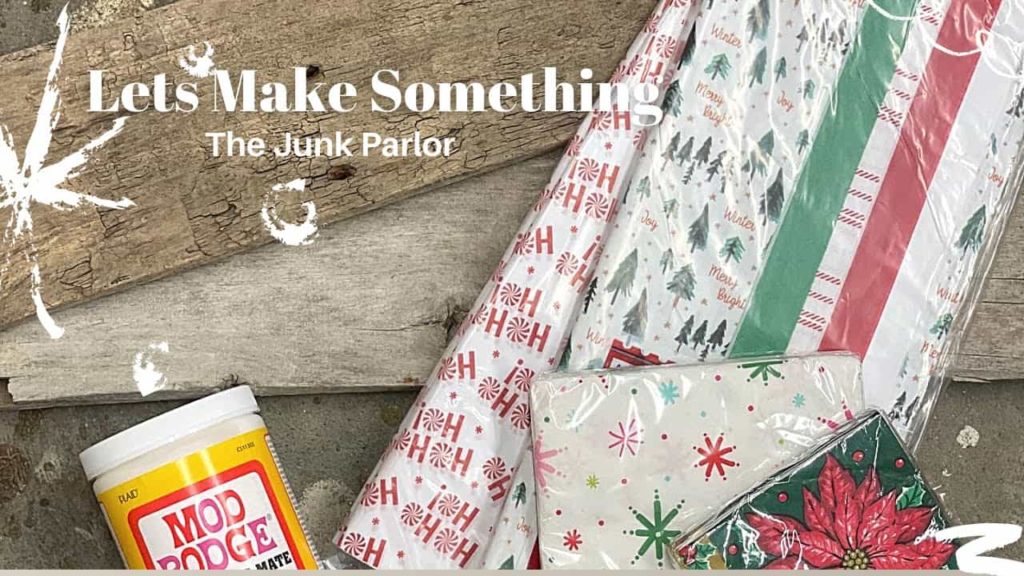
- Modge Podge
- Boards
- Napkins – snowflakes, trees or Tissue Paper – Christmas patterns
- Paint Brush
- Sand Paper /block


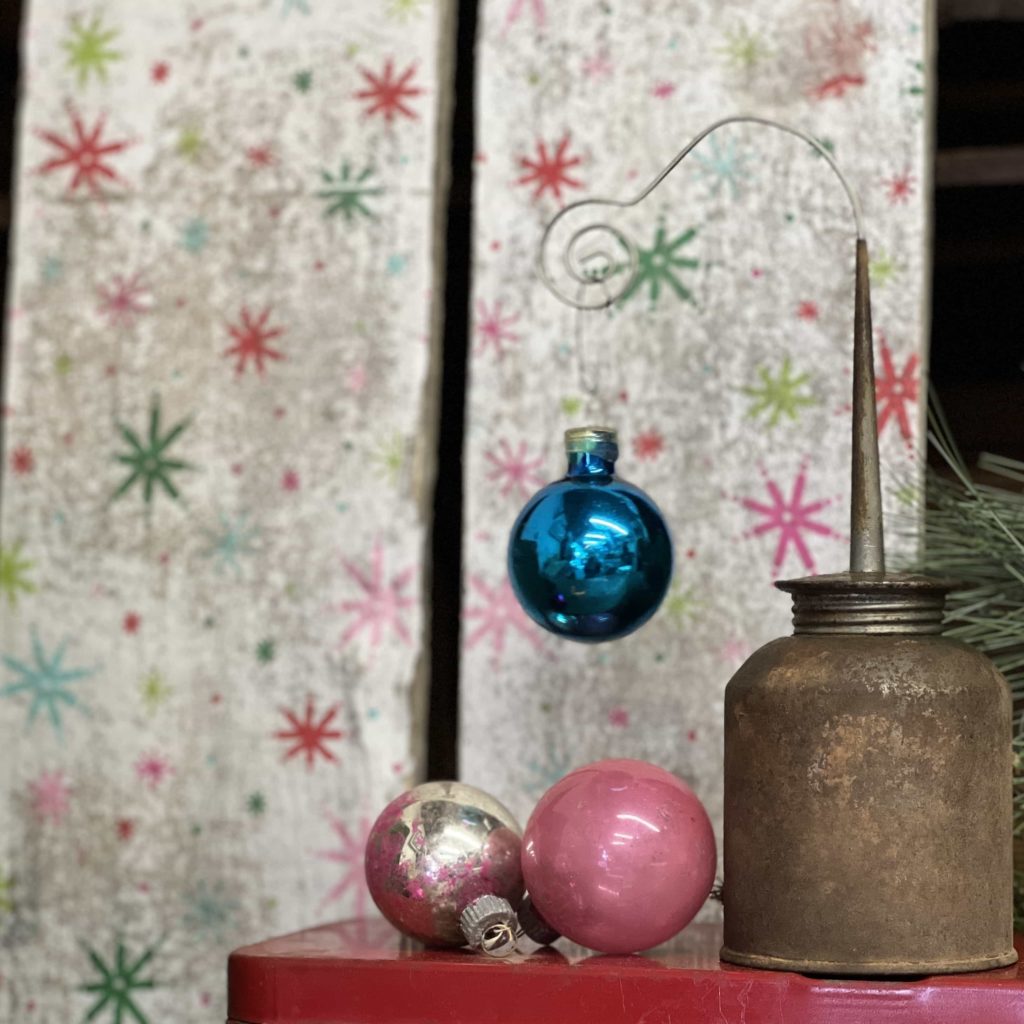
Creating your Decoupage Board
The boards that I decided to use are distressed and weathered looking, ones from a pallet we dismantled, but you can use any kind of board you like. I also chose to use boards that were smaller, because it seems like it is easier to find wall space for slightly smaller items.
Before you begin, consider what you want your board to look like. If you are using napkins or tissue paper with a pattern, think about if you want the pattern to meet up. If you do, it would be a good idea to lay it out first.
In the video, I experimented with tissue paper, 2 ply napkins, and single-ply napkins. All of them worked well, it just depends on finding something with a pattern you like.
Start your project by covering your entire board with a layer of modge podge. Don’t use too much modge podge during this step to keep it from getting too goopy and your tissue paper/napkin from getting too wrinkled. If you get too much modge podge on your board, wipe it away with a paper towel.
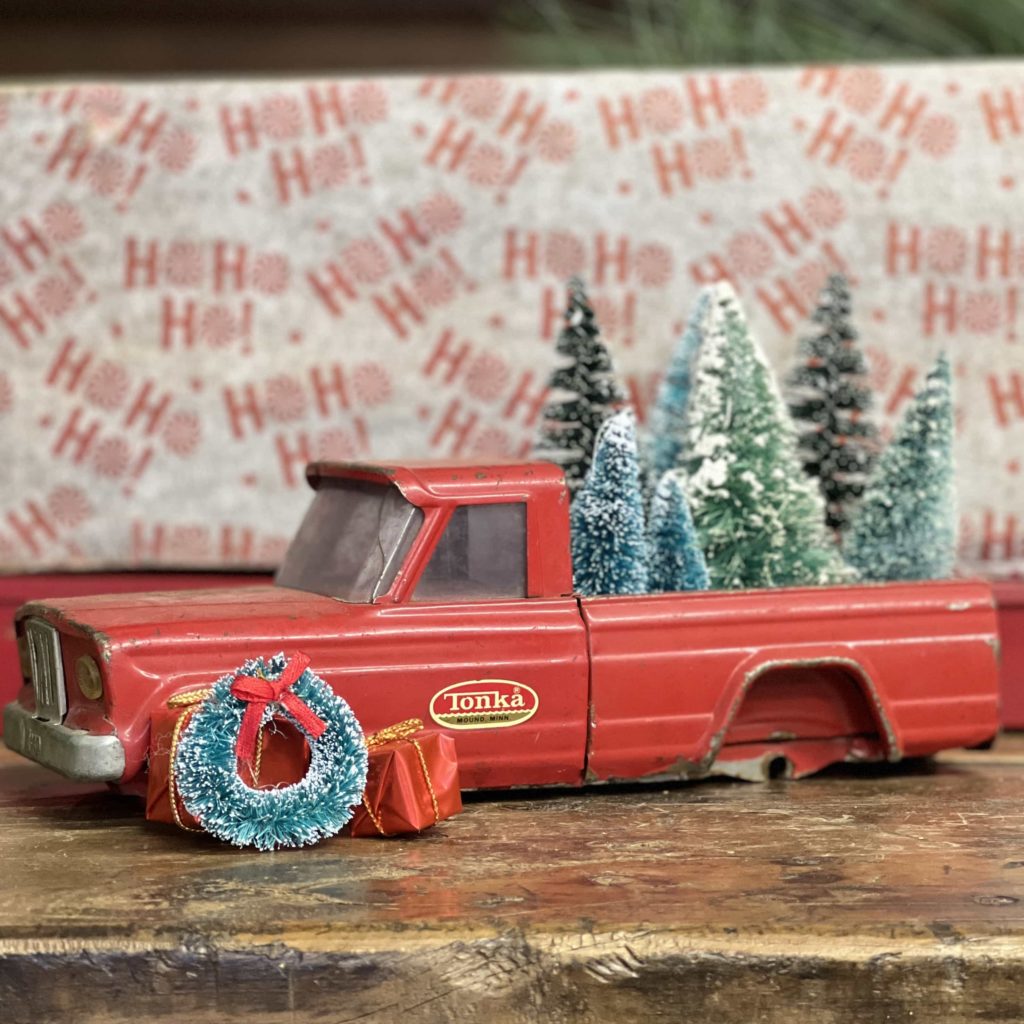
After it is covered, take your material of choice and put it onto the board. Make sure that you begin pressing it down on one side and then smooth out wrinkles. Try to cover your entire board and leave some tissue paper/napkin hanging off the edges of your board. If you have a large excess of material hanging off your board you can trim it down. Let it dry completely.
Once your board is dried, use sandpaper to gently sand around the edges. This will give your board a distressed look. When you are done sanding, top it with a second coat of modge podge. This will dry clear and make your tissue paper/napkin layer much more durable.
Customizing your Board
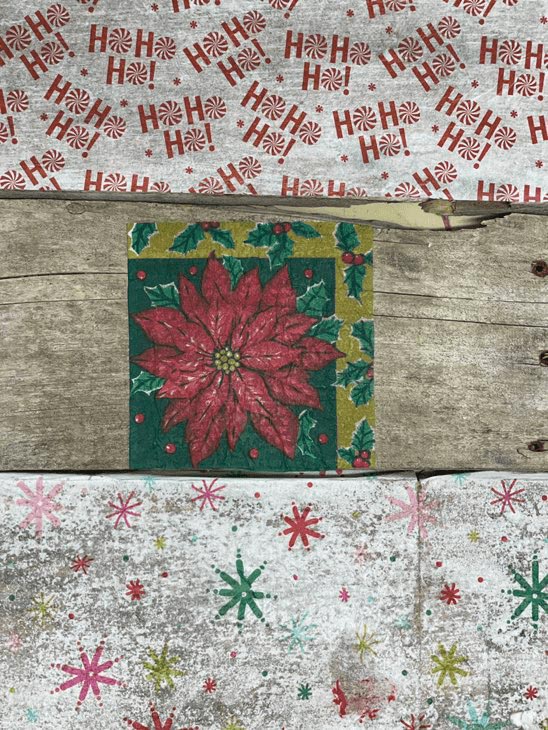
The pictures above show my decoupage boards before customizing them. They give the perfect pop of color to holiday displays if you want to leave them blank!
You can customize your board any way you want. Here are some ideas:
- Add coat hooks and hang your stockings
- Add nails as hooks (THIS style would be awesome)
- Use your Cricut to add words (merry, believe, joy, etc.)
- Use stencils to paint on words or additional images
Leave a comment and let me know how you customized yours!
For another quick decoupage project that is easy to customize click here.
This post may contain affiliate links for the products I use and recommend. I am not paid to promote these products. If you purchase using my affiliate links, I could make a small commission at no charge to you.
