Are you on Santa’s naughty or nice list? Well, let’s make a Santa Scroll and get you on the nice list!
I seem to be addicted to picking up scrolls of paper! I bet you I currently have ten different scrolls of paper laying around my workshop. There are so many ways to use them, packing, wrapping gifts, and of course, DIY projects!! That is where today’s project comes in, let’s hand letter a Santa Scroll together!
Prepping Your Scroll
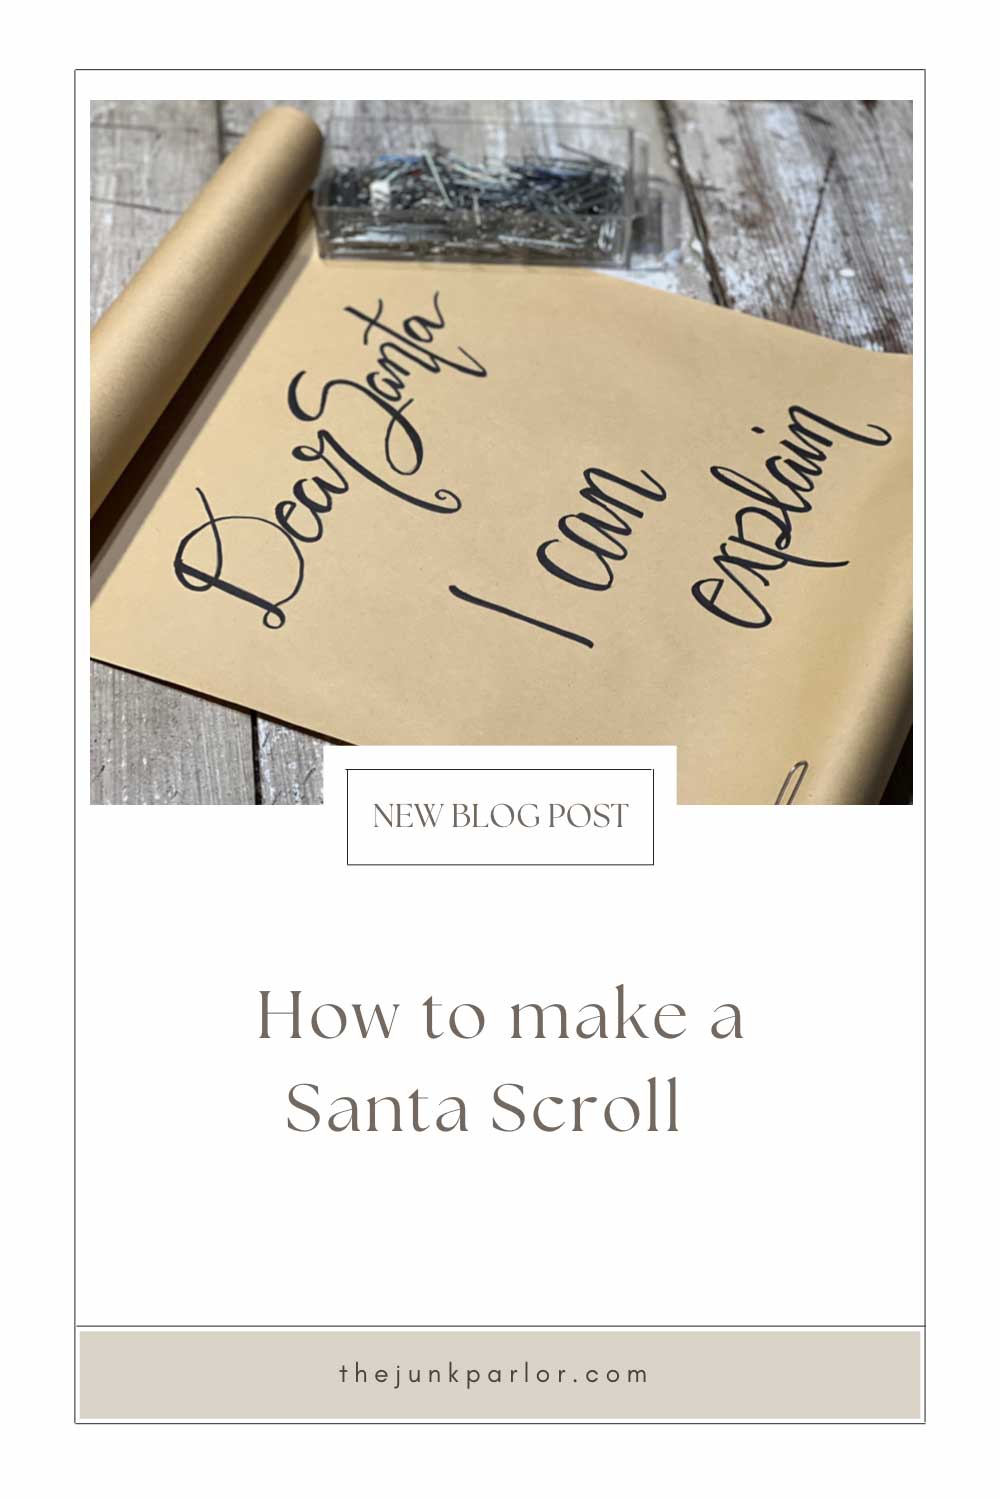
A scroll is a roll of parchment or paper for writing or painting on. When I think of a scroll it rolls one direction on one end and the other direction on the opposite end. I wanted my scroll to have that look. I started by creating a roll at the top of the paper, with the roll going back away from where I would be writing. To do this, I rolled it up a bit and then used a paper clip to secure it.
The longer the paper is turned in a direction, the more likely it will stay on it’s own. So, when you store your scroll, make sure the rolls are facing the direction you want. If you are going to make your scroll and then immediately display it, you may want to use the help of glue. Take a small amount of hot glue or any glue you have on hand and use a couple strategically placed dots to get the rolls in place.
You could glue it so the roll is uneven and loose or straight and tight, it is completely up to you and the look that you want to achieve! If you need or want structure on the scroll ends, you can use an old paper towel roll tube as a form to secure it around.
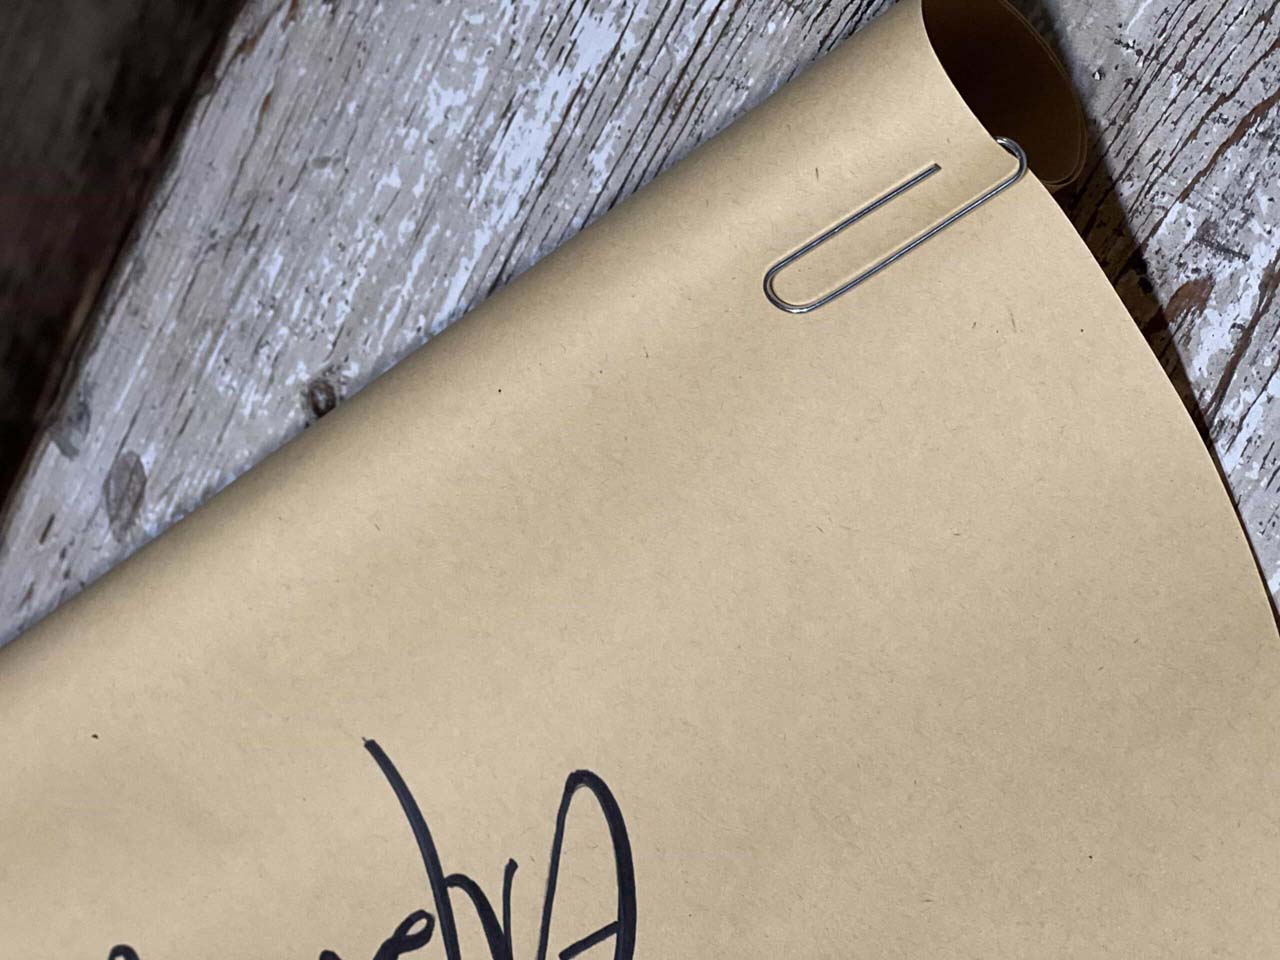
For this project, I would rather have too much paper on each end, than not have enough. This will make sure that you get a swirled scroll look. Remember, you can always trim the paper if you have too much! I started by only doing the top since I was not quite sure how much room my writing would take up.
Hand Lettering Your Santa Scroll
When I am working on a project that requires handwriting, I like to practice with pencil first. I usually practice on a scratch piece of paper and then reference it on the actual paper.
The phrase I chose to write on my scroll was “Dear Santa, I can explain”. There are plenty of other phrases you could use for this project. Under the words “Dear Santa”, you could do a list of your kid’s names, the phrase “I swear I’ve been good all year”, etc.
Scroll – a roll of parchment or paper for writing or painting on.
After you have your words mapped out with a pencil, it is time to go over it in marker! This is going to cover your pencil marks for the most part.
Regular handwriting looks fine, but I wanted to elevate mine! To do this, we are going to thicken the lines of each downstroke of the original handwriting. Make sure you watch my video if you want see this explained better!
This technique will give your lettering a calligraphy style look, with out you actually having to know how to do calligraphy!
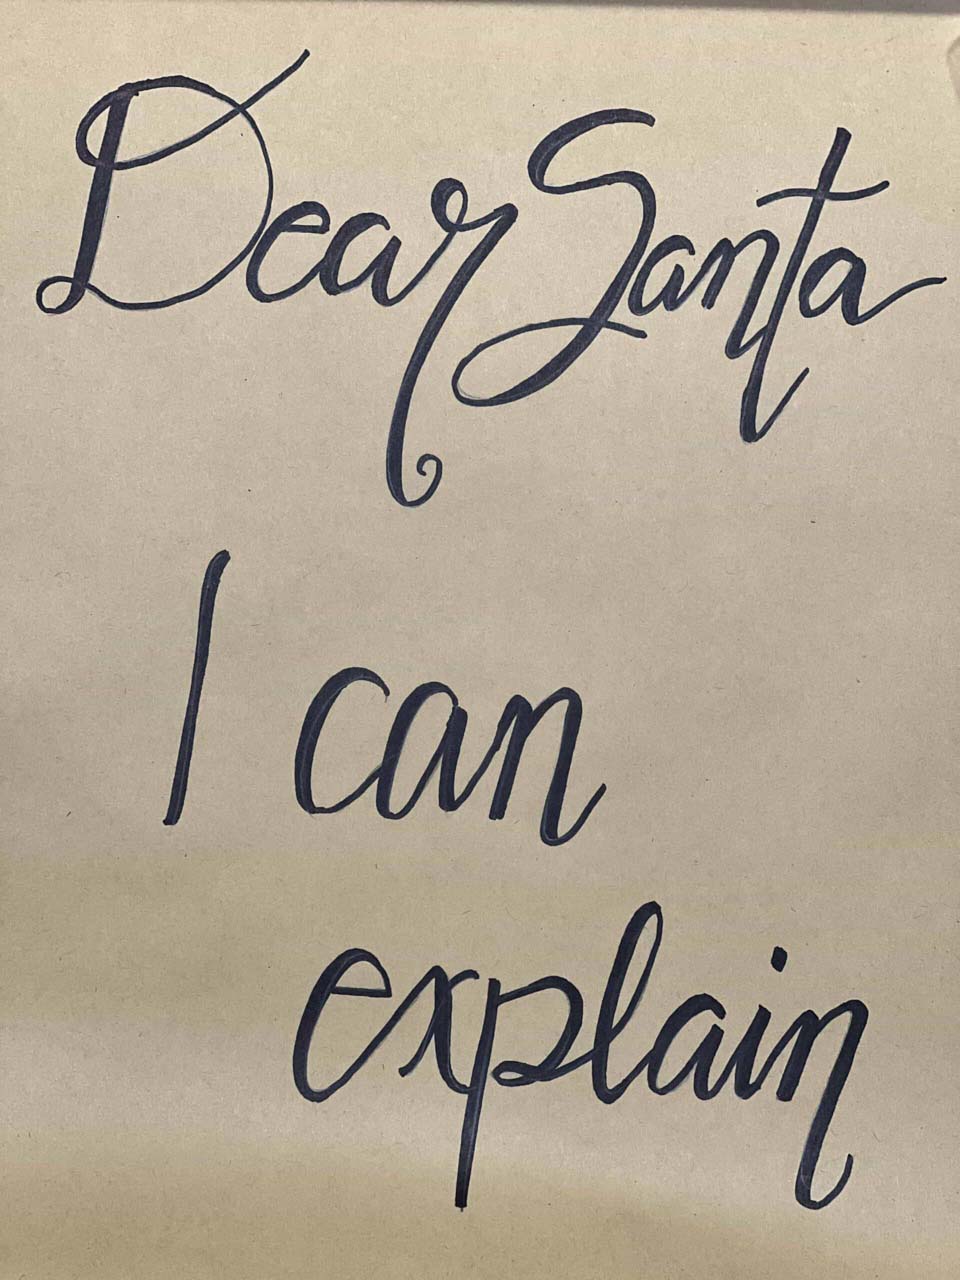
For my project I used a sharpie marker to create my hand lettering. Different styles of markers can also help achieve the same look as long as you are adding pressure to the marker to thicken the downstroke of your writing. Brush tip markers are great to use on a project like this too!
Another thing to note about markers – you don’t have to use black like I did! Red or green would also look nice! You might even want to do a combination of the two!
TIP – Make sure to space out your letters, this will give you more room to go back and add in those downstrokes. If your letters are too bunched together, it will make this step a bit tricky!
It is also important to give your marker a little time to dry before you go in again, to avoid smudging your work! Keep working at making your downstrokes or letters thicker according to your liking! When you are finished, you can go through and erase any remaining pencil marks.
Once you are through with your lettering, you can roll the bottom of your scroll. To give it a more authentic scroll look, roll it in the opposite direction of your other roll. On mine, I rolled the scroll down towards the lettering, on the bottom I rolled it back. Don’t forget you can tack it with glue!
If you want to give your scroll a natural unraveling look, make sure that your scrolled ends aren’t perfectly straight across!
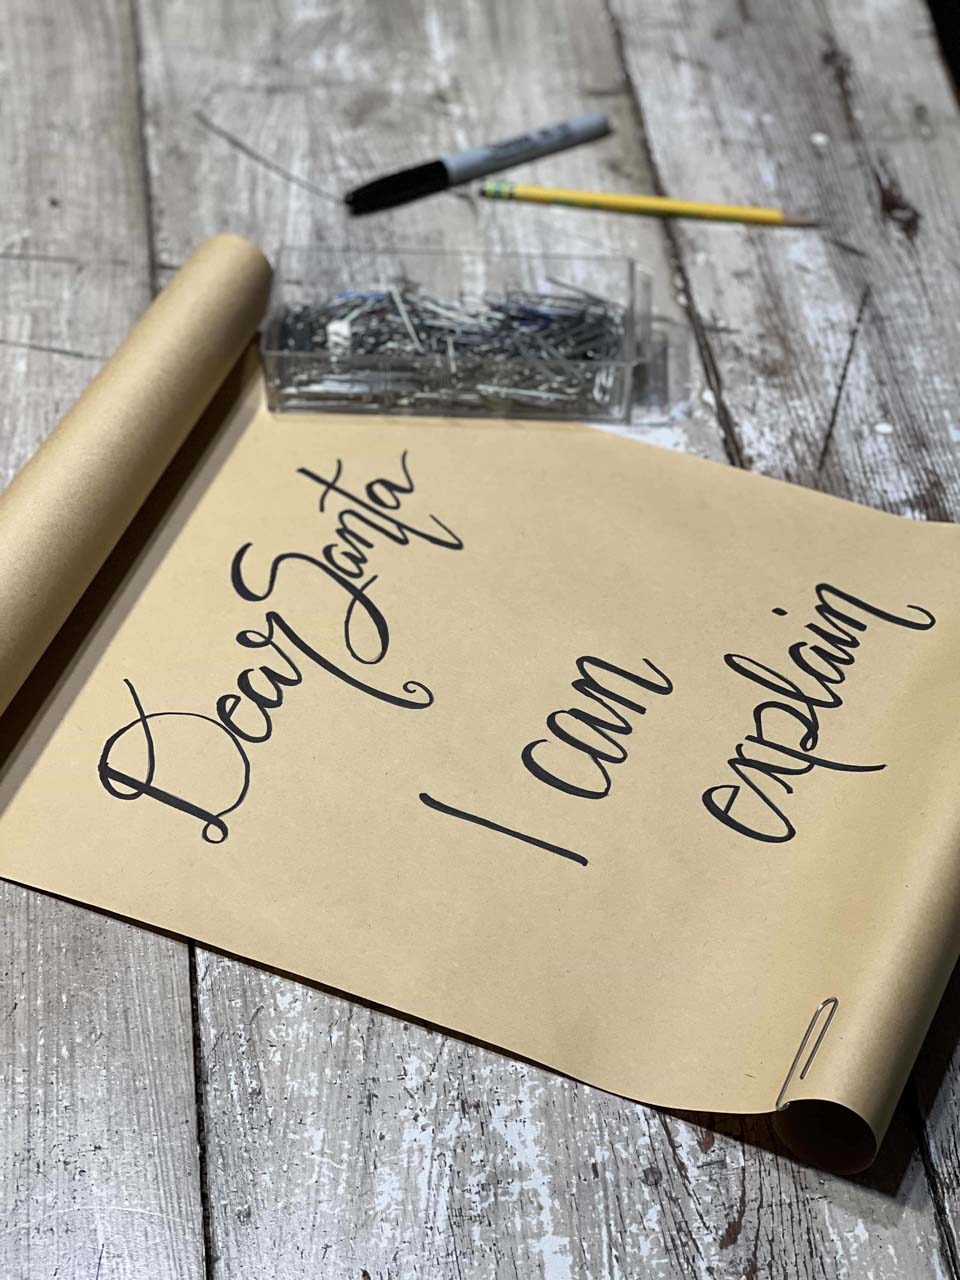
This DIY Dear Santa scroll is the perfect quick project for that spot in your home that needs a little extra something for the holidays! This year I put mine on my Christmas tree! Why? Because the tree never got decorated! I know, I know, but decorating just didn’t happen this year. It all sat in totes waiting for all of us to be home and motivated to decorate it! You see, normally the kids do all of the decorating, but as teenagers involved in a lot of activities, it just didn’t happen this year!
Here’s how our tree looked one year! We always decorate with hand made ornaments the kids have made and some from Matt and I’s childhood. So I get creative under the tree!
Supplies
- Scroll of paper
- Glue
- Paperclips
- Pencil
- Marker
Santa Scroll DIY – Process
- Take your scroll of paper and roll the top down towards you, paper clip to secure.
- Plan out your lettering using a pencil.
- Go over your lettering with a marker.
- Add flourish to your lettering by thickening the downstrokes of your lettering.
- Roll the bottom of your scroll back, paper clip to secure.
- Set the scrolled top and bottom of your paper with glue.
- Allow to dry.
My 25 Days of Christmas DIY is flying! Check my Facebook page to see this DIY video and more!
Since you are here, hang out with me on the blog for a while! I have tons of ideas to share with you:
If you love lettering, read my post about making Chalkboard Art or this post about my Vintage Merry Christmas Stencil!
Want to hone in your decorating skills? Learn how to layer your decor for an elevated look in my post about Easy to See Decor Layers!
Winter can get boring, that makes it a great time for organizing! Get inspired to organize as you read my post about Organizing the Workshop.
Need some company? Cozy up with a cup of coffee and listen to Coffee Talk with Brooke + Hilary : Episode One.
This post may contain affiliate links for the products I use and recommend. I am not paid to promote these products. If you purchase using my affiliate links, I could make a small commission at no charge to you.
